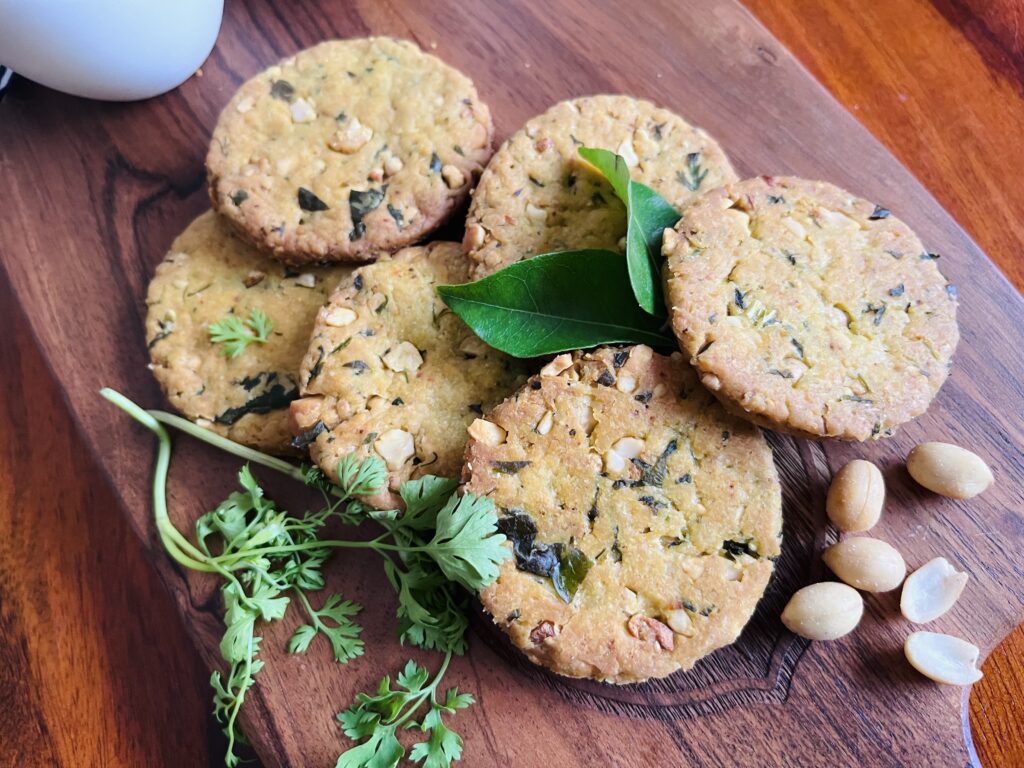
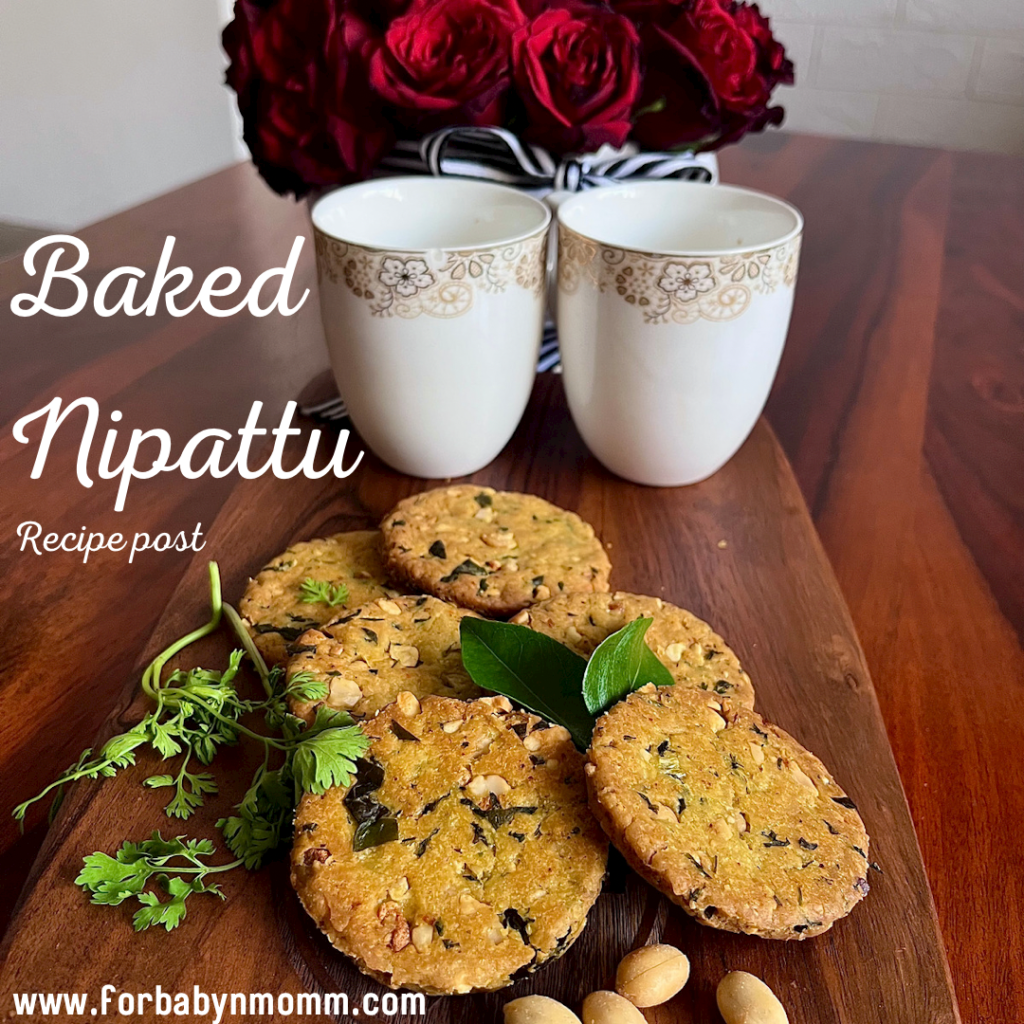
heat the oil in a pan and remove from the stove, now add curry leaves, green chilli & coriander leaves to the oil.
Add water to this oil mix.
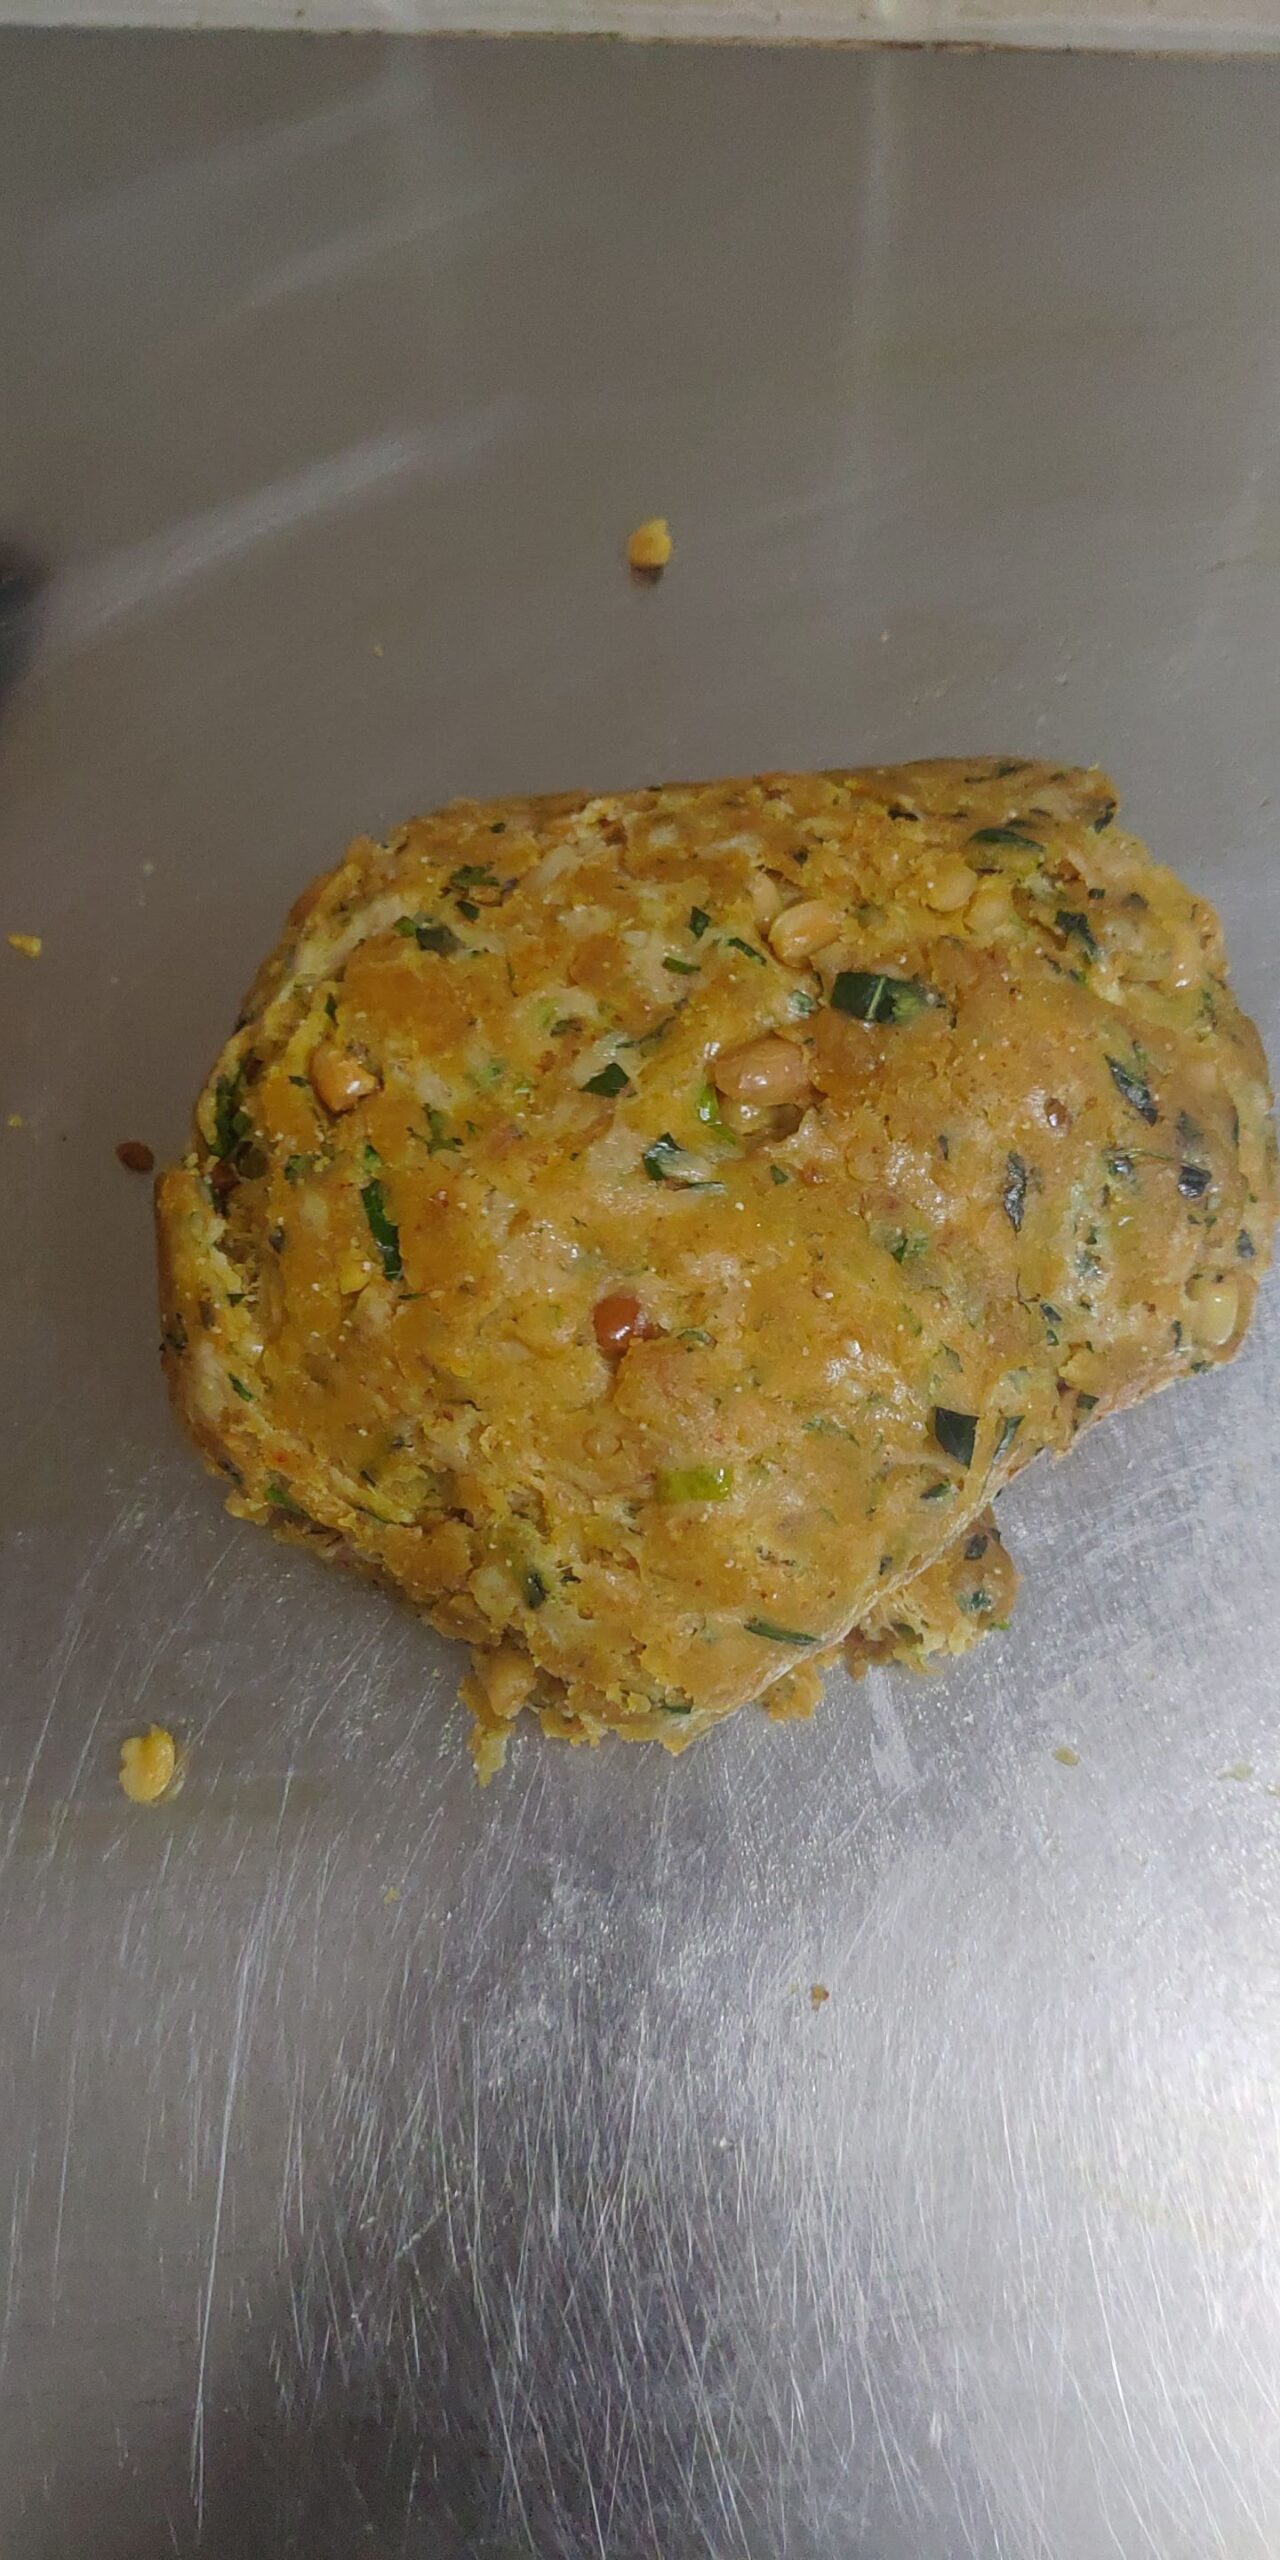
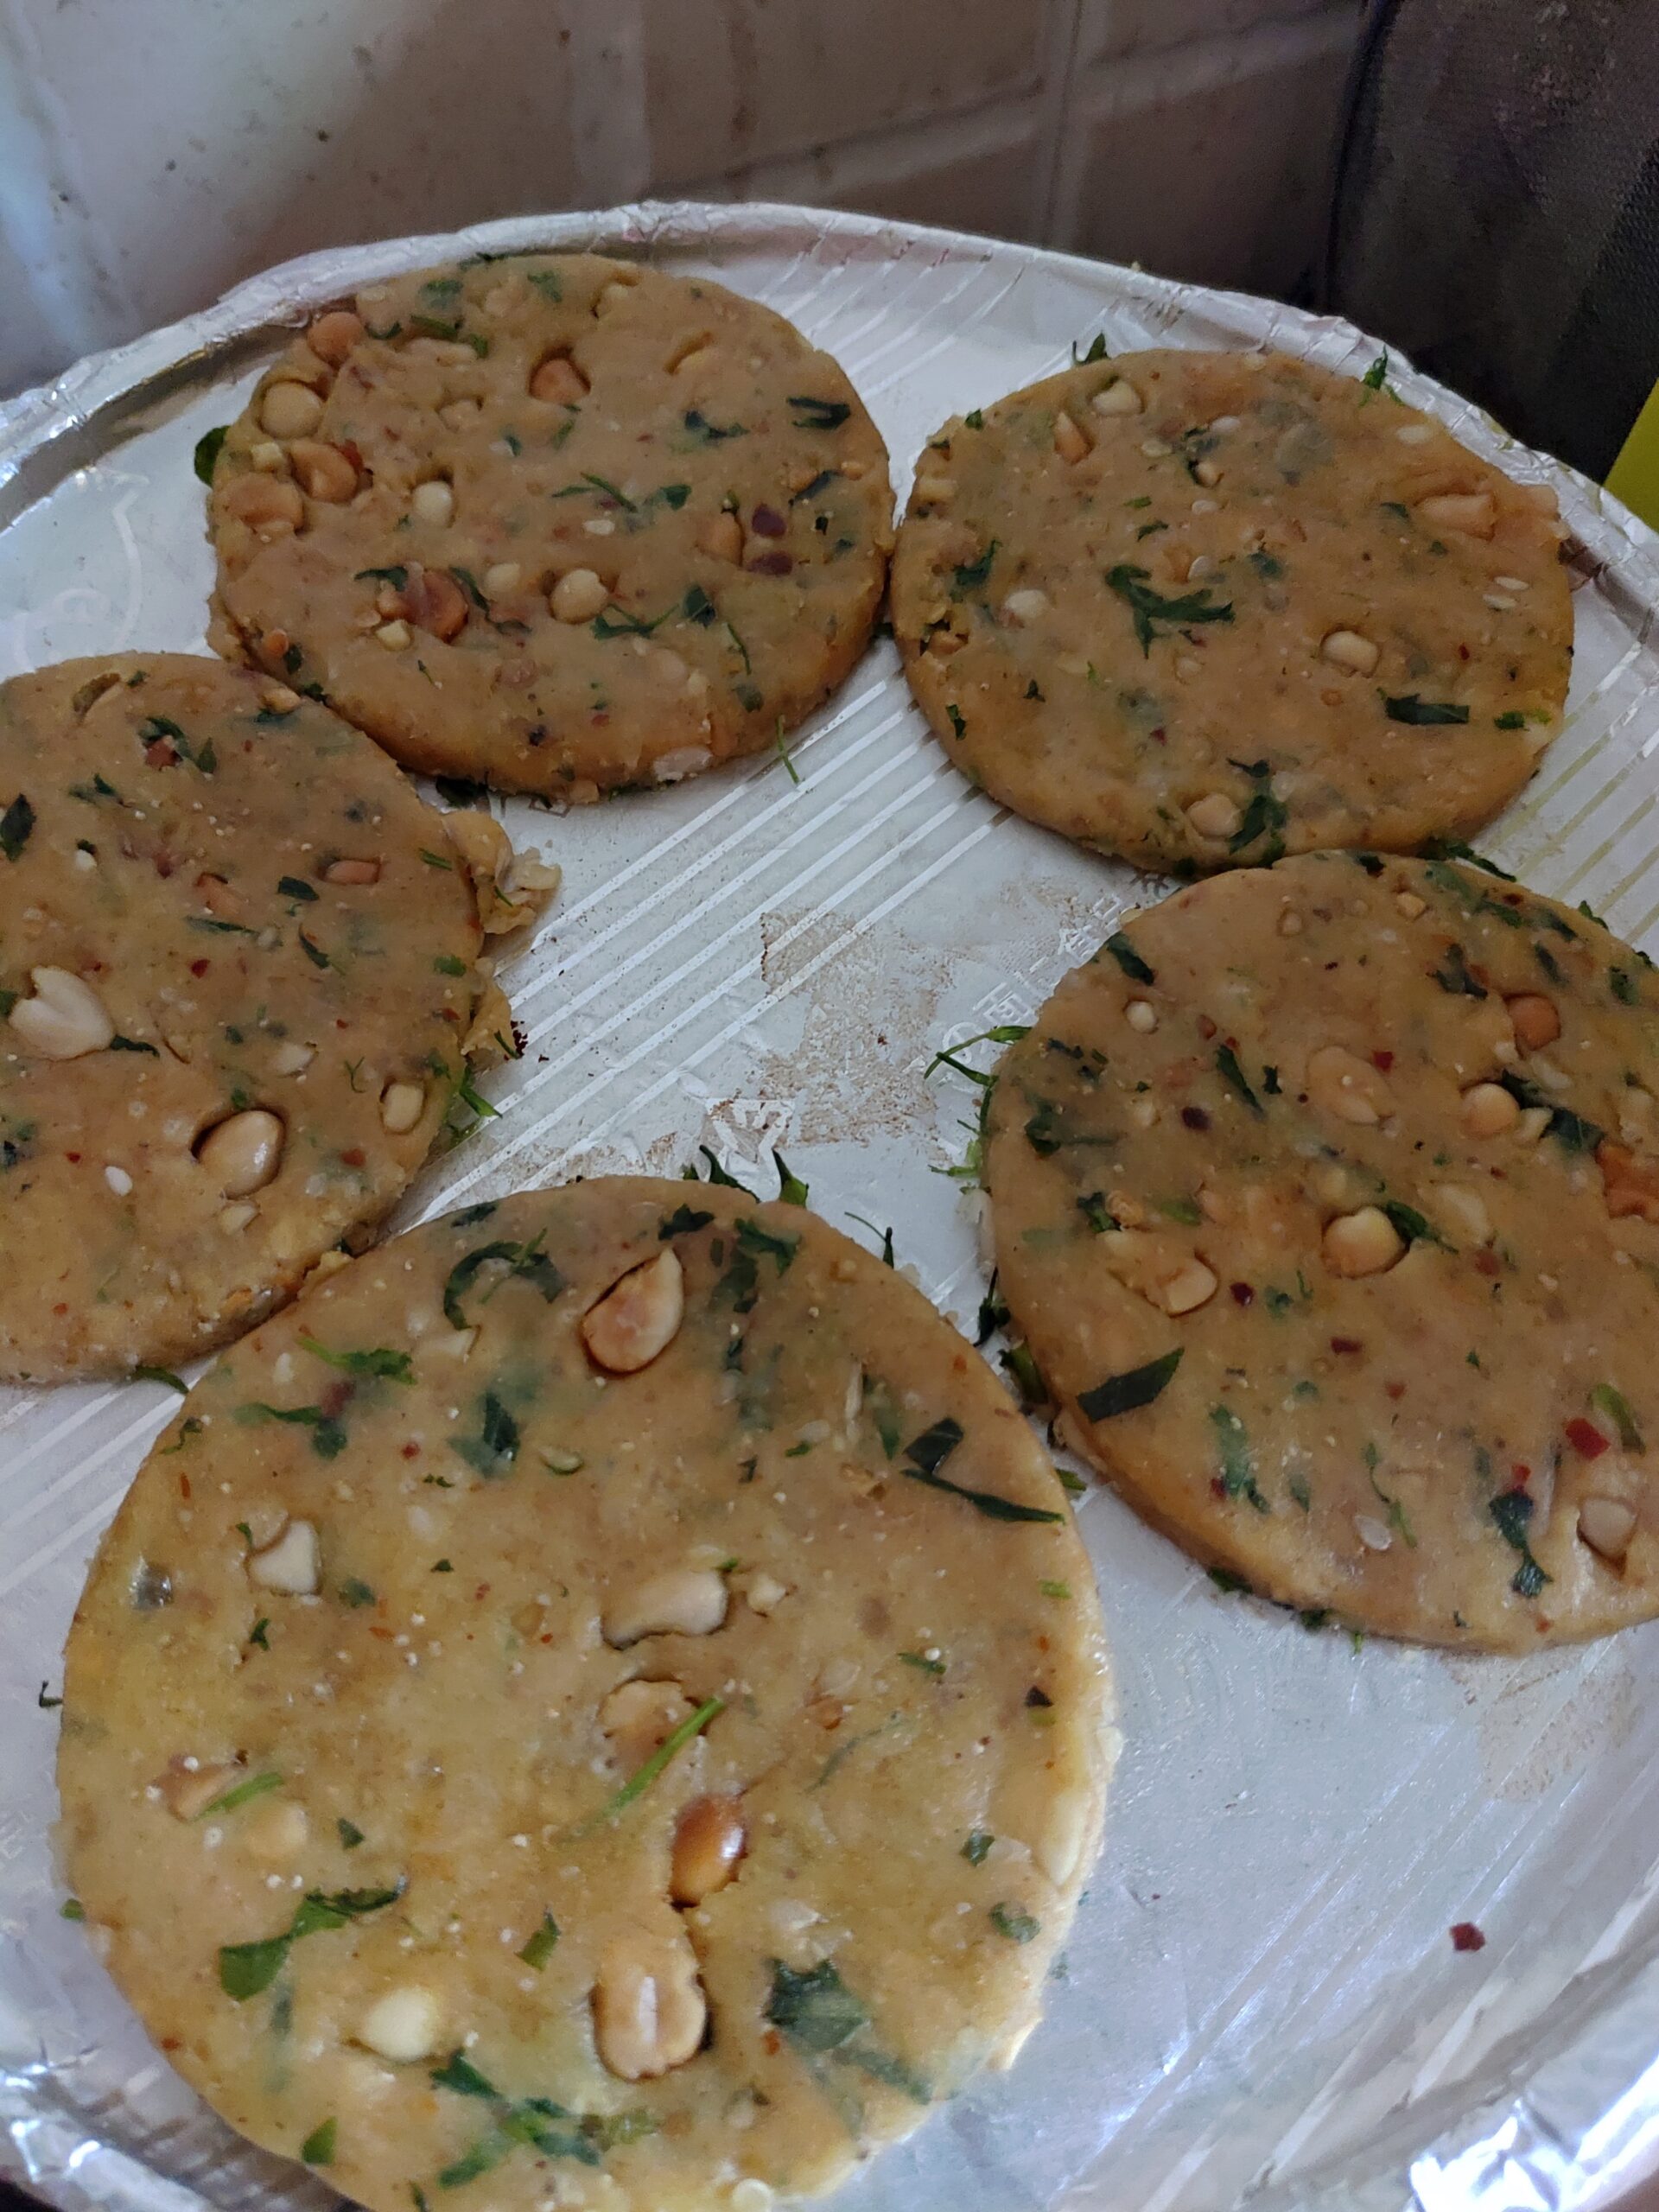
Add this mix to the dry ingredients and form a dough with it.
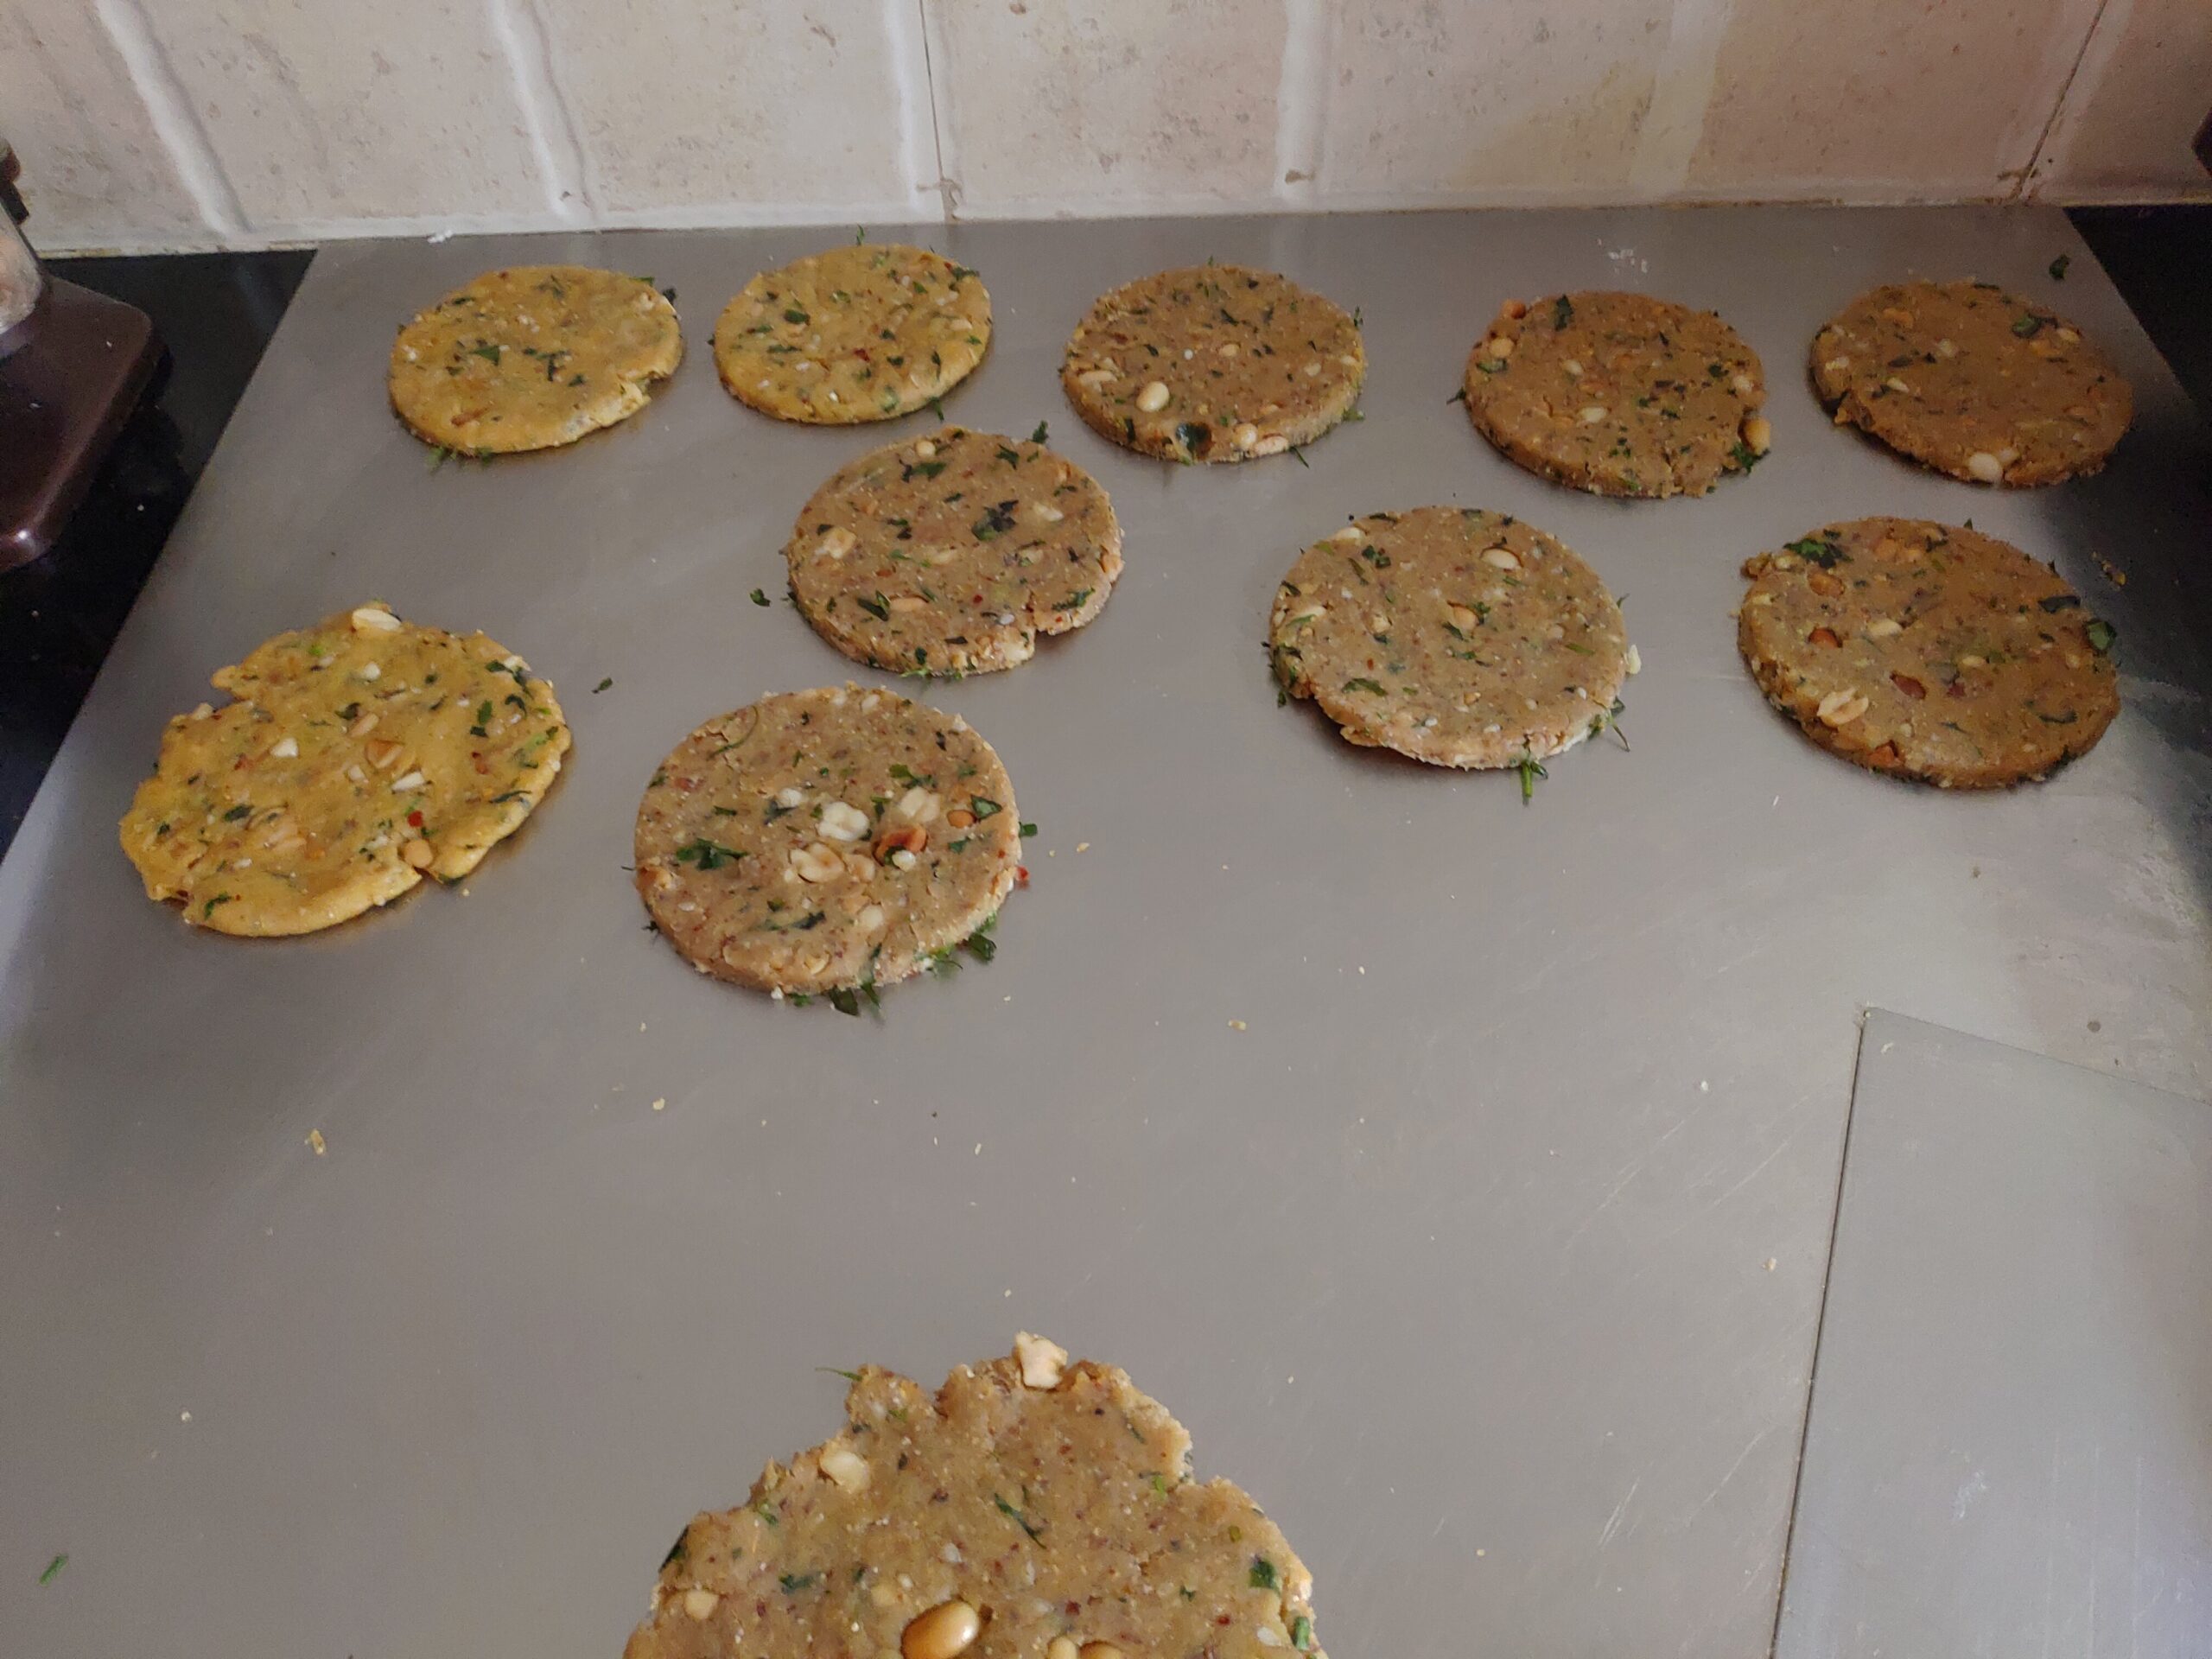
Roll this dough thin and cut out round shape with help of round glass or bowl or cookie cutter.
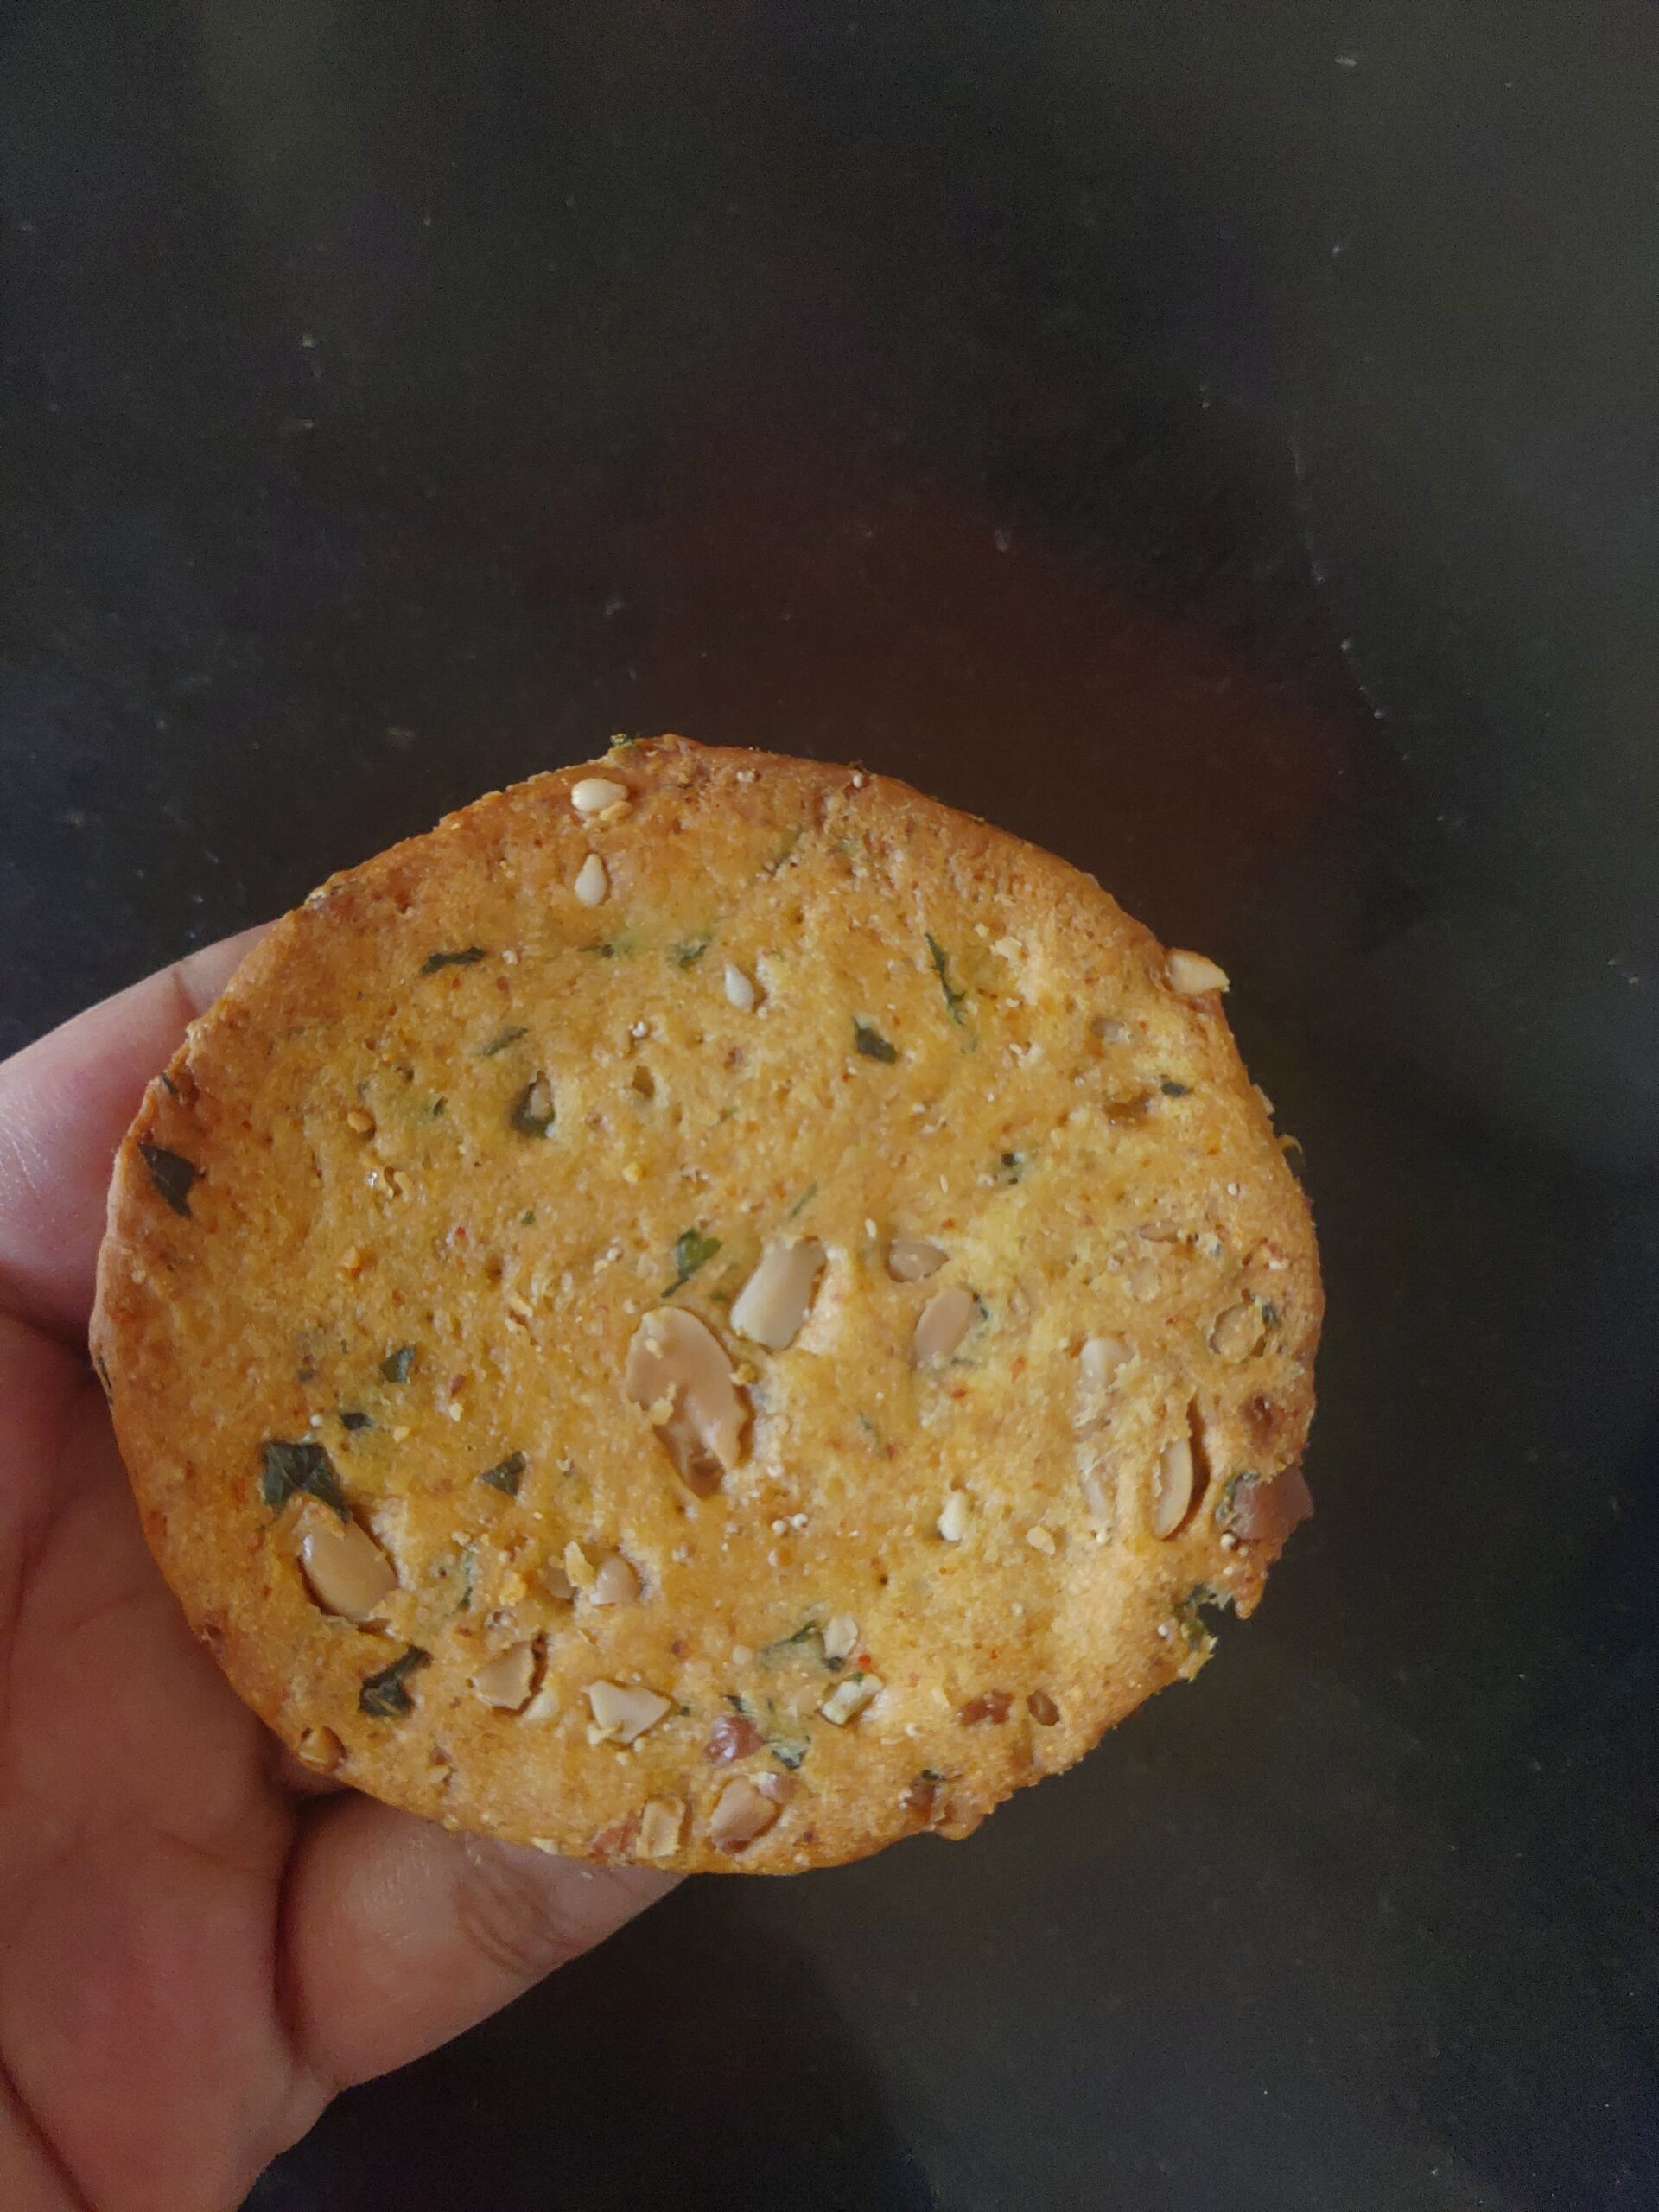
preheat your oven at 180 and bake the Nipattu for 12-15 minutes. Keep a watch and set temperature accordingly as all ovens behaves differently.
Optional- you can add 2 fined chopped garlic cloves in warm oil also with one spoon onion powder.
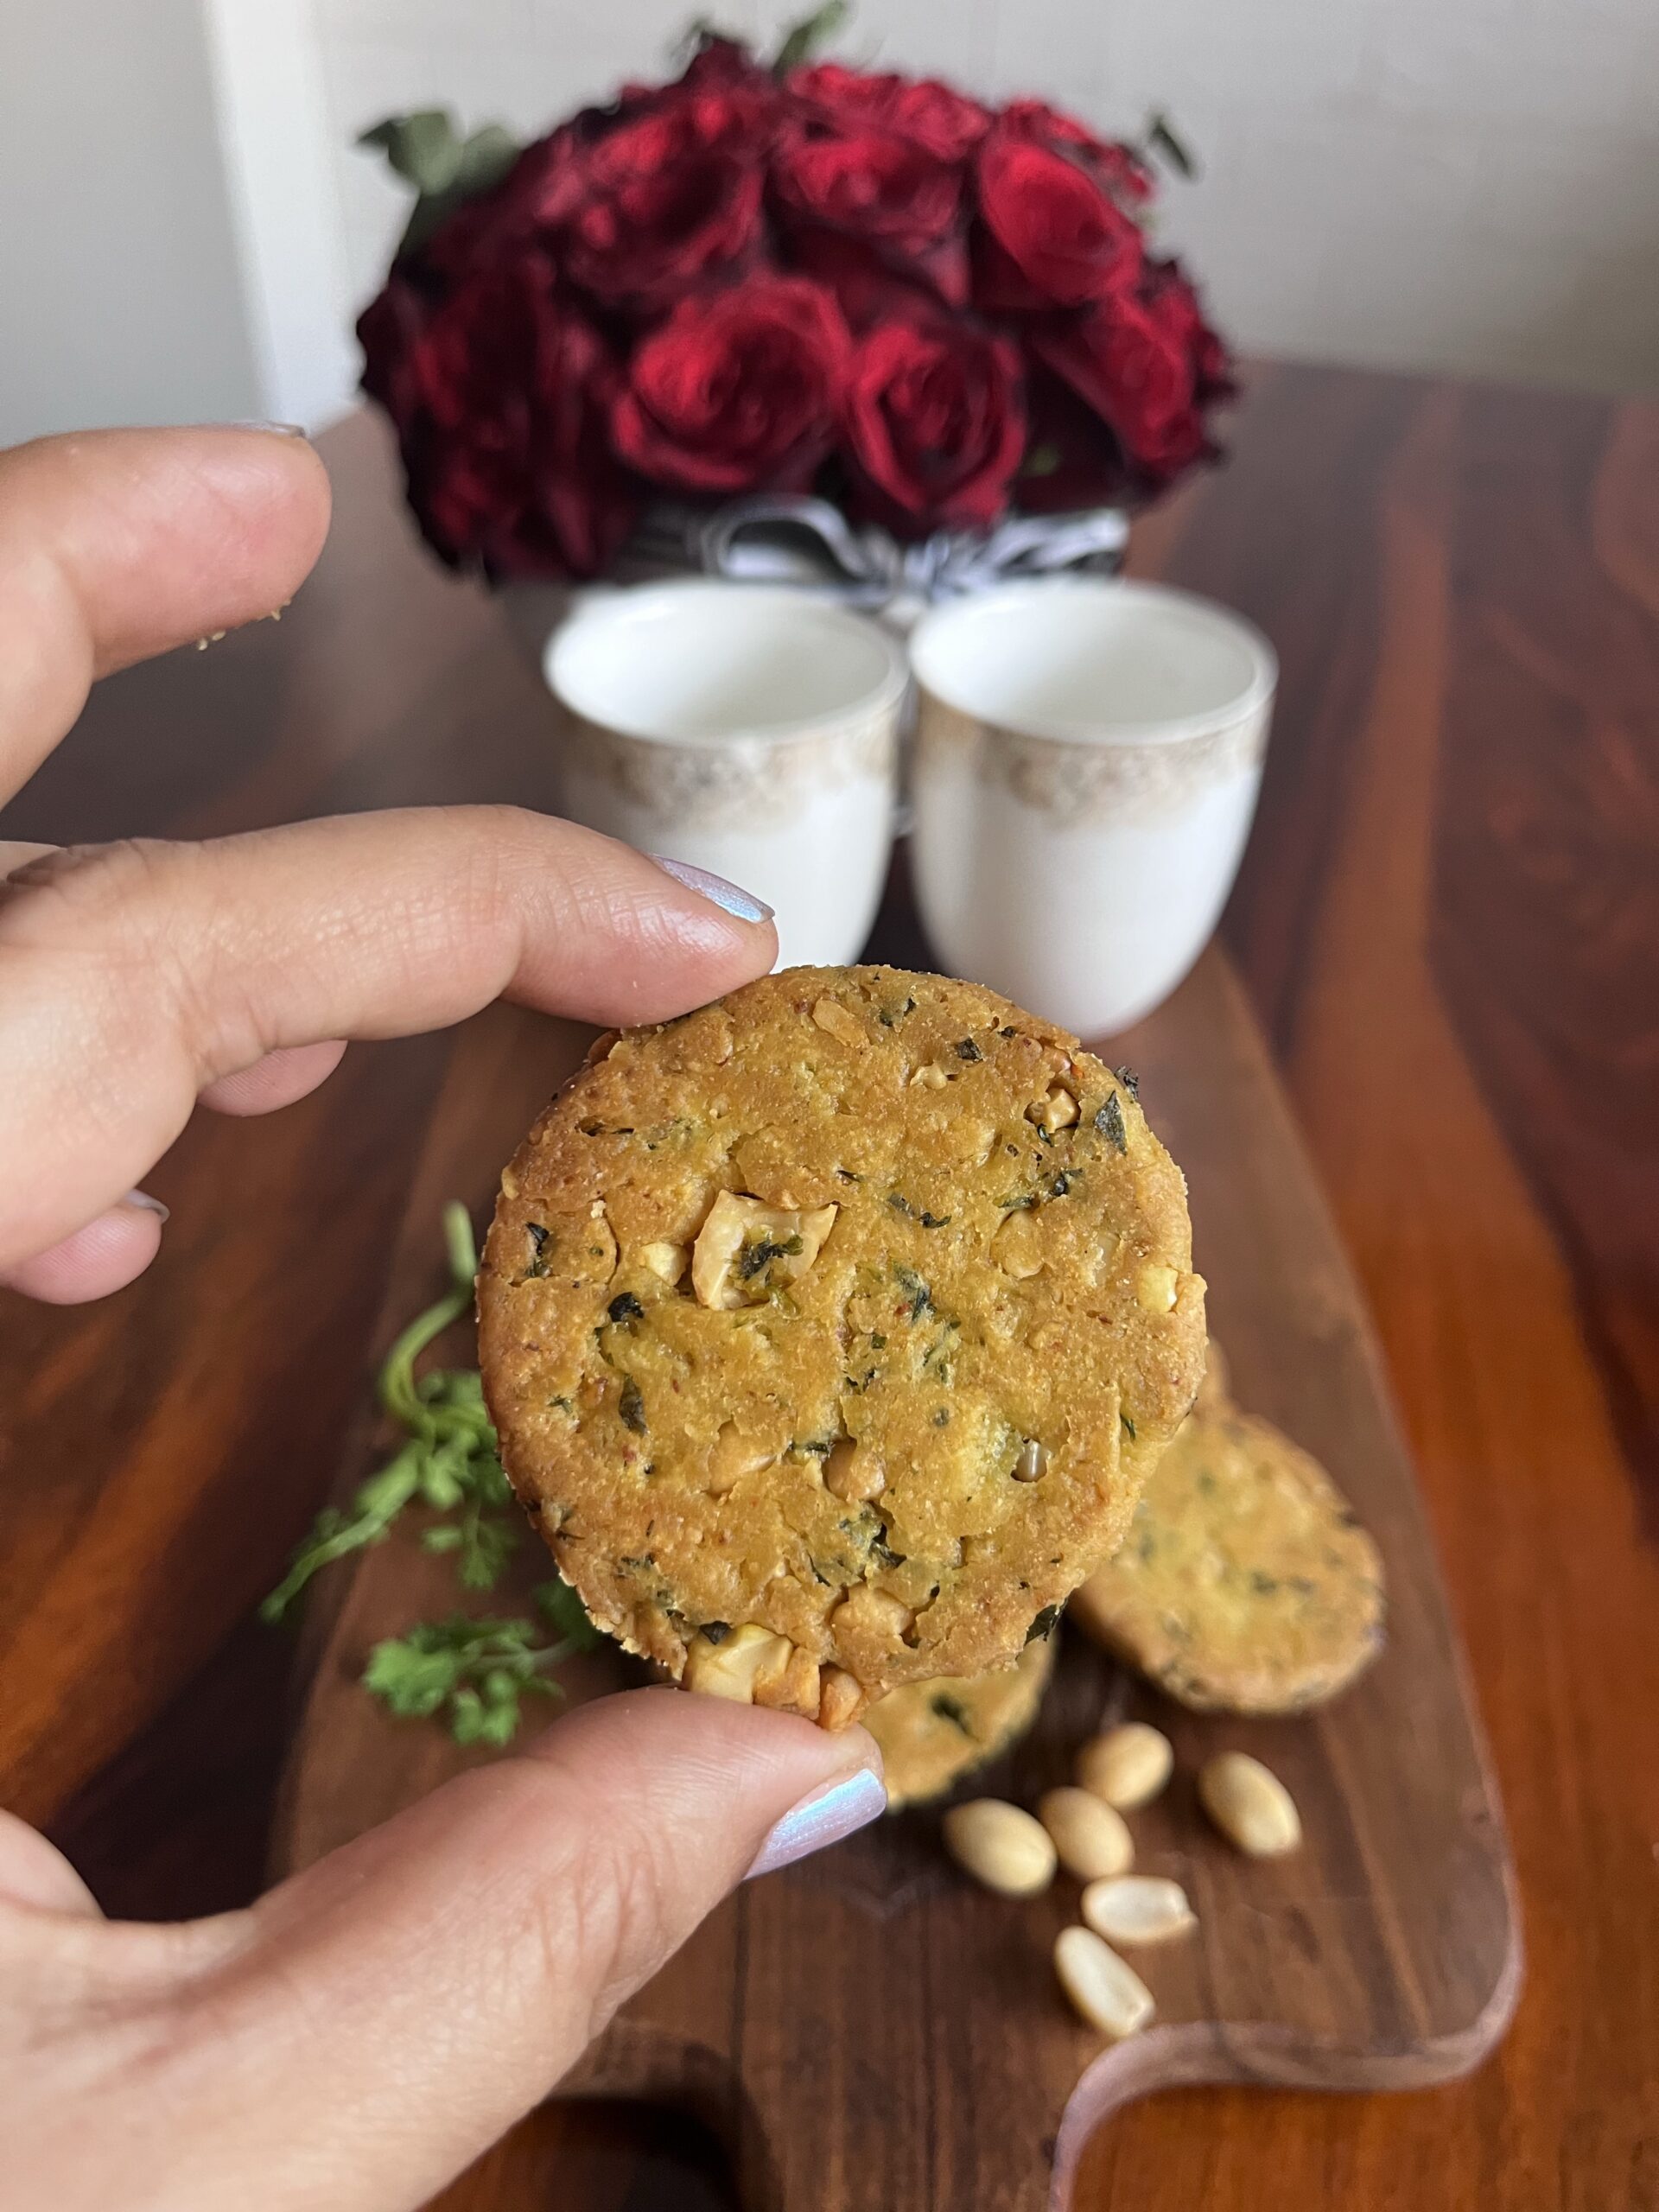
let it cool down completely before storing in airtight container. It might be soft once out of oven but as it cools it will be crunchy, just keep an eye it its turning brown you know it is done or you need to lower the temperature setting.
For more healthy recipes click here or check the cooking section from Menu.
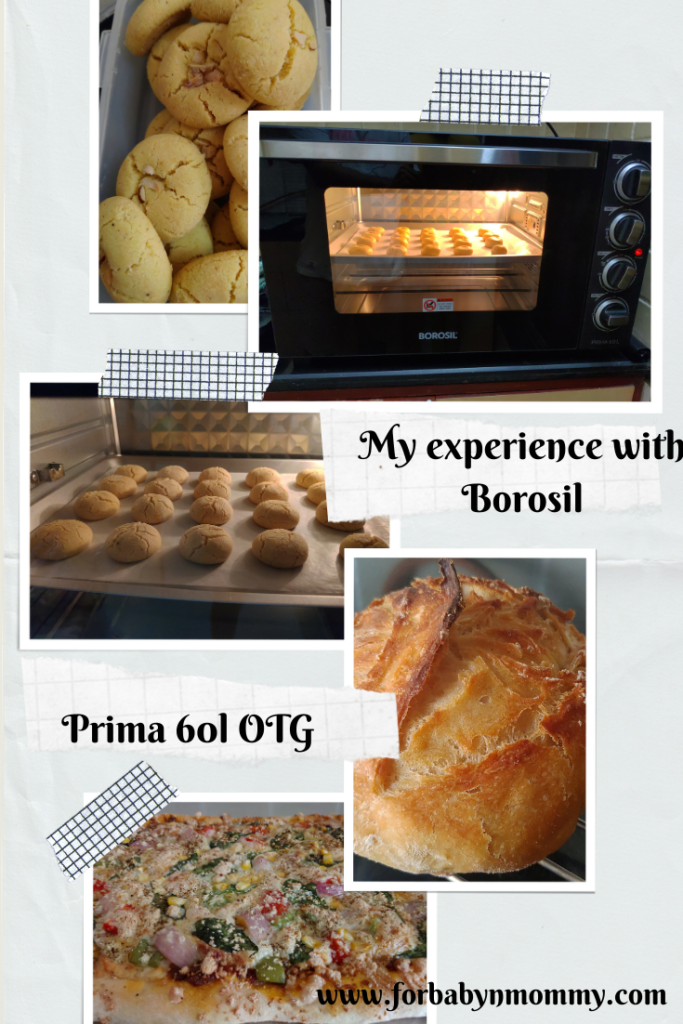
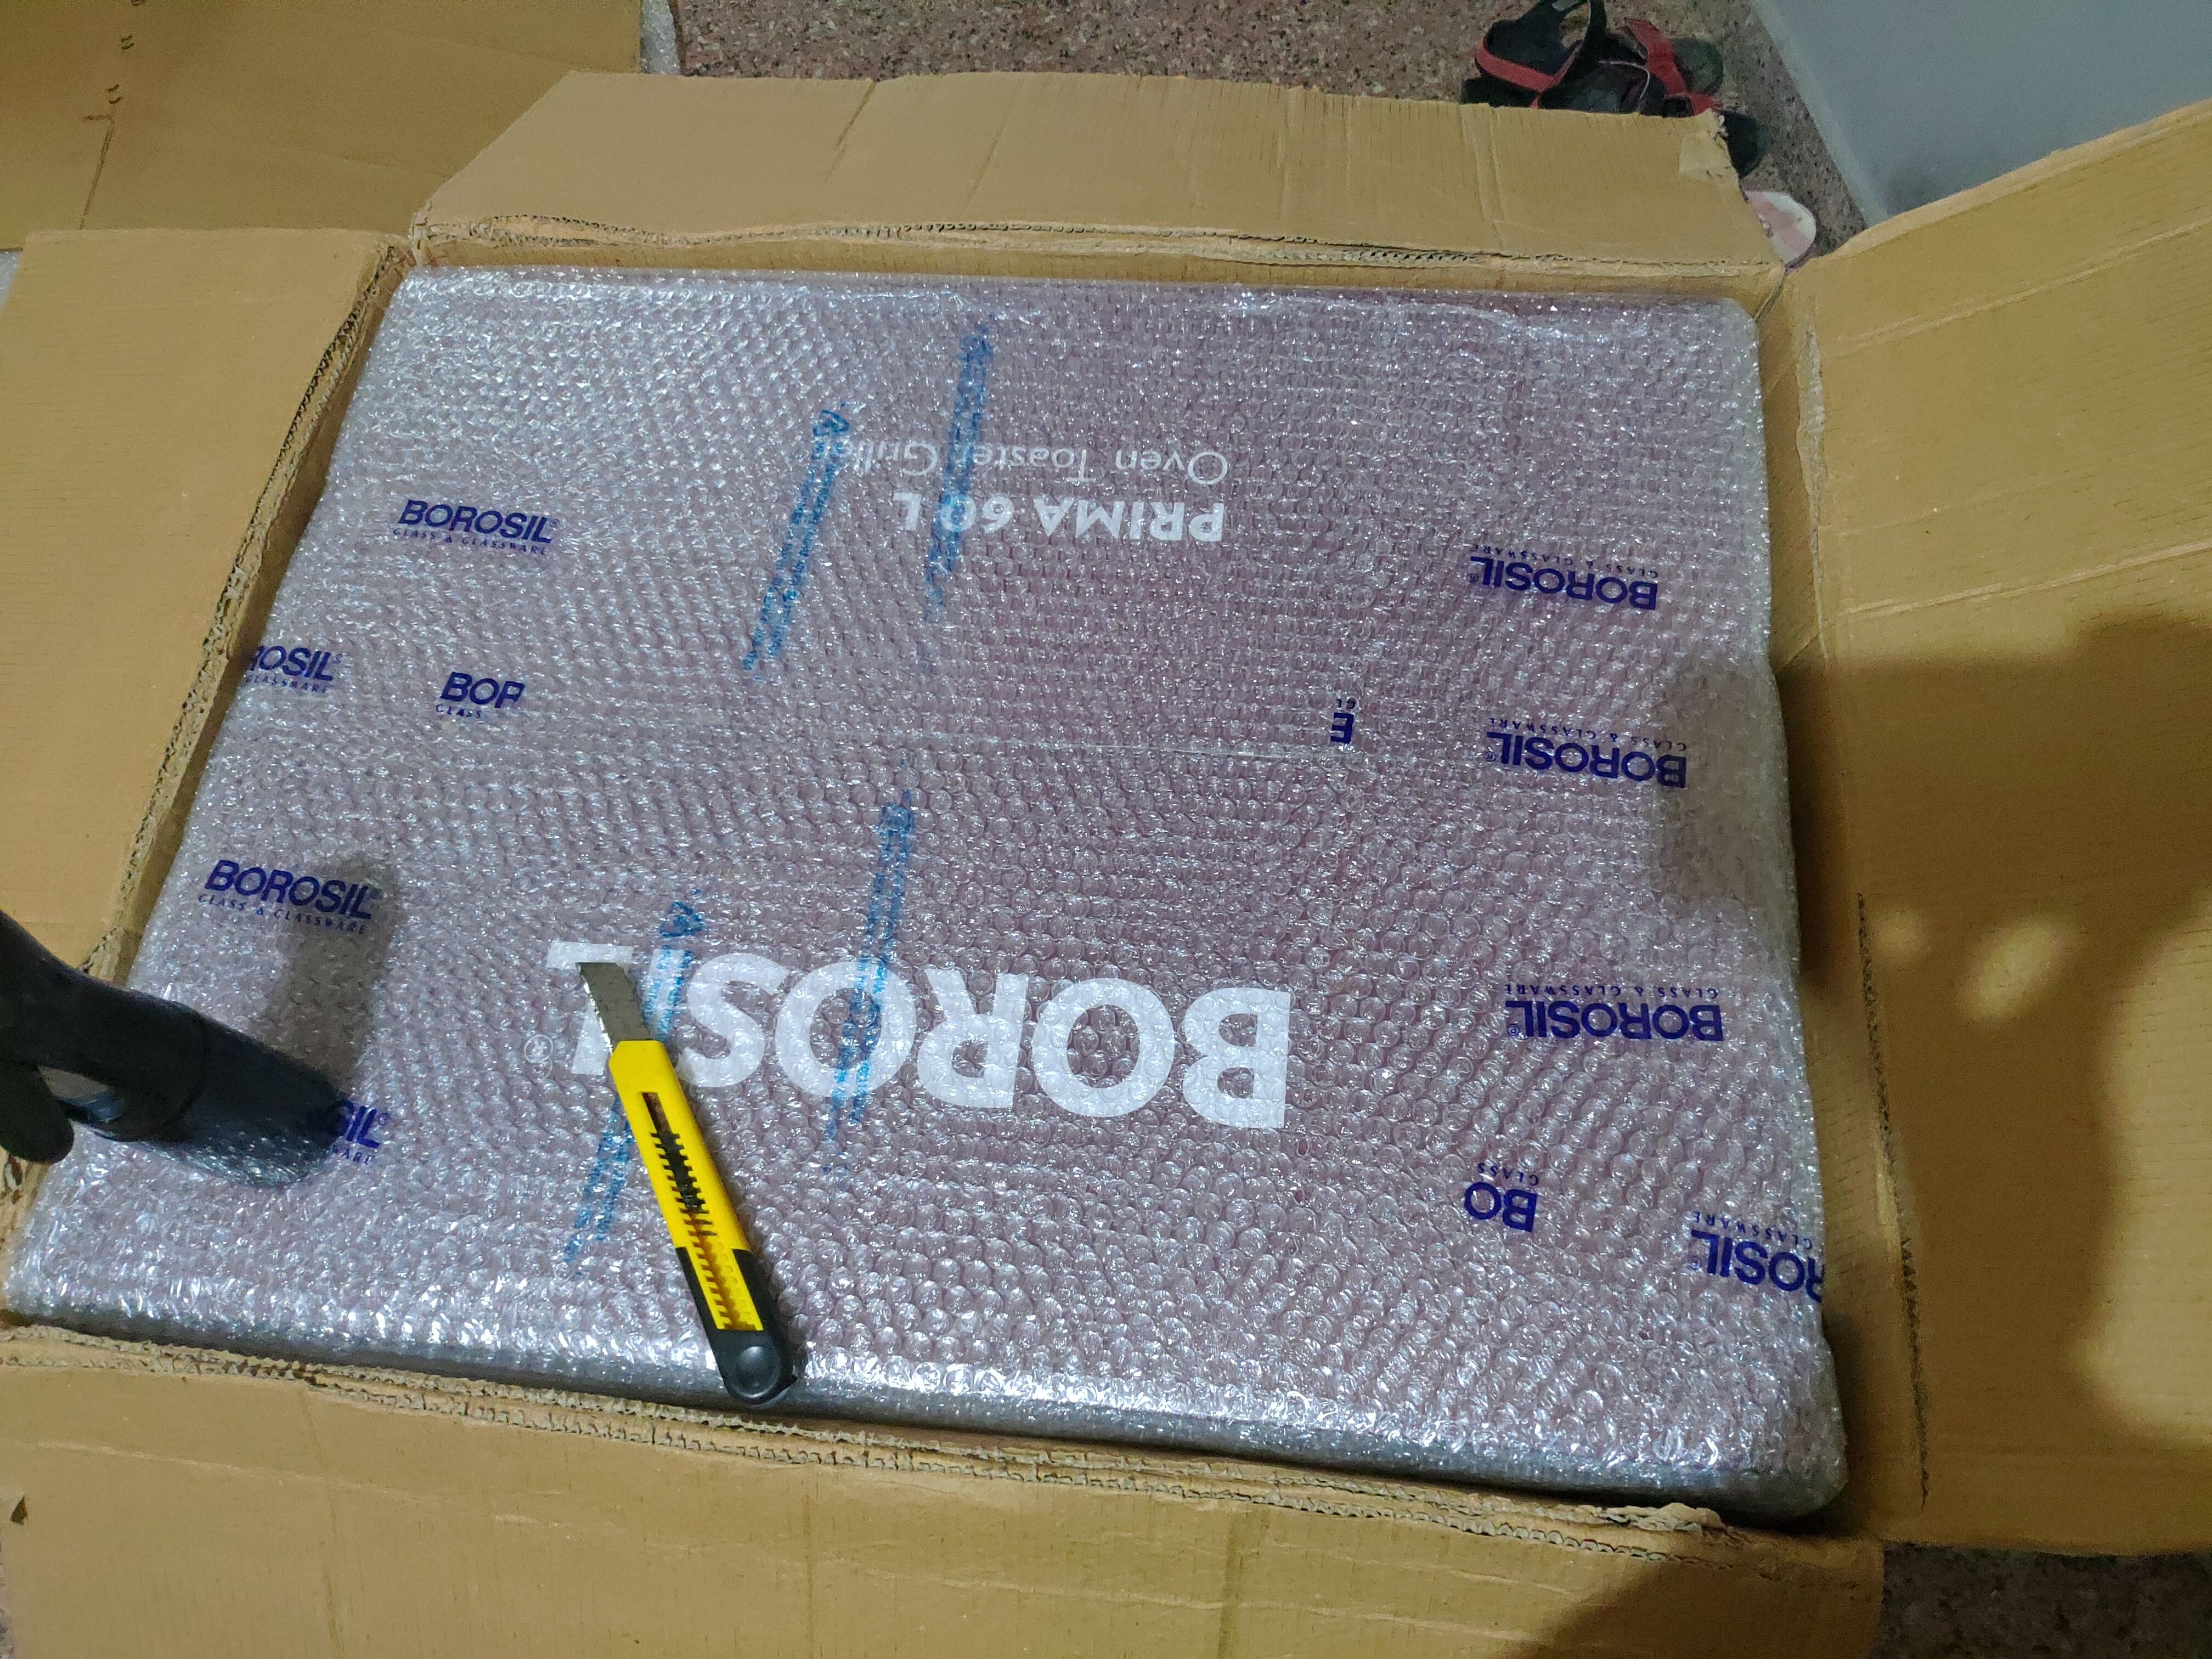
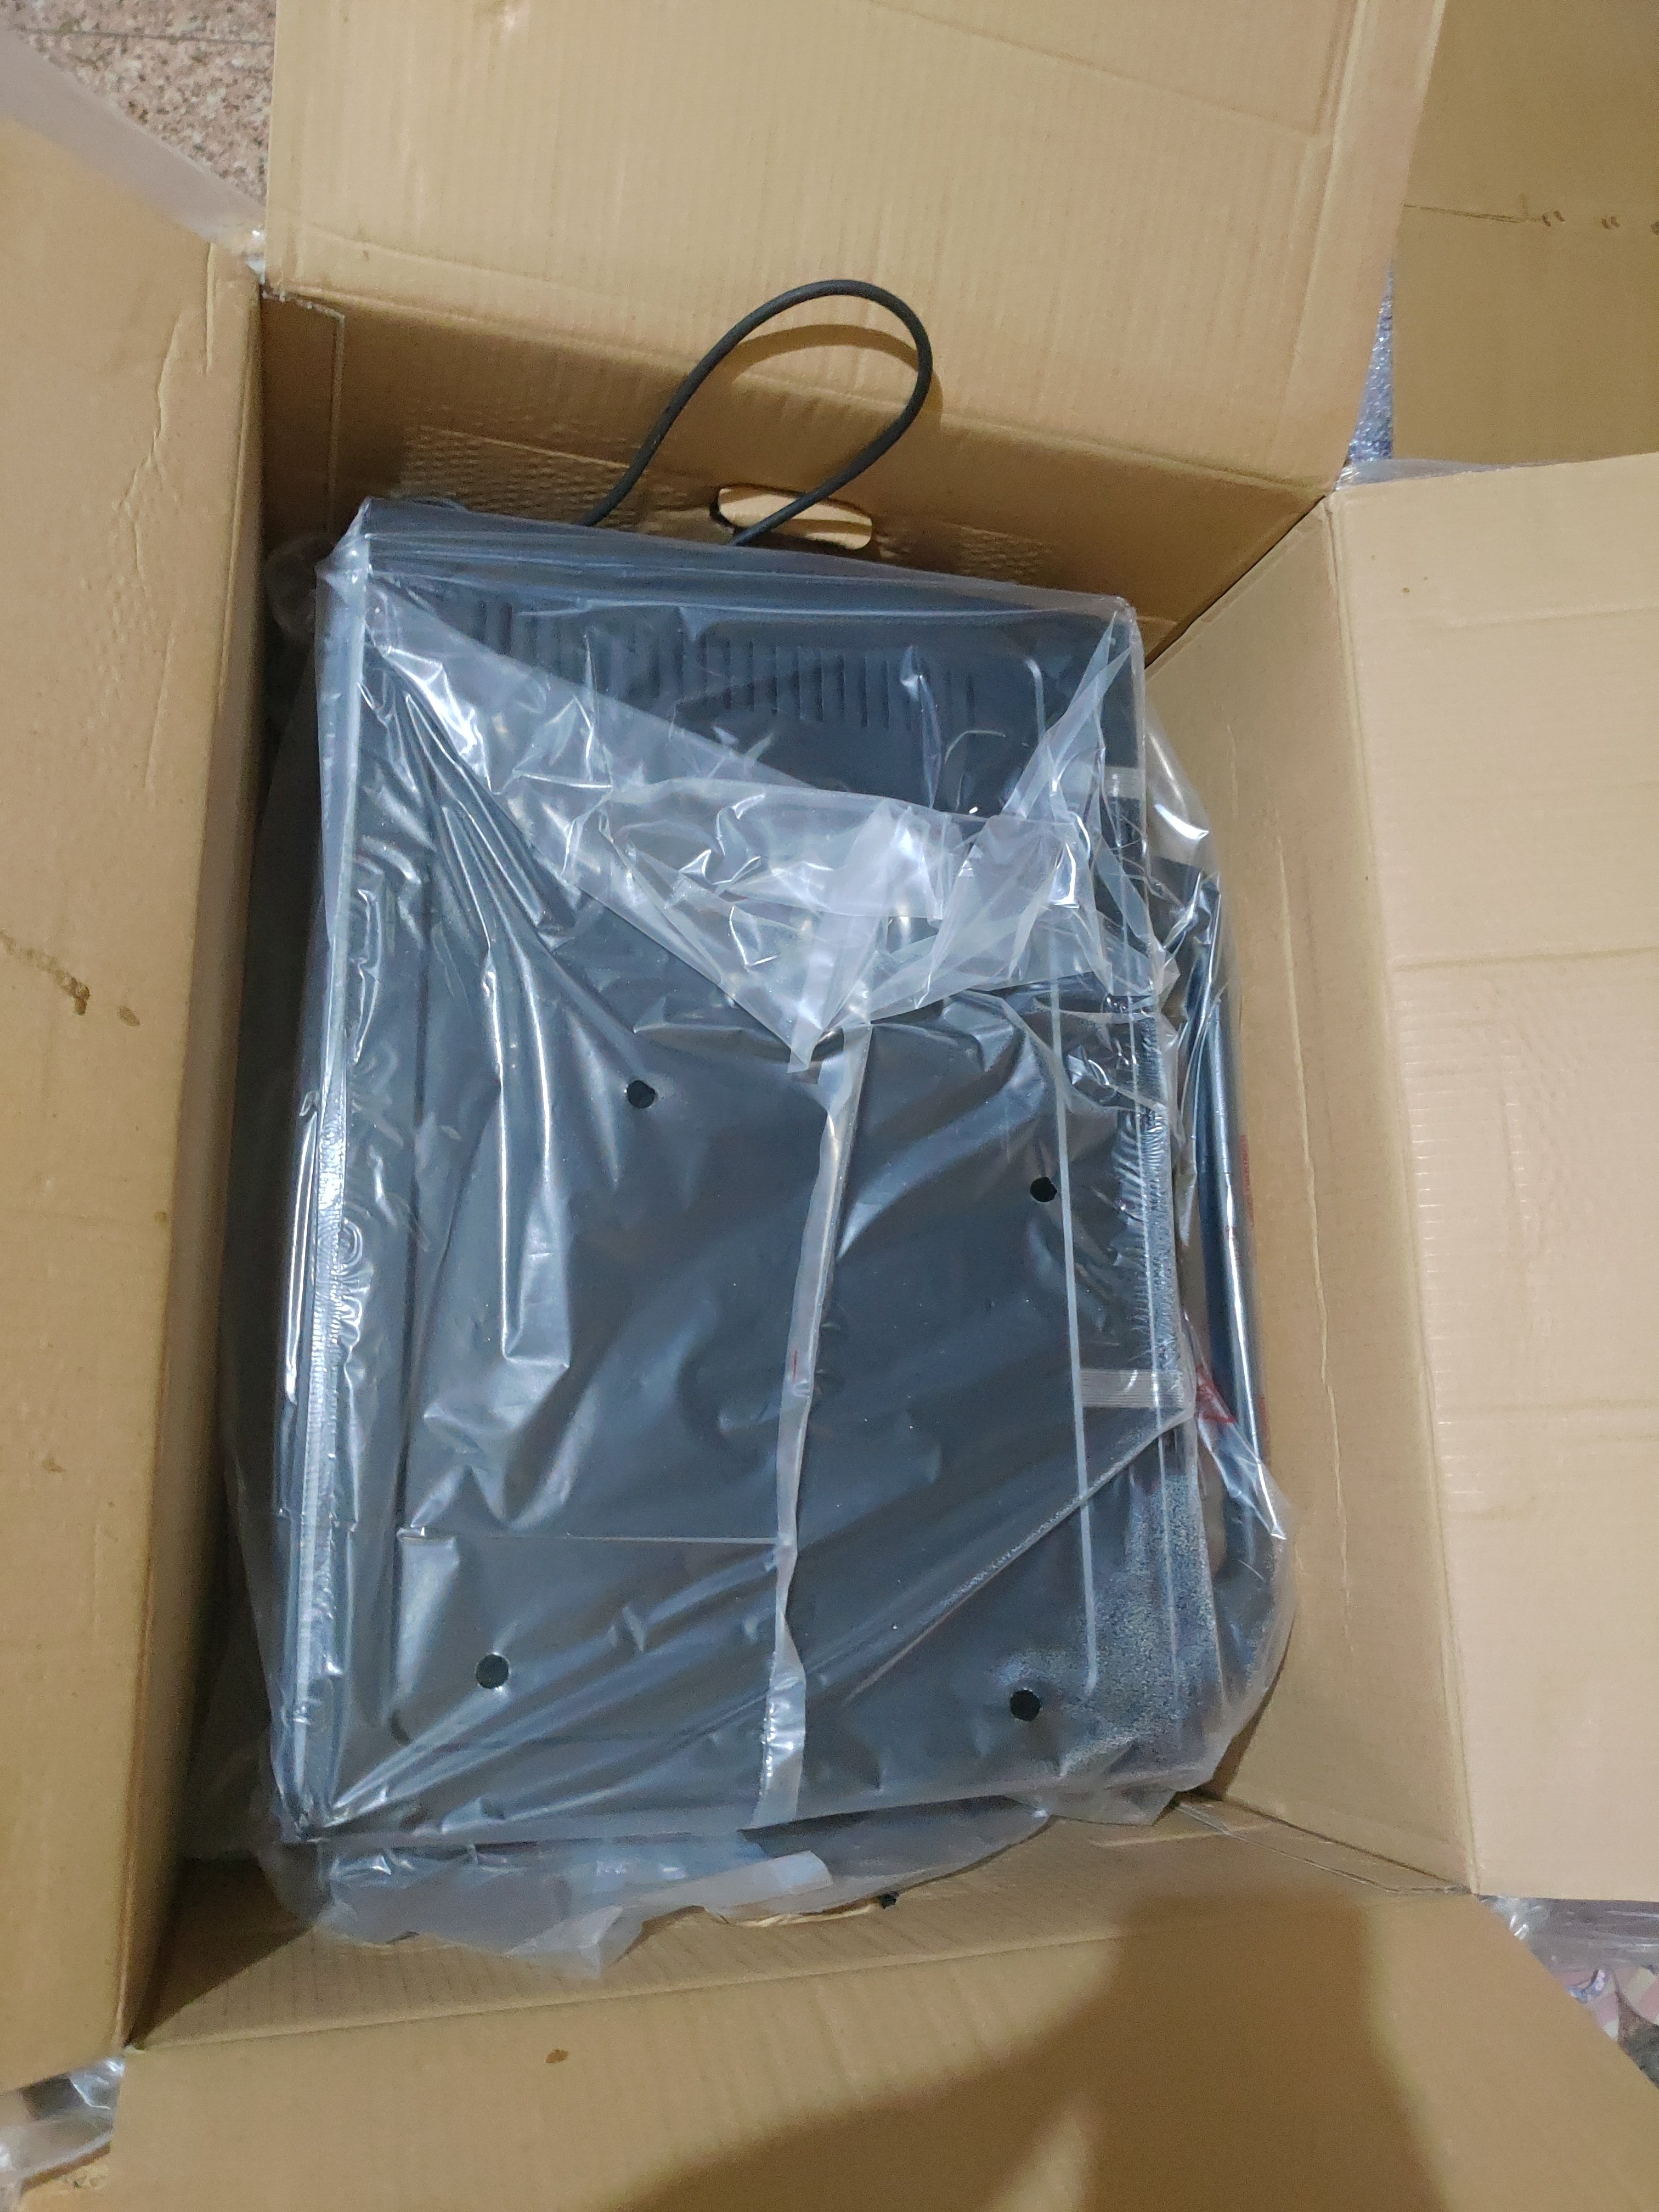
My baking experience with borosil oven Prima 60 litre OTG
Pin it
Baking is like a therapy for me, I started baking in oven after my little one was born and it worked as stress buster for me.
That time we bought 21 L LG microwave convection oven as we were not sure how much we would be using it. But my love for baking kept growing and I kept on learning new new recipes and trying in my small microwave .
I have baked breads, cookies, buns, pizza, bati and many more items in my LG microwave .
But frankly I was not so satisfied with microwave oven baking as end results were not up to mark. As it was 21 ltr oven I need to bake limited quantity every time. So my baking time and electricity consumption was increasing.
So we finally decided to buy proper oven and our search started with all available brands.
What we searched before buying oven?
Capacity
Temperature settings
Reviews
Multiple uses
Baking time
How much you can bake in one go
Why above points are important !!
It’s really important to decide how many ltr oven you need to buy as per your baking requirements, here you should consider future needs as well. You won’t be changing your oven any time soon
Temperature settings is important as there are many recipes that need higher temperature. In many ovens the max temperature provided is 200 – 220 °C
Reviews, user feedback is also important as good looking and feature pack product does not mean it’s good.
We should always consider oven which has multiple features like bake, toast & grill are most common one
Timer is another important feature as if you want to bake multiple trays in one go then you might need longer time to cook. Many ovens come with just 60 min timer
How much you can bake in one go, again if you want to make large batches and want to cook it in one go & if you have smaller capacity oven then it will consume a lot of time & energy
After our search we finally decided to buy Borosil – Prima 60 L OTG as it was one of the few which fulfill almost all of my requirements. So let’s see why I choose to buy Borosil.
Features
It has multiple functions that includes convection, rotisserie, grill, bake and toast
As it’s Borosil it has borosilicate Double Glass Door
Adjustable Temperature Control 90° – 250°C, max temperature is 250°C
0 – 120 minutes mechanical timer, it was really important as when you are baking for many people your oven can bake continuously for 120 minutes
It has keep warm function, which will keep oven running at set min temperature to keep your food warm
Power Indicator automatically turns on when the timer is set
Motorized rotisserie for uniform grilling function available in Borosil Prima Oven Toaster Griller
12 Stage heating options in Prima Oven Toaster Griller
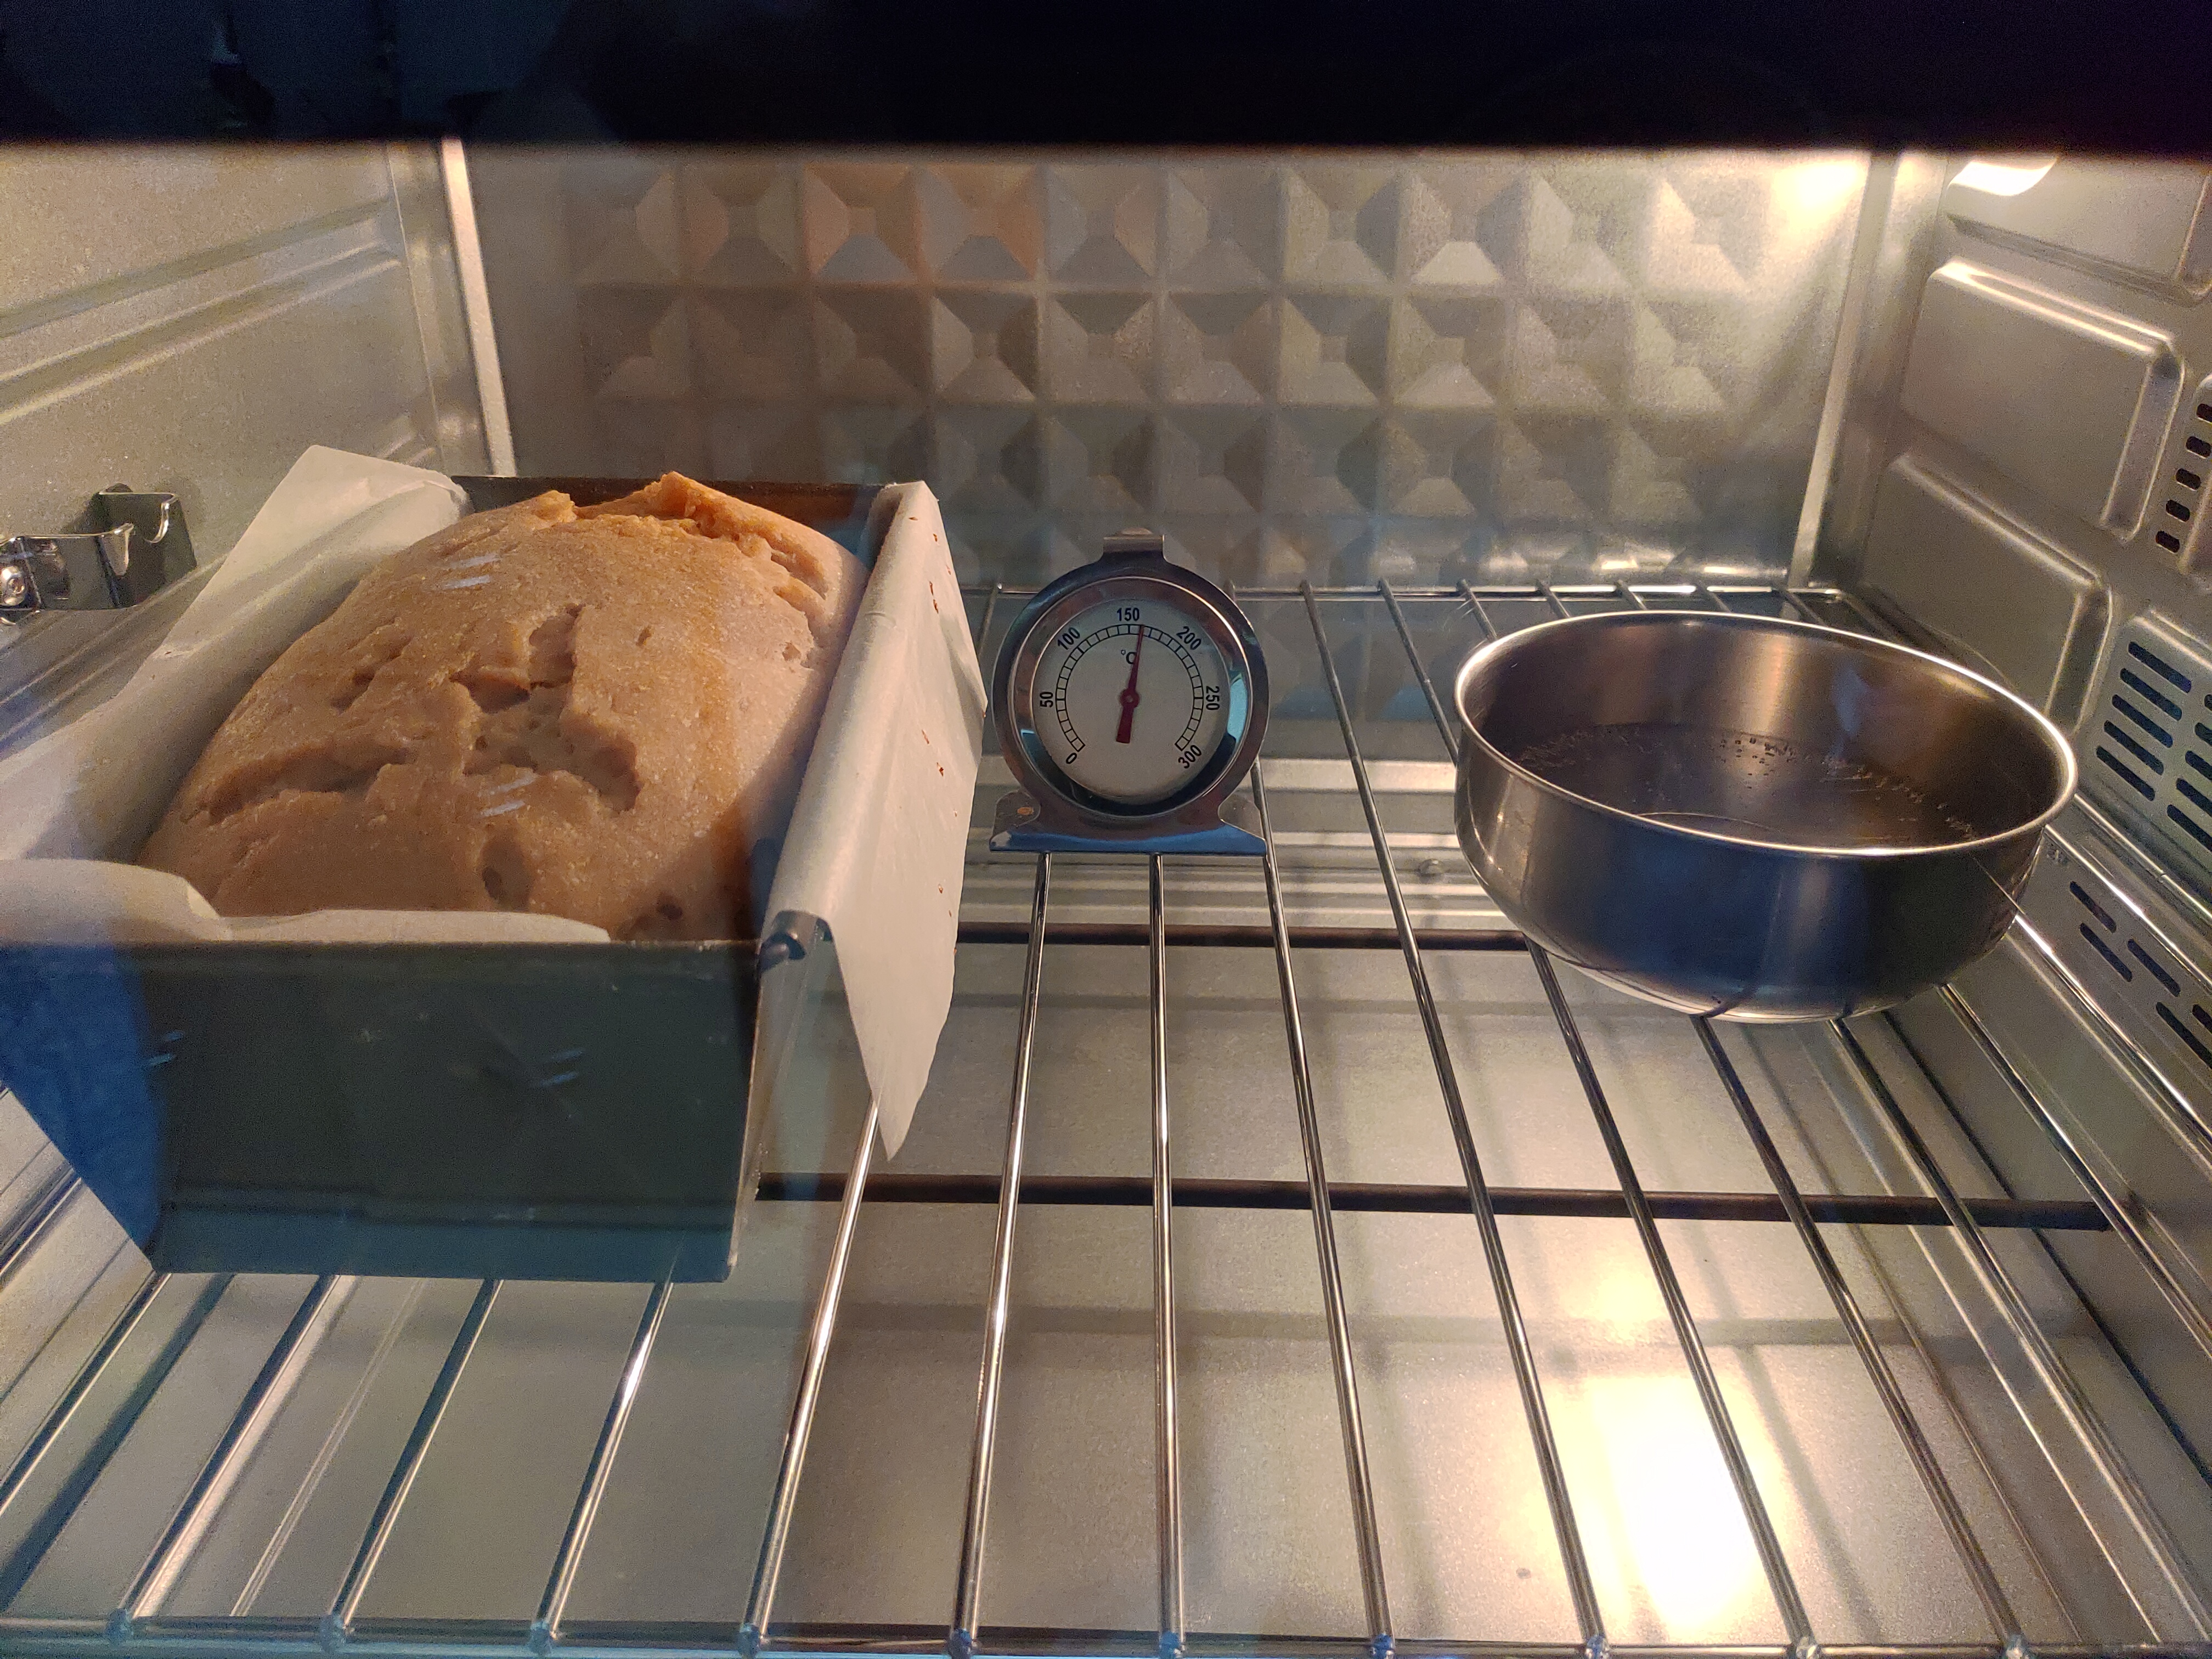
Illuminated chamber helps in baking as you can keep an eye while you are baking.
As it’s 60 ltr we cam keep multiple trays at once
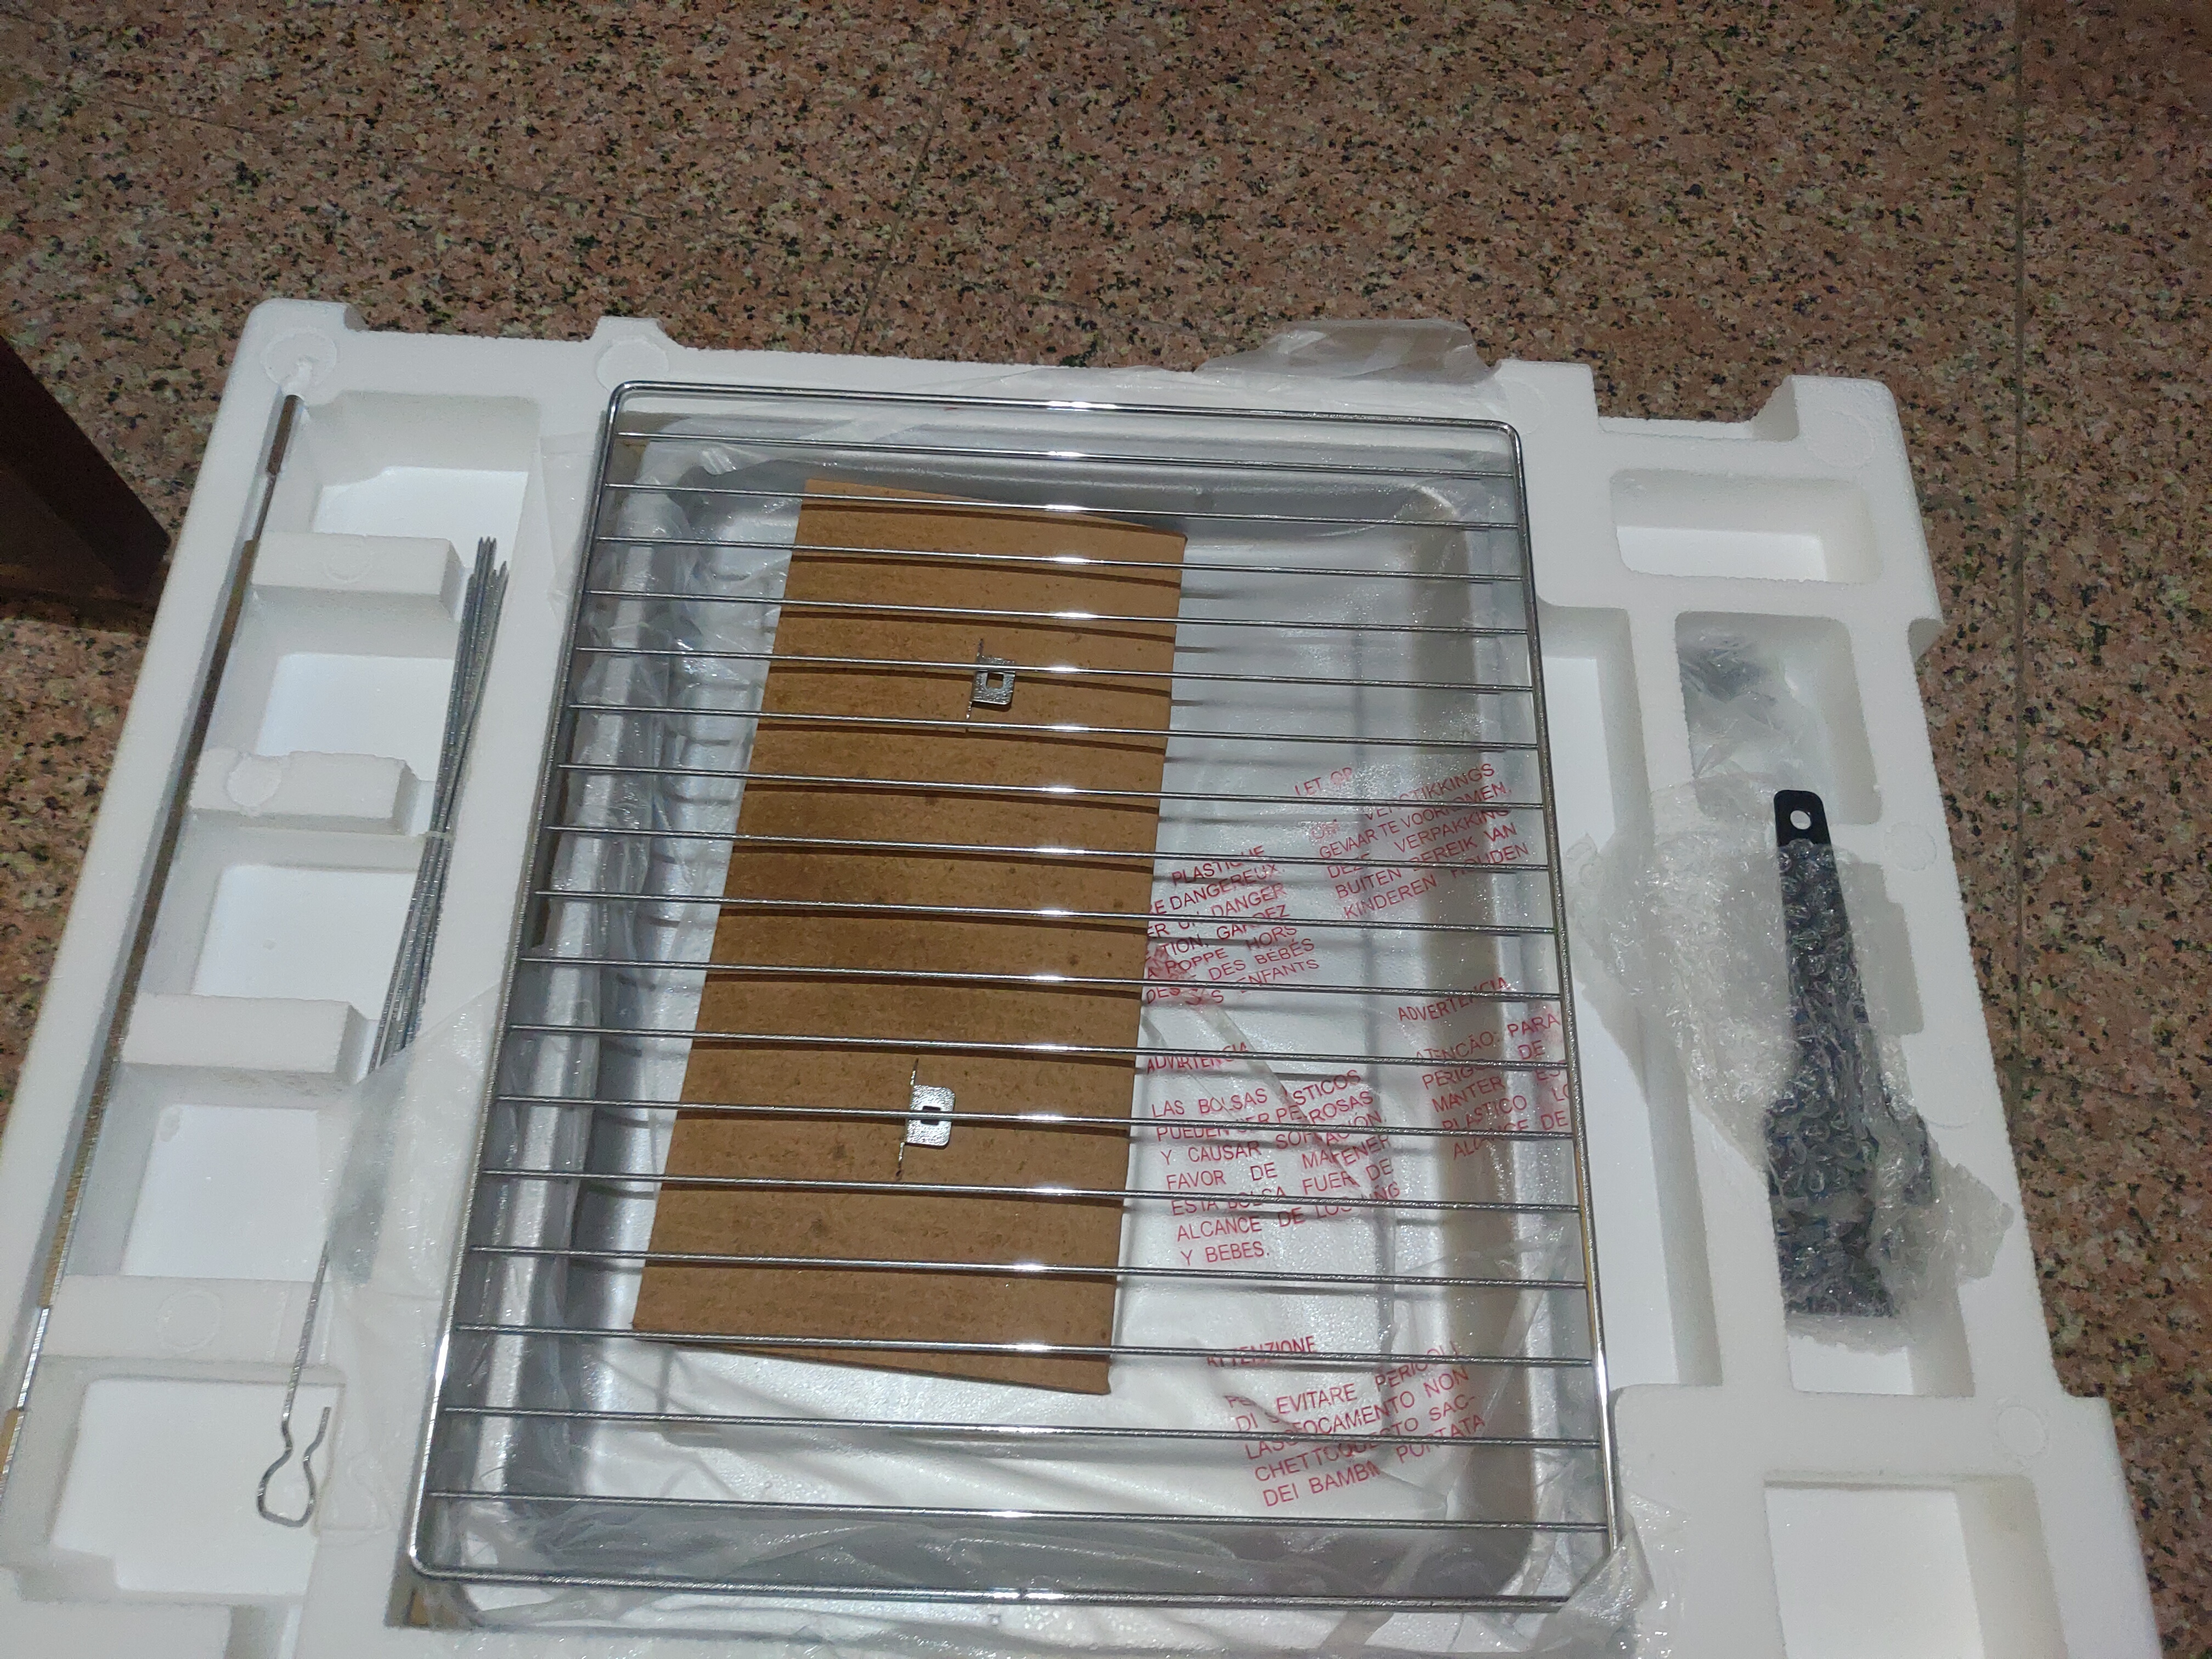
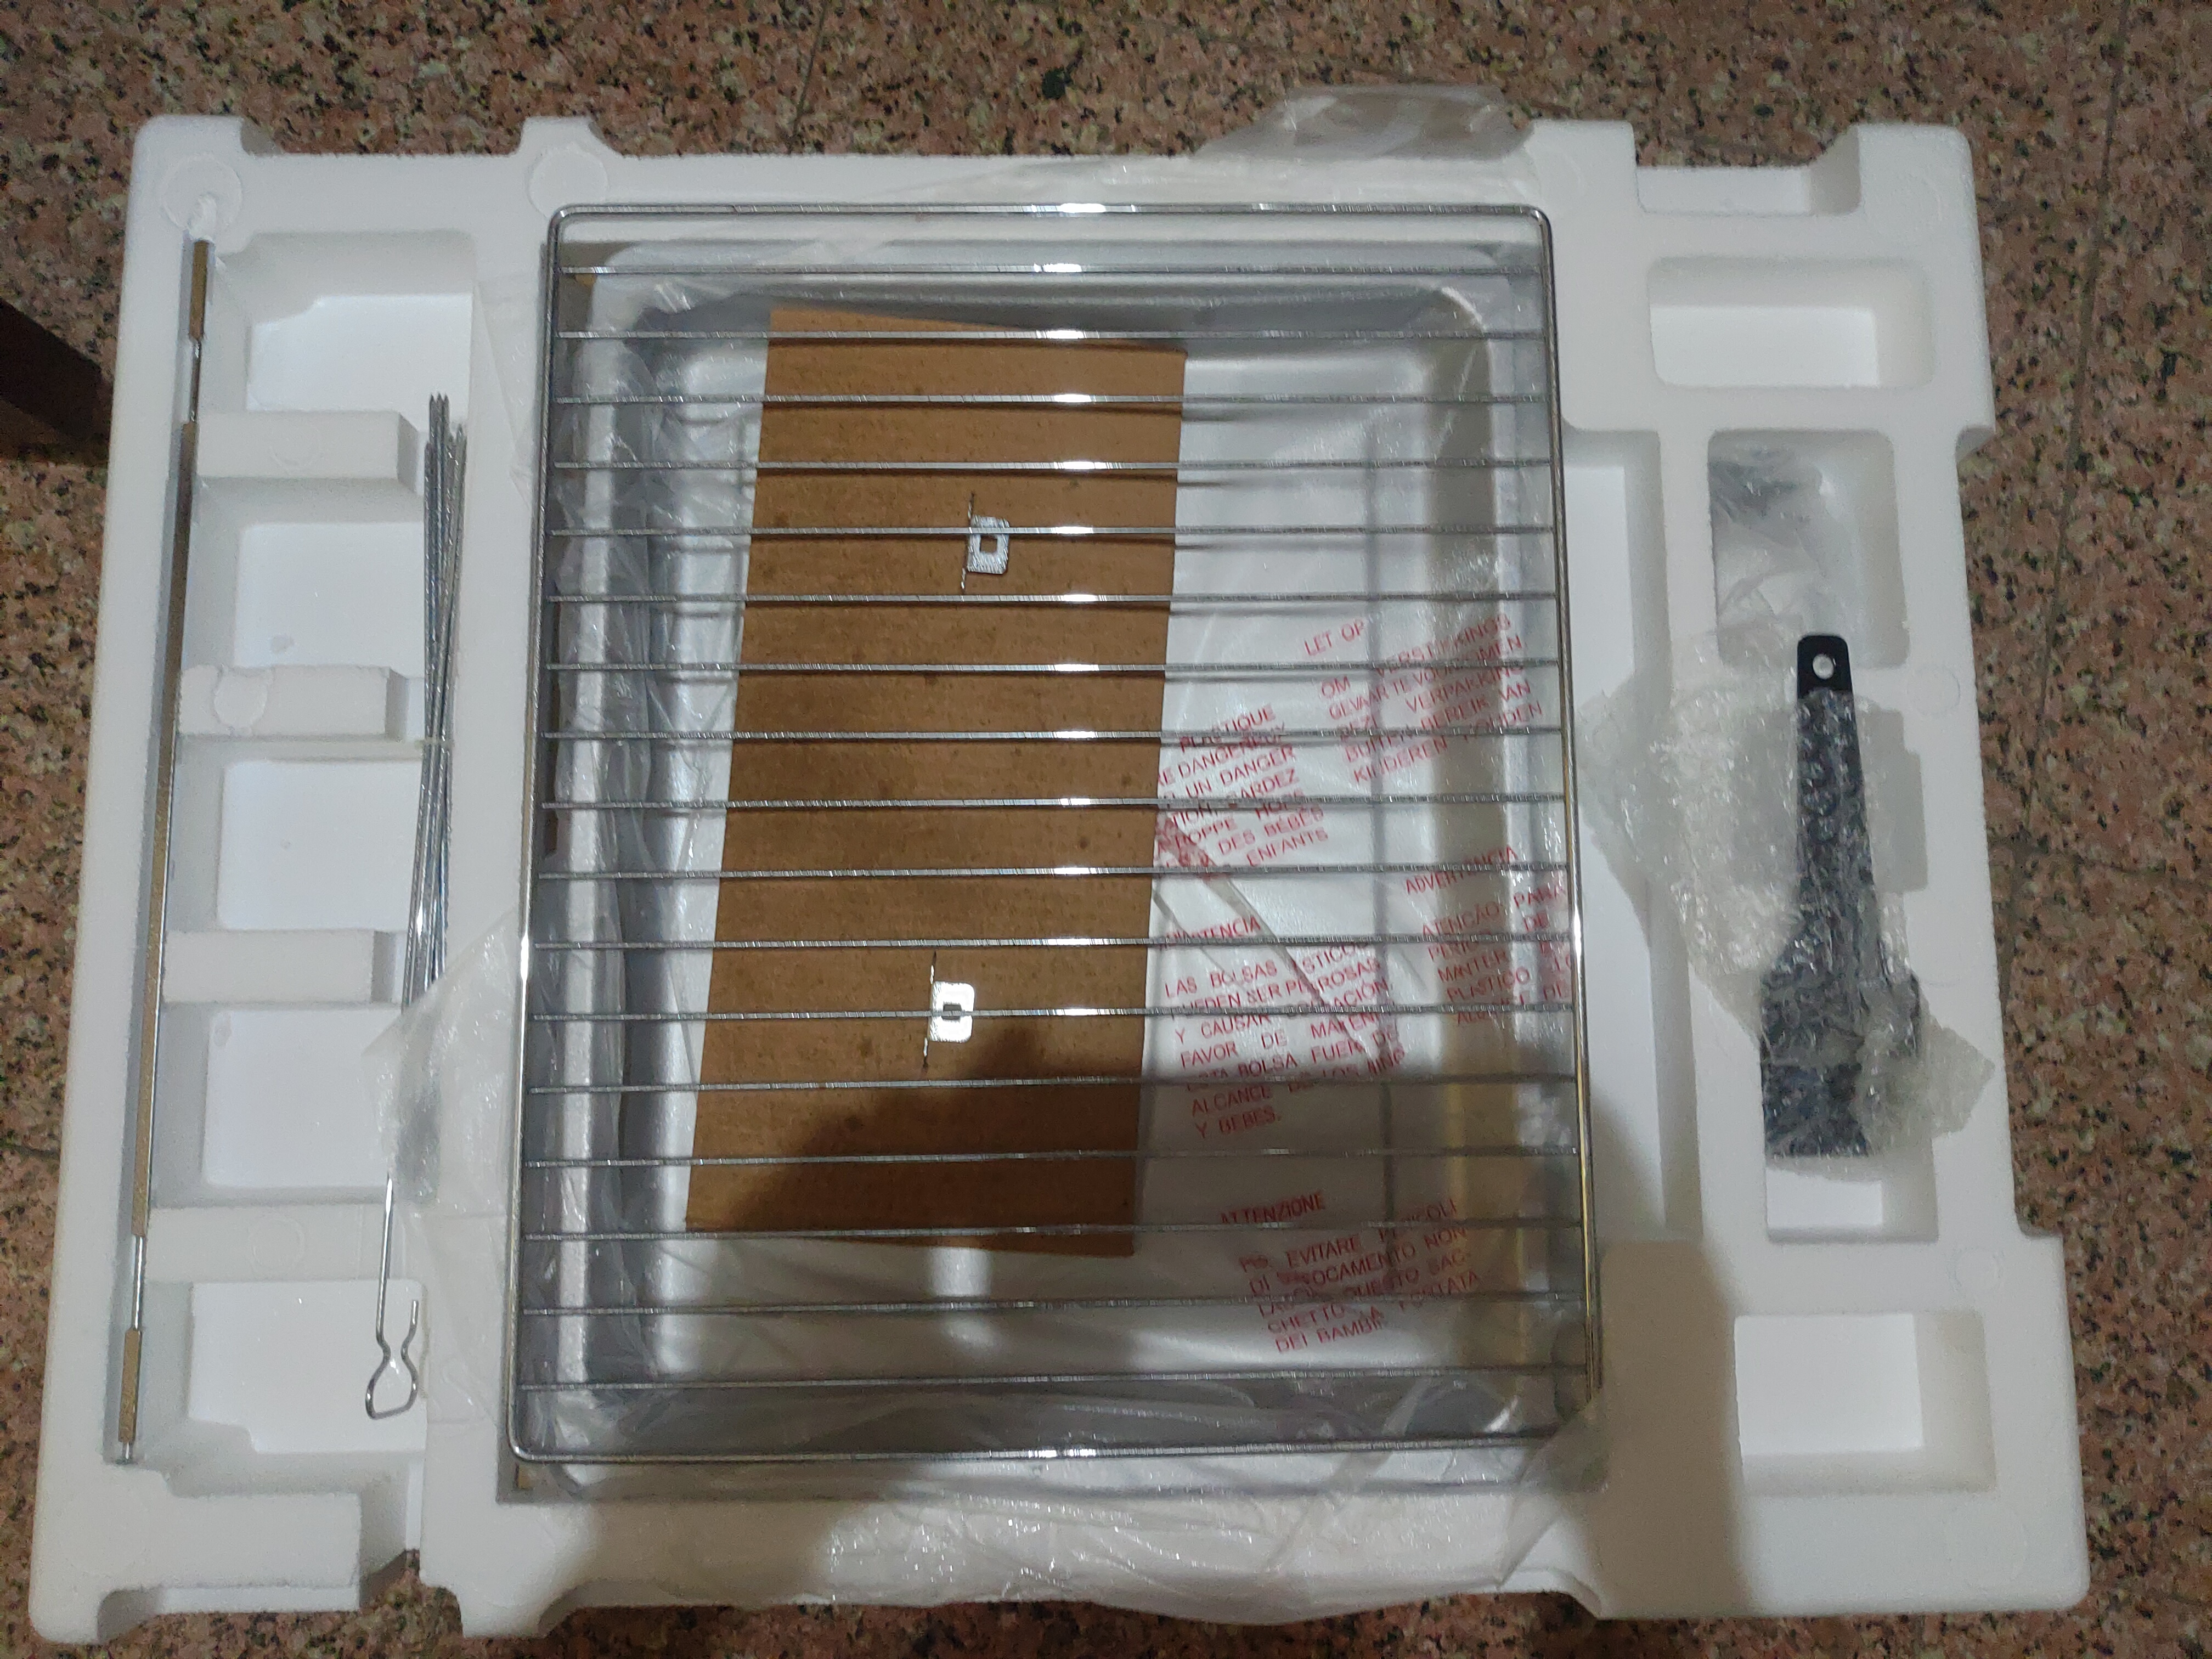
Items included with Borosil 60lt
1 Removable Crumb Tray for better cleaning
1 Cooking Tray
Grill Rack
Handle to take out Cooking Tray
Rotisserie Rod Set
Rotisserie Handle
Recipe book
Instructions manual
My experience with Borosil Prima Oven
Very easy to operate as it has four knobs for setting temperature, mode & heating rod and timer to adjust as per your recipe
For easy assistance it comes with a guide book and recipe book with all details to understand your oven
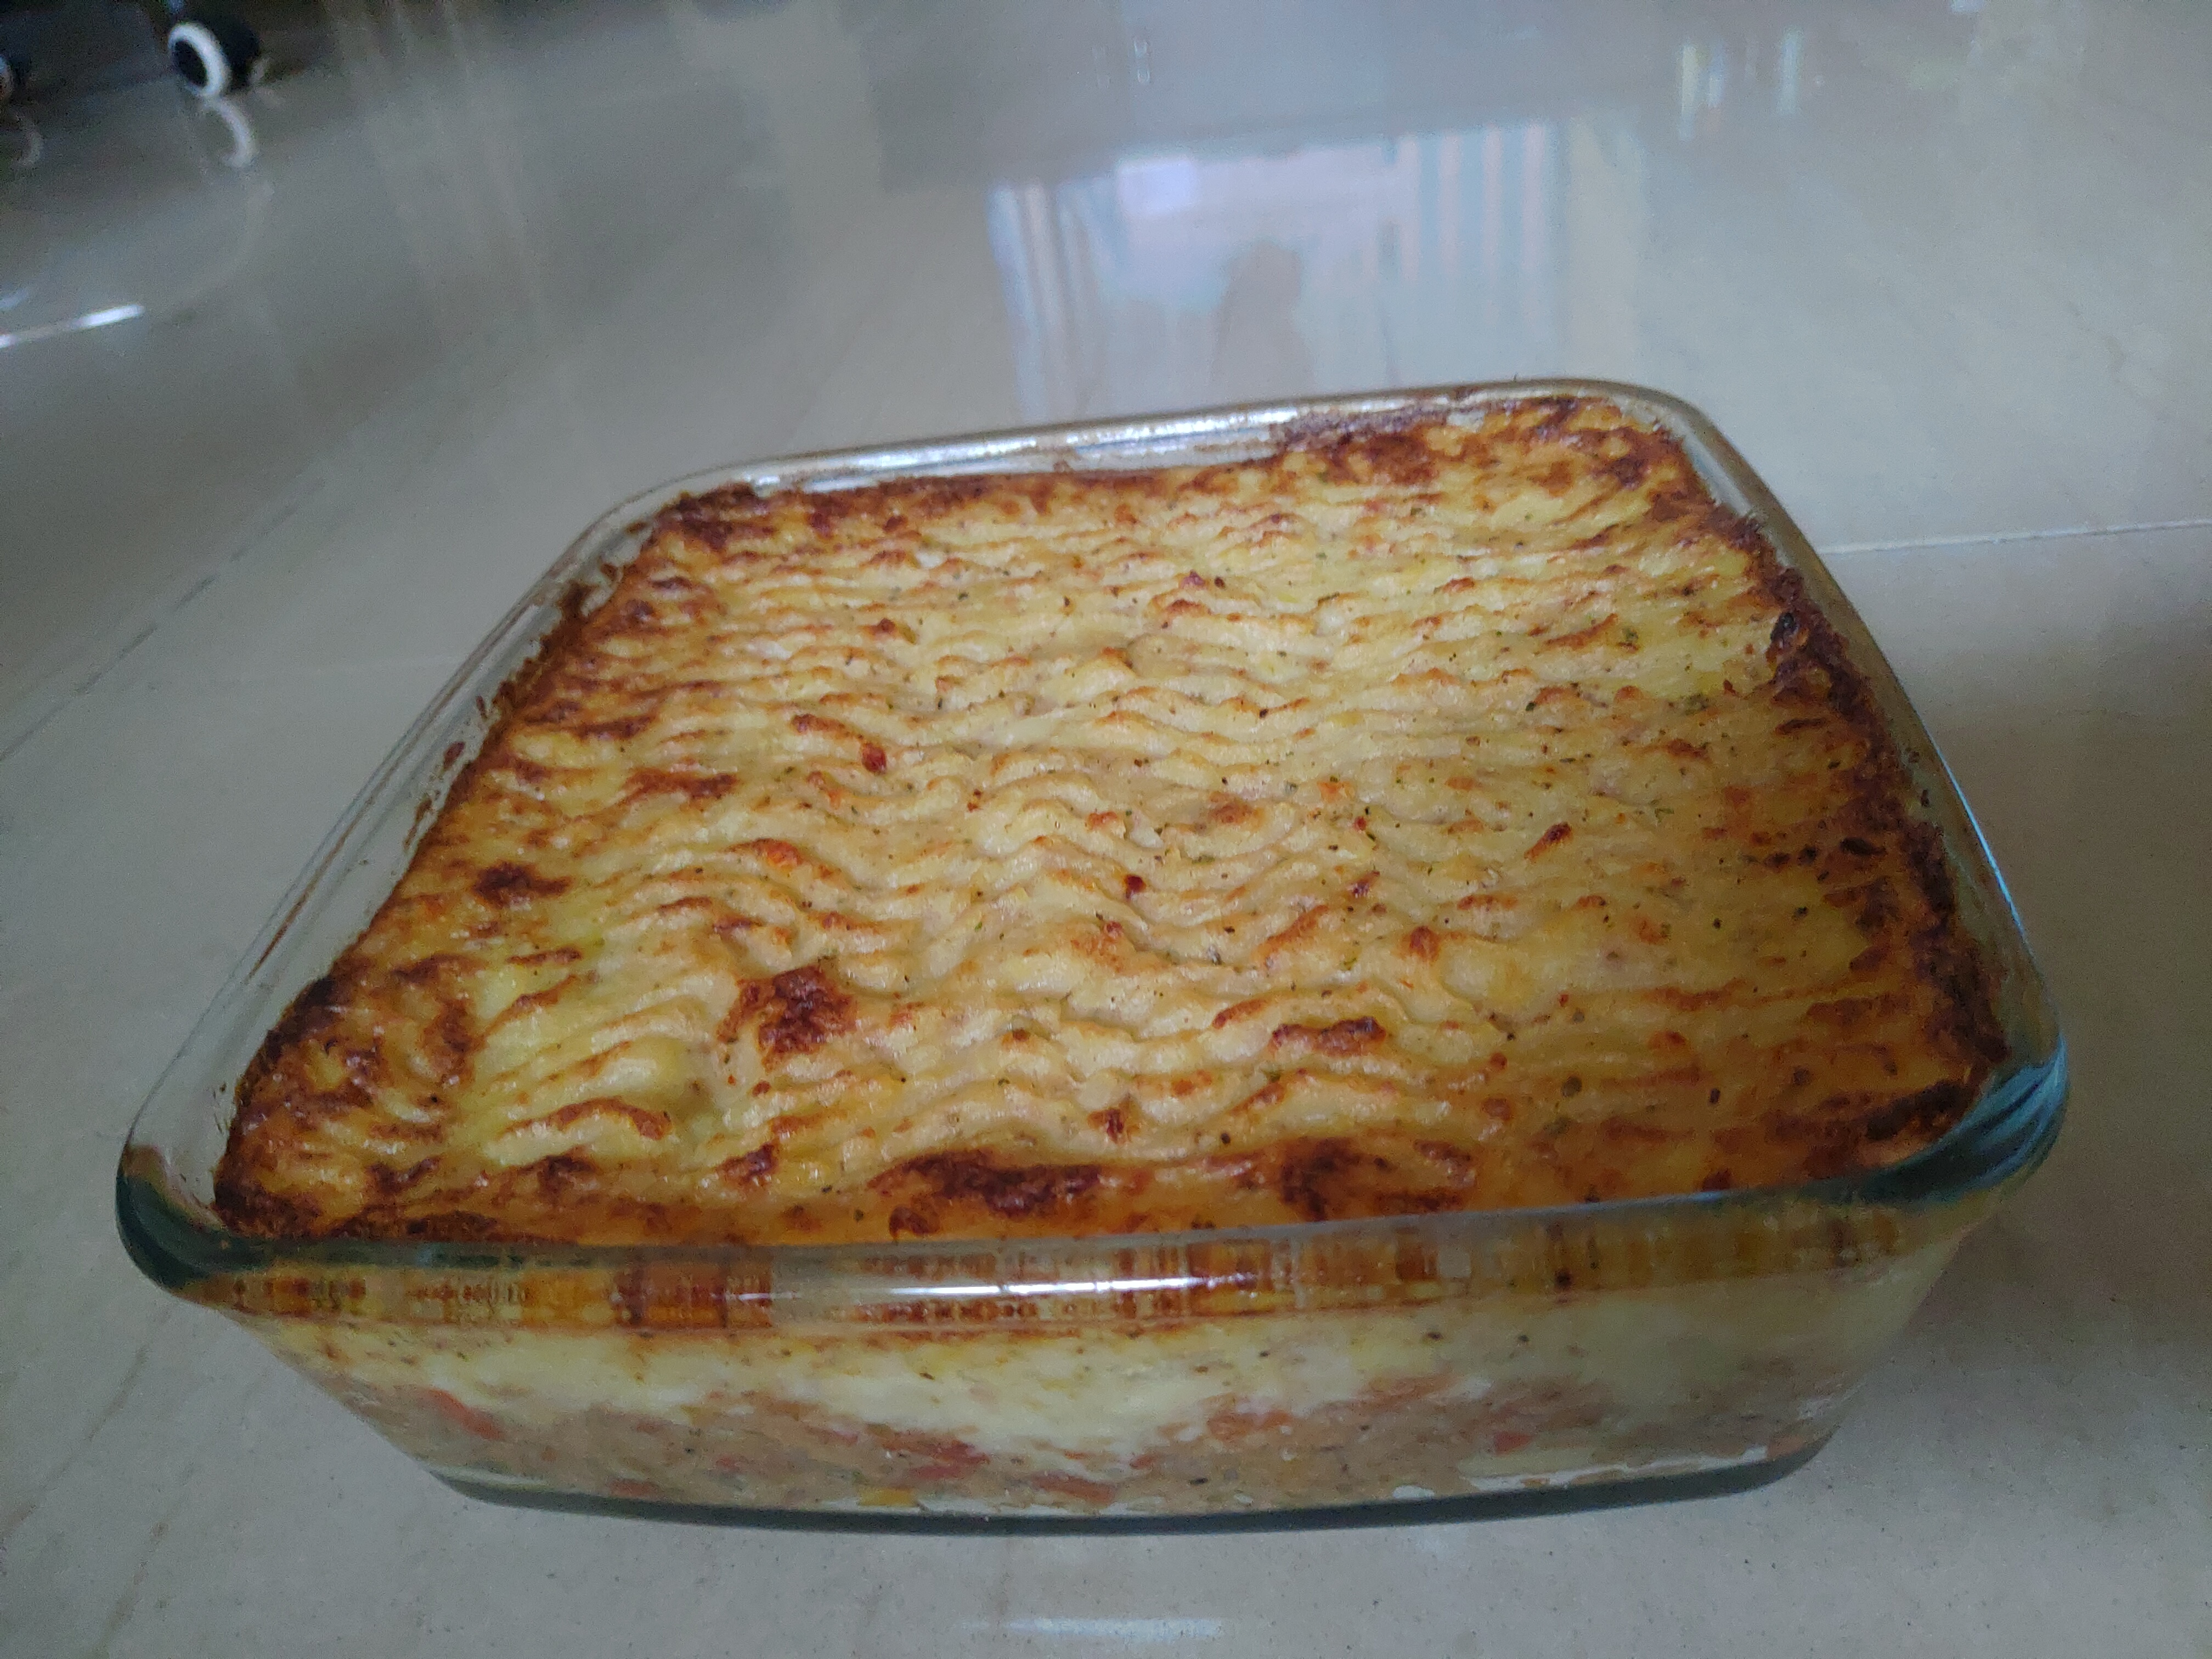
It’s quiet spacious to bake multiple items. I have baked around 25-30 medium size cookies in two trays, two cakes in one go, lasagna, breads, baked vegetables.
One point to mention, baking time increases little more if you are baking more items in one go.
Illuminated chamber is really helpful to keep a check on items baking. I would say it’s really important as I have worked with another oven without light bulb and it’s quiet tough to see the baked level without taking out tray.
Big double glaze glass on front so it’s quite easy to keep an eye on every corner of the tray.
Initially there was uneven heating issues so I was getting some dark and some light color cookies. In my case it was thermostat issue and got it fixed.
But still to avoid that you can change the tray directions when you see it’s getting darker at one end.
Oven overall weight is not heavy so you can shift on your own if required.
Oven thermometer is must to know the exact temperature of oven as it’s always less or more then what you have set. You should get a good quality one else temperature issue will be there.
Oven trays/wire rack quality is ok, but can’t keep heavy pans like Dutch oven or iron tawa on the wire rack which is required in sourdough baking.
Overall a happy customer as I love baking in my oven and every oven behaves differently so you will get use to when you bake.
Soya is included in my daily diet, so I keep trying different recipes of soya. This one is easy to make and it taste amazing!!
You would love this crispy dosa with coconut chutney. Let’s jump on the recipe.
Ingredients
Dosa
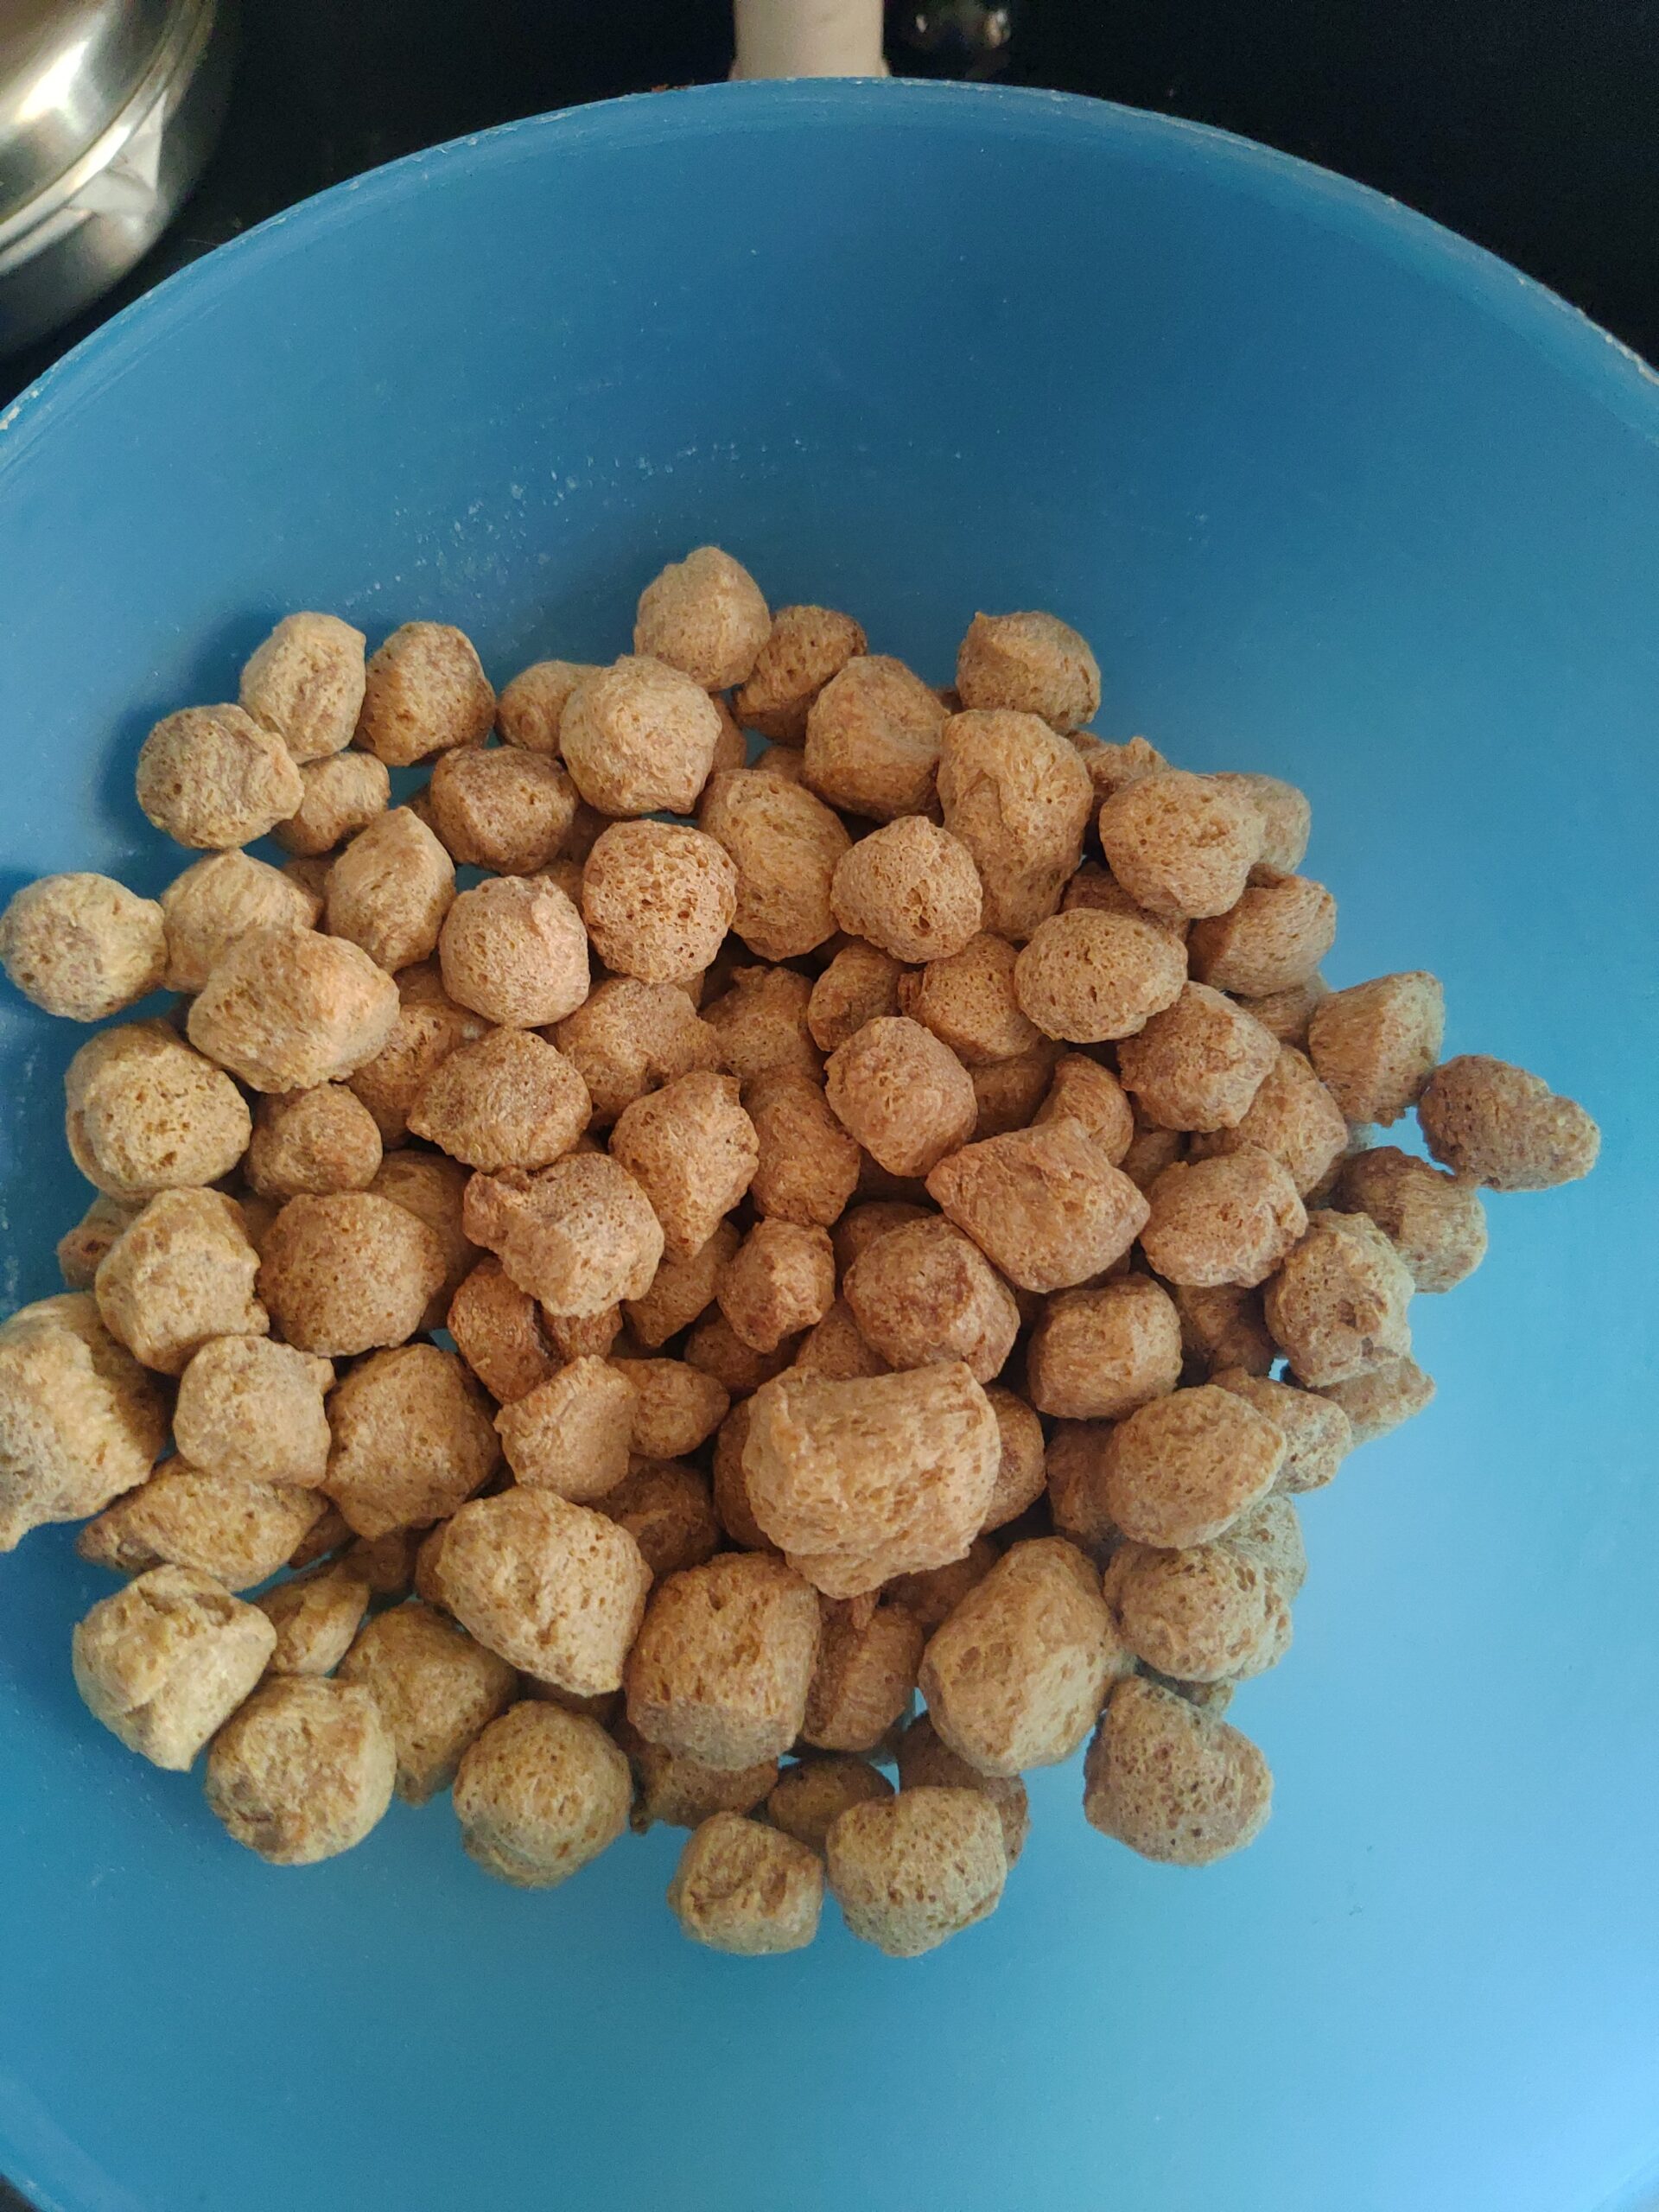
— Rice/ Idly rice – 120 grams — Urad dal – 50 grams — Soya chunks– 100 grams (grind well in mixer) — 1 tsp – Red chili powder (as per taste) — 2 tsp – Salt (as per taste) — 1/4 cup soaked poha
Coconut Chatni
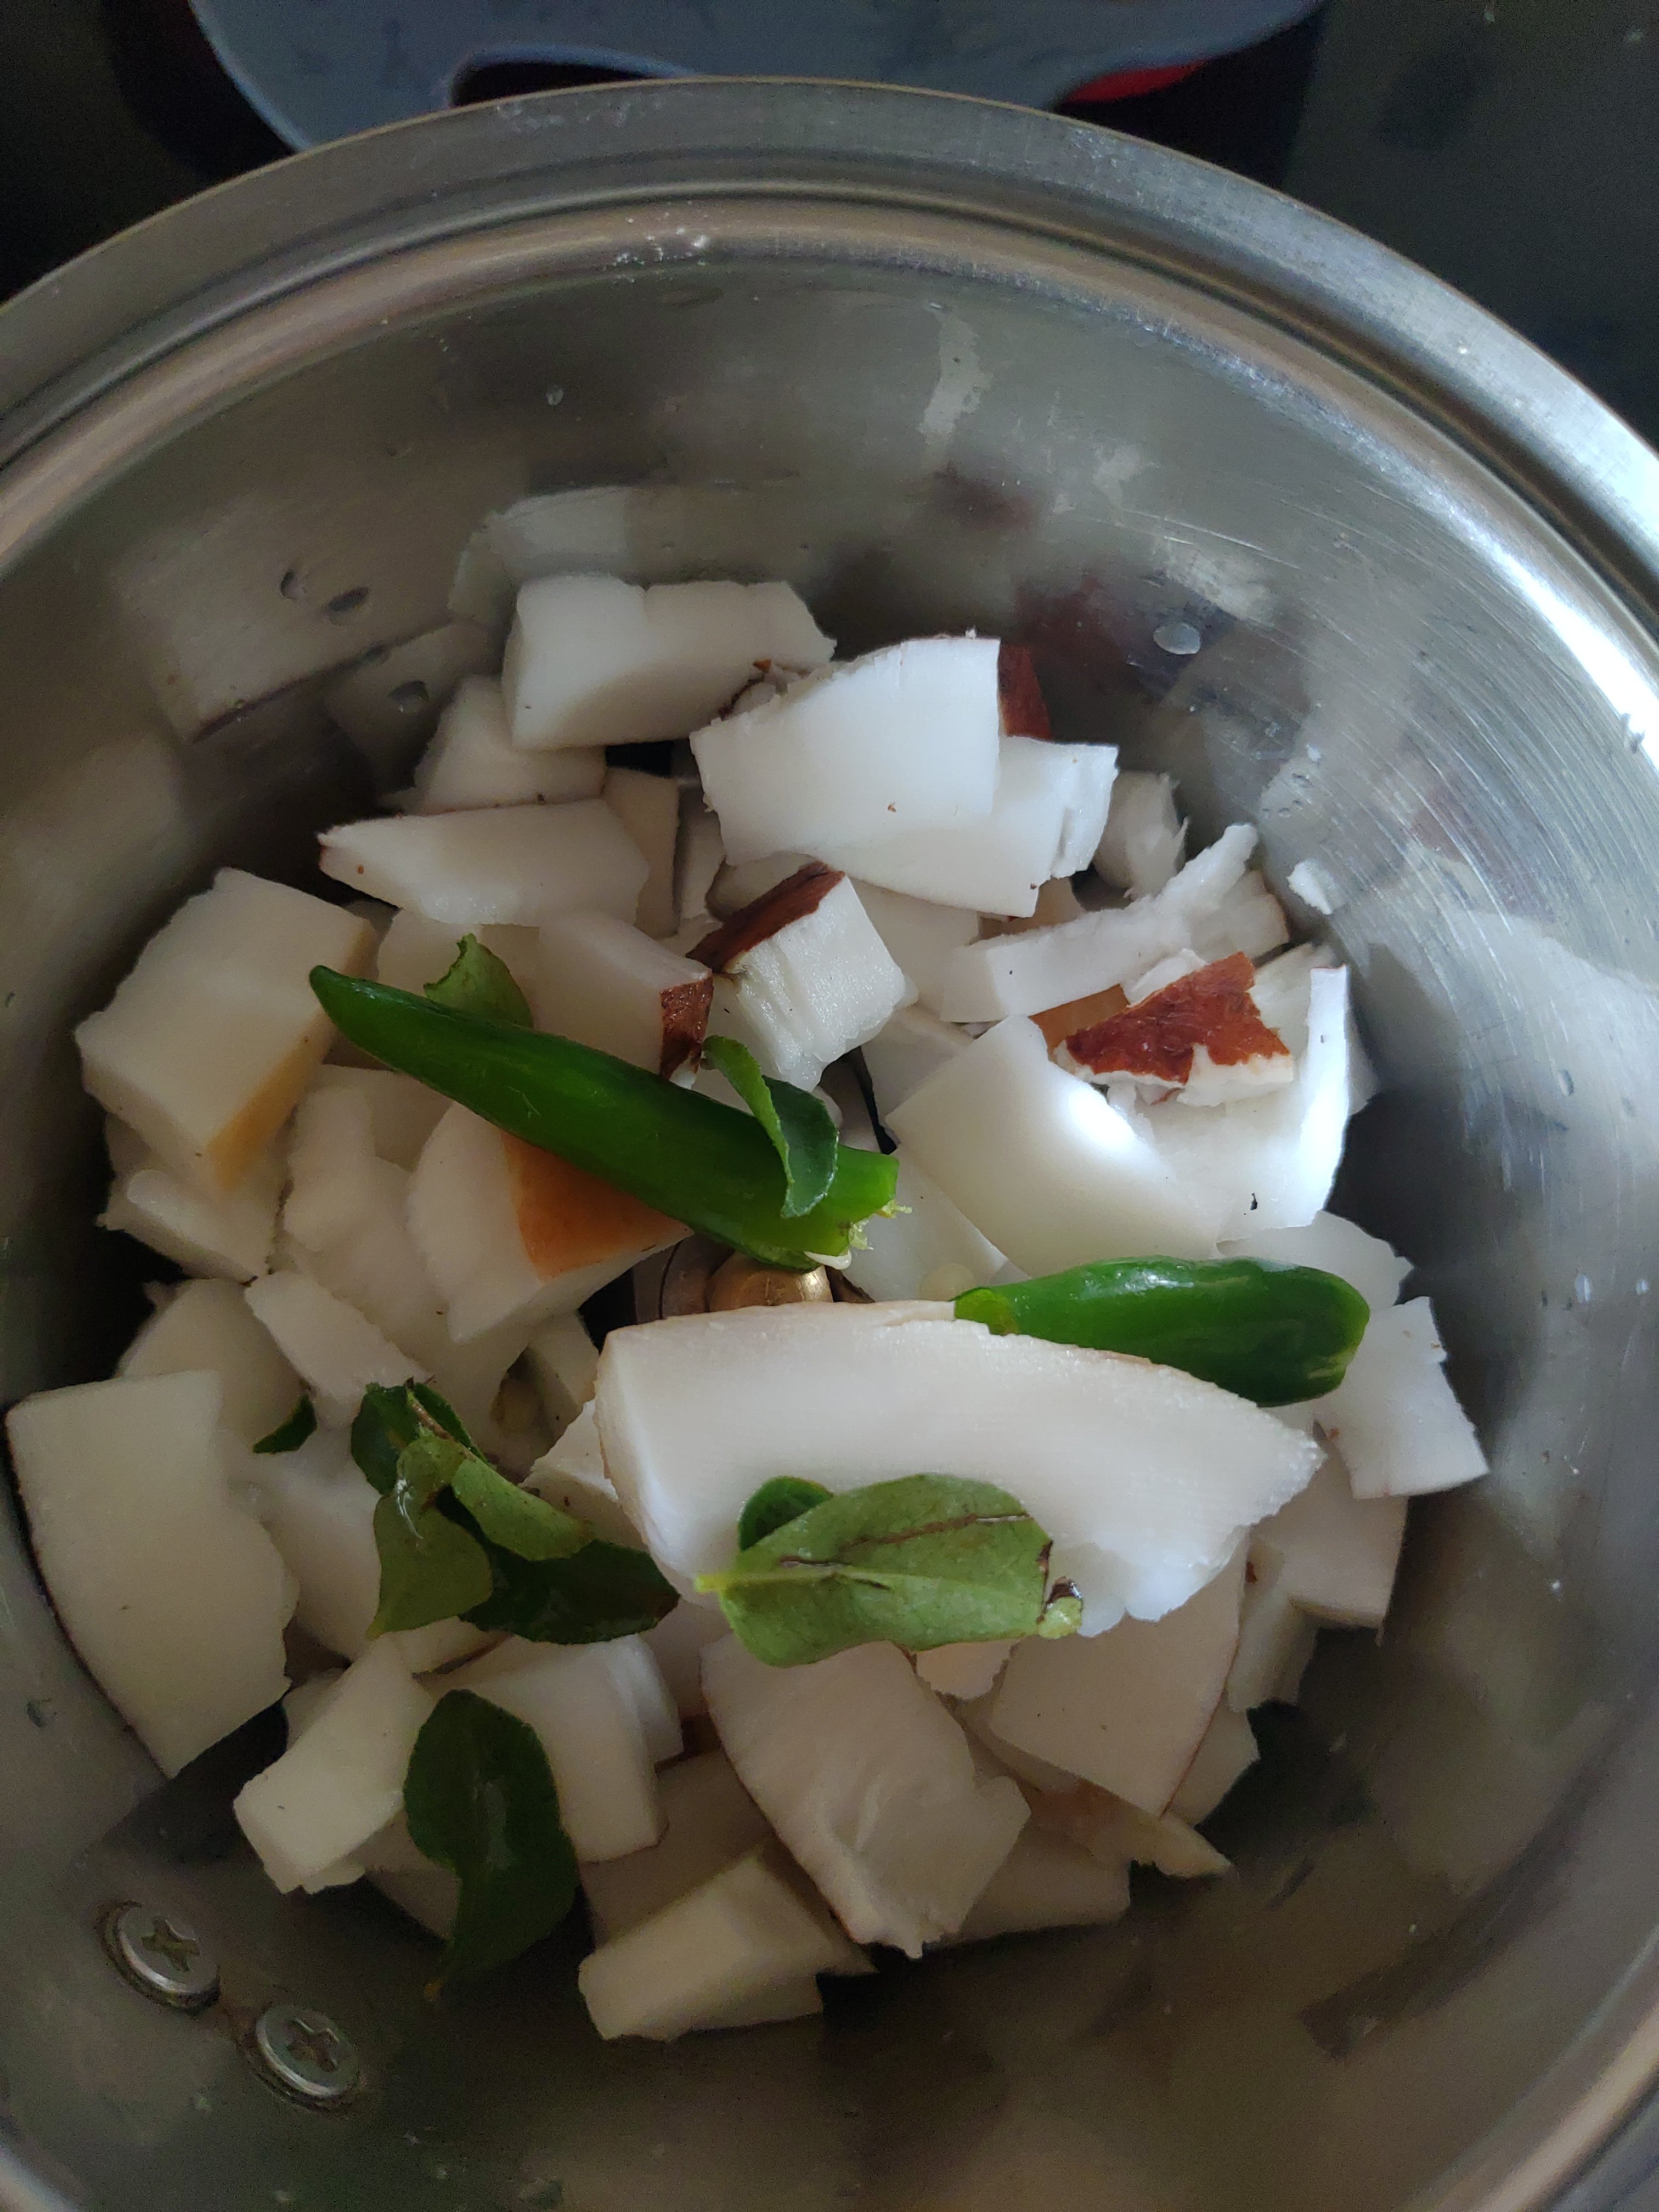
— 1 Coconut — 2-3 Green chili — Salt as per taste — 10-20 kadi patta — 2-3 dry whole red chili.
Procedure
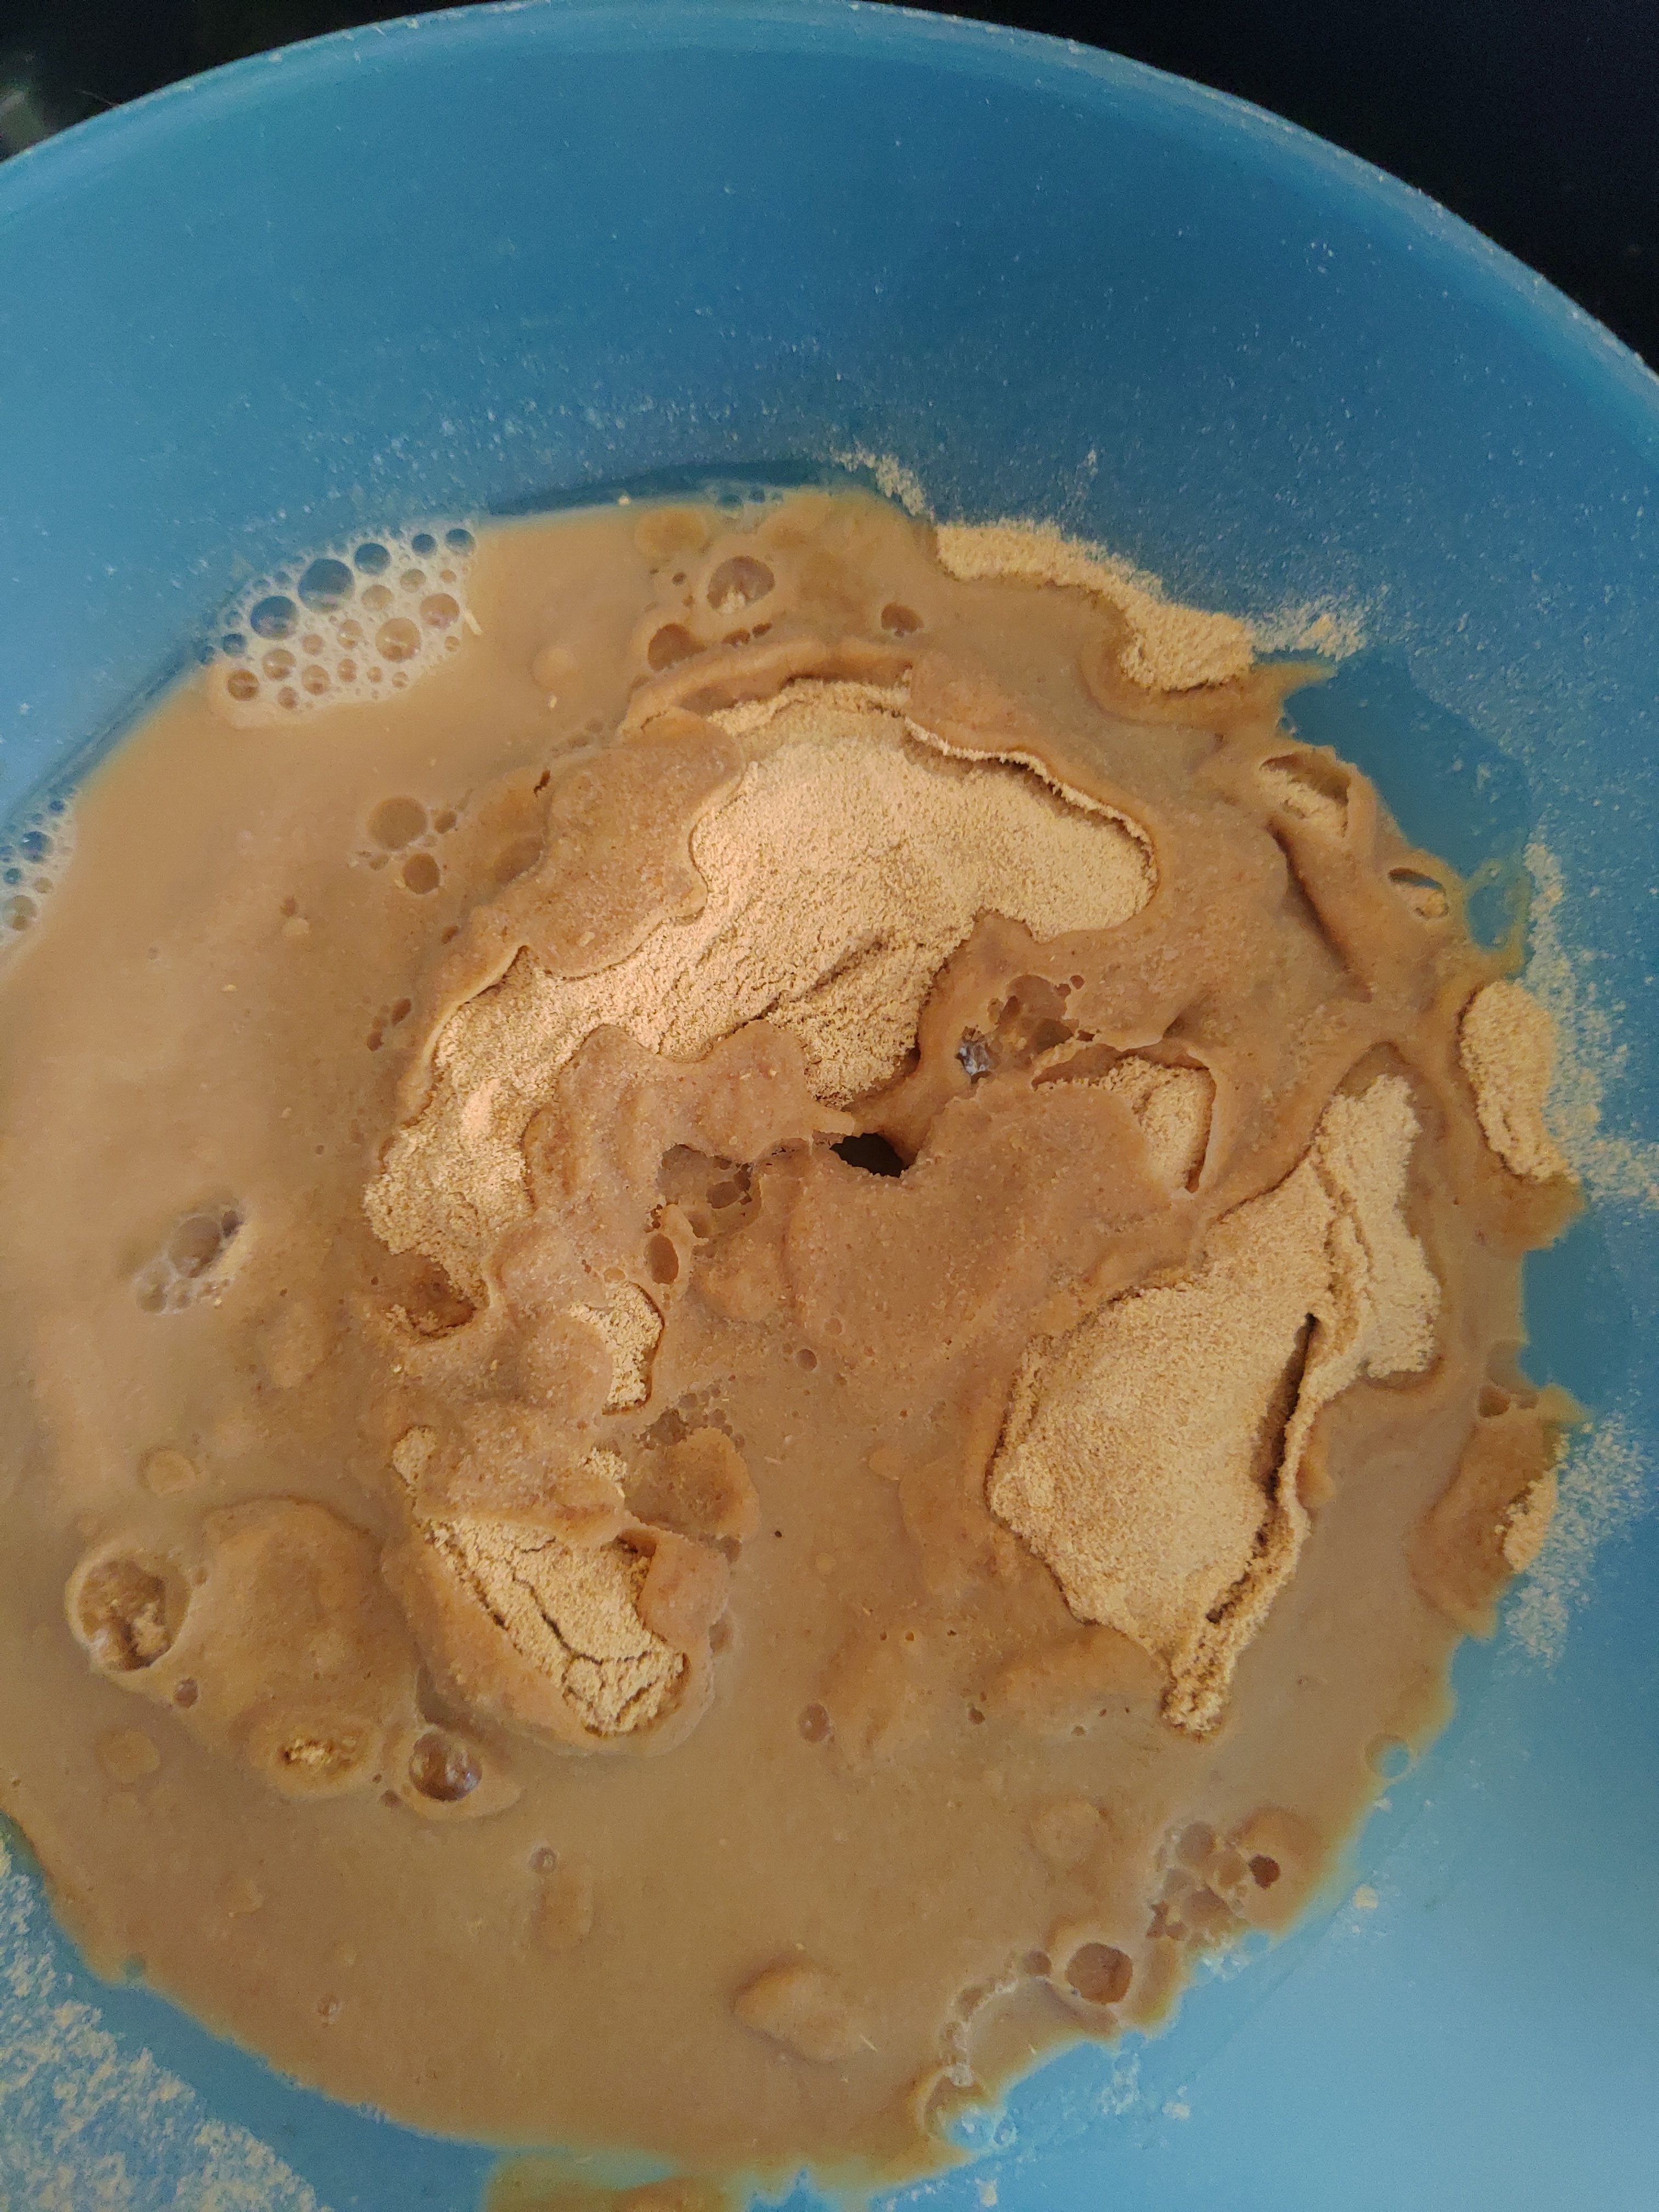
Wash & Soak Urad dal and rice in separate bowls overnight or around 7-8 hours. Grind dal & rice separately in fine paste.
Add soaked poha in rice while grinding, to make it more crisp and good golden brown color.
Mix both the paste in one big bowl and keep in warm place for minimum 5-6 hours for fermentation.
It should double in quantity after 5-6 hours.
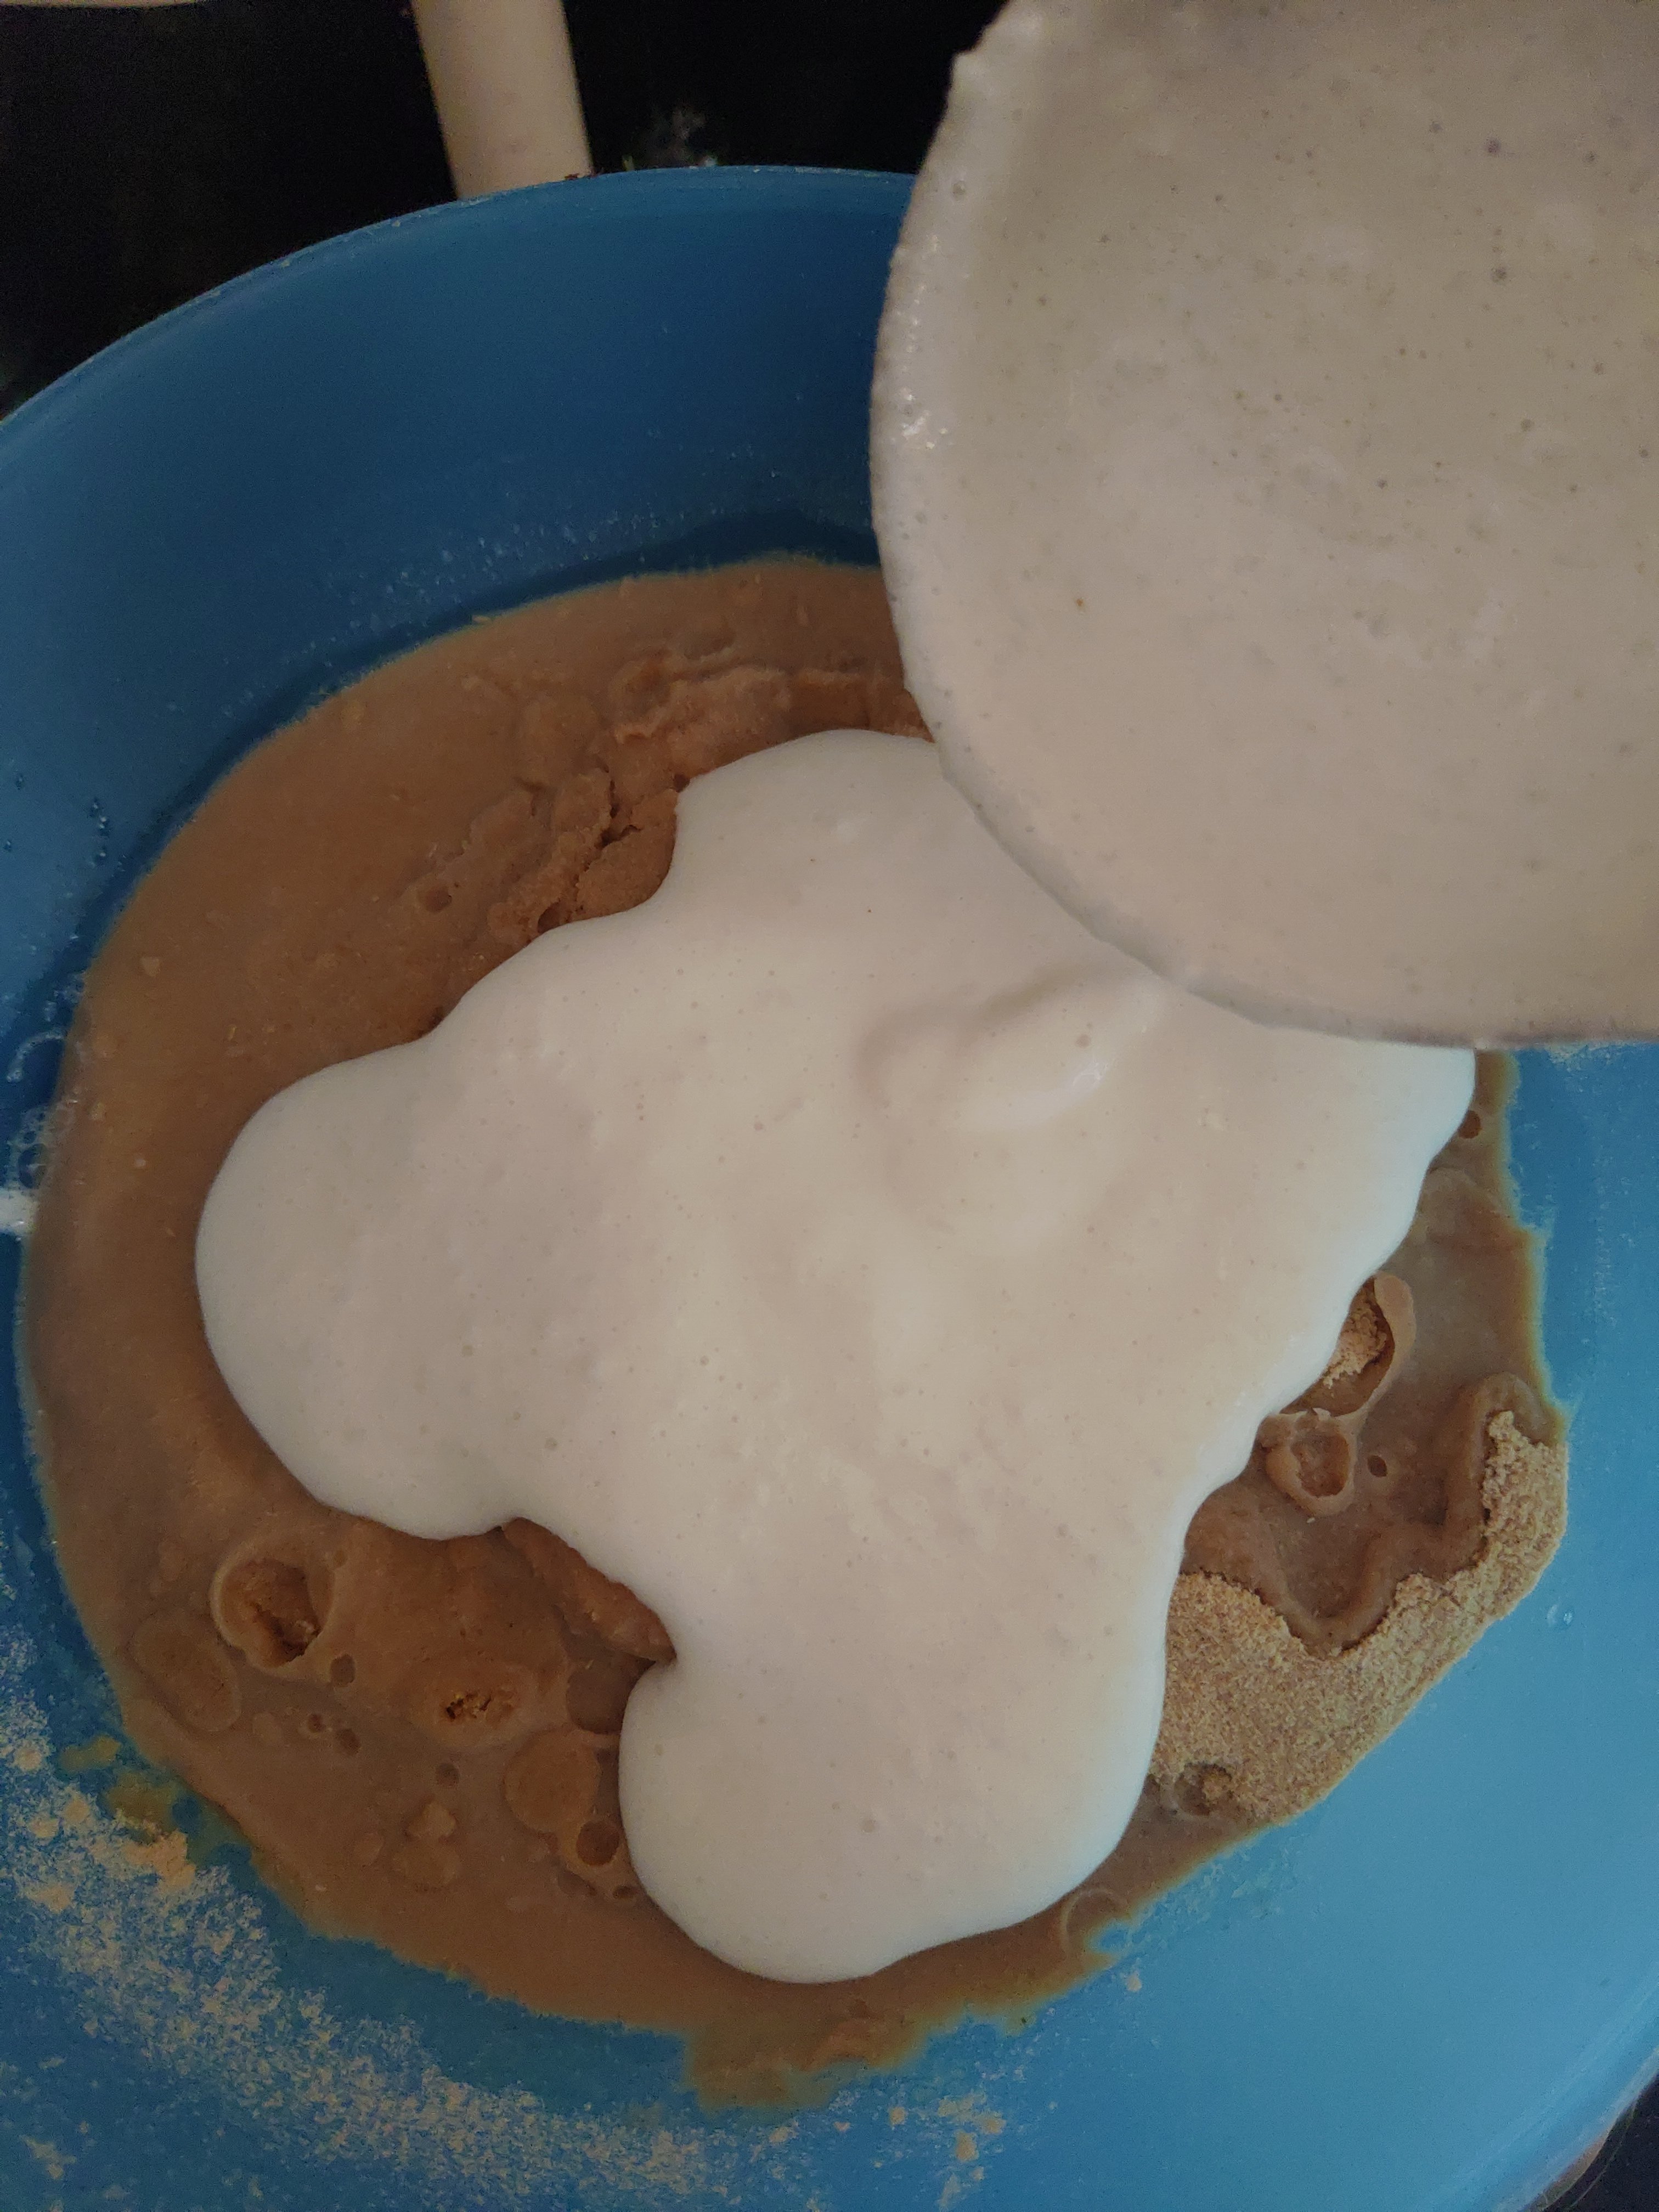
After the fermentation process add 100 grams of soya chunks powder.
Add salt, red chili powder as per taste
Place iron dosa tawa or non stick pan if you don’t have dosa tawa on high flame
Heat it well, check by putting few drops of water, should evaporate quickly
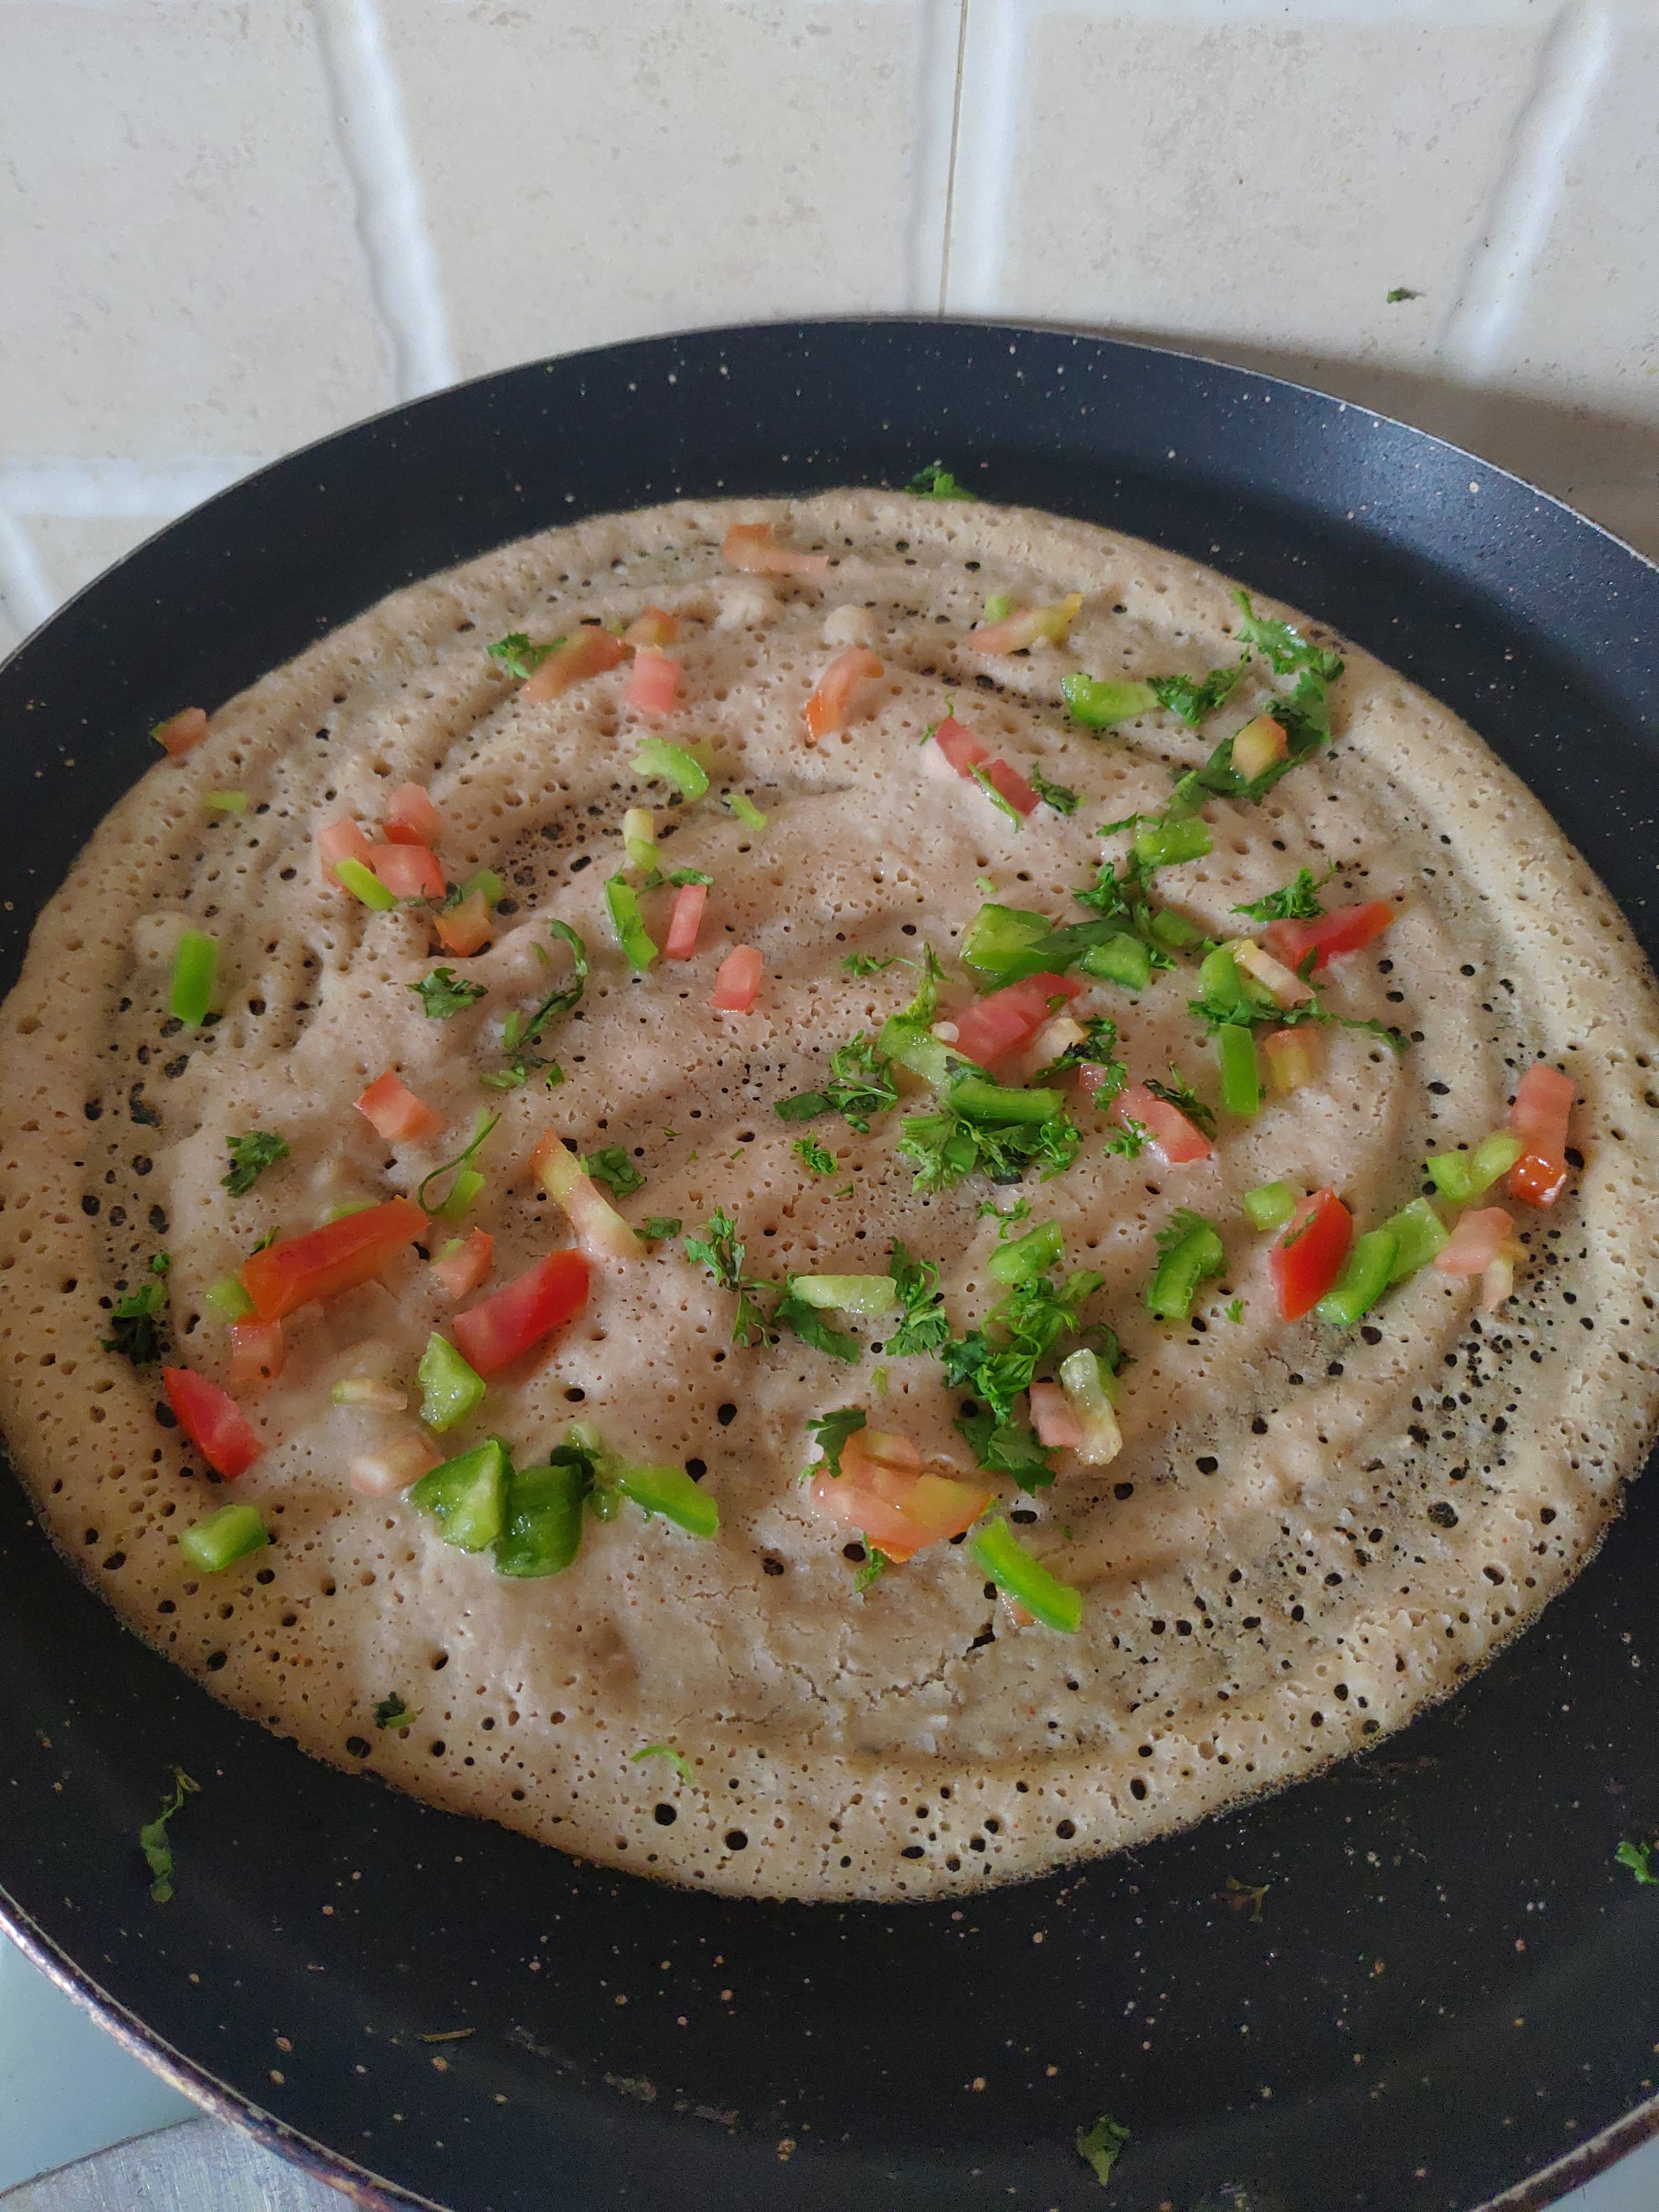
Pour one big spoon of dosa batter on it and spread it to form round shape
Once its semi cooked add some oil and let it cook well
Cook on low flame for some time and dosa will start coming out easily. For crispy dosa this step is must
Take out dosa with thin steel spatula and serve hot with coconut chatni
You can add fillings of Vegetables, paneer in this dosa if you like
Coconut chutney
Chop coconut into small pieces for easy grinding
Add coconut, green chilies, kari patta, salt in mixer jar and grind into fine paste
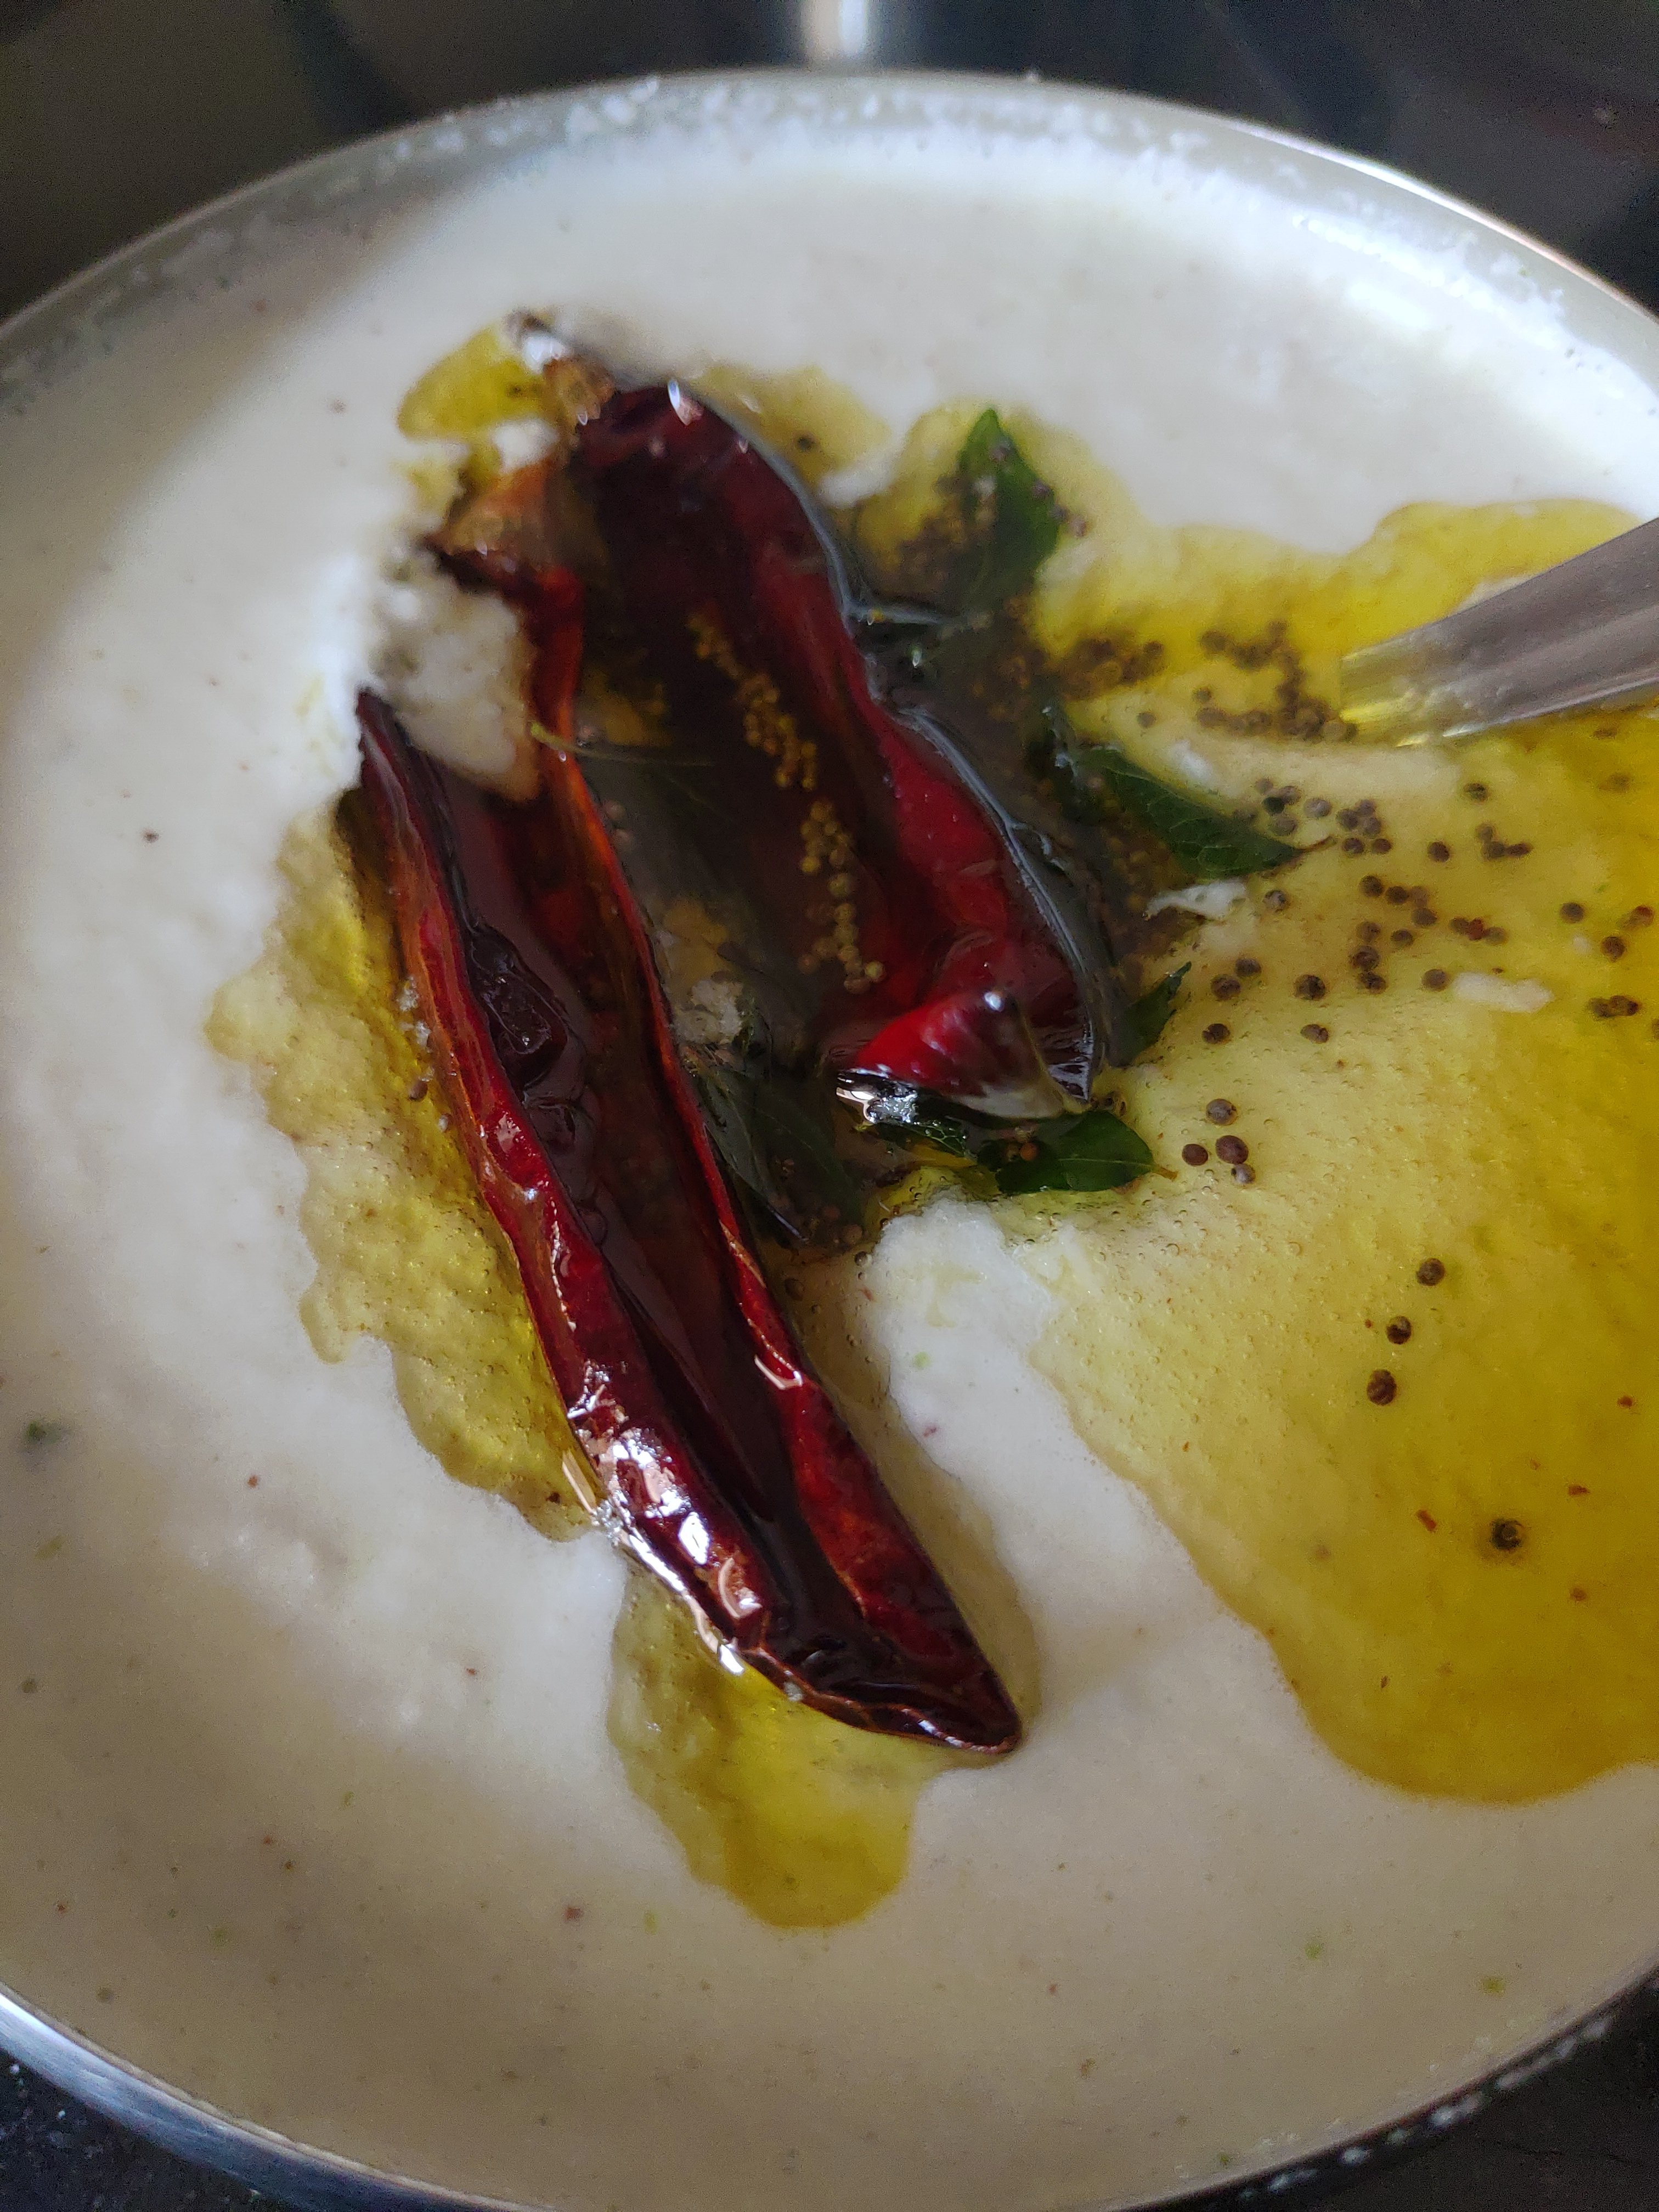
Take out in a bowl and Now Make tadka for the chutney
Take oil in small fry pan, add rai(small mustard seed) when it’s hot. Add kari patta and two whole red dry chilies
Now add this tadka to your coconut paste
Enjoy this yummy and healthy chutney with your crispy Dosa 🙂
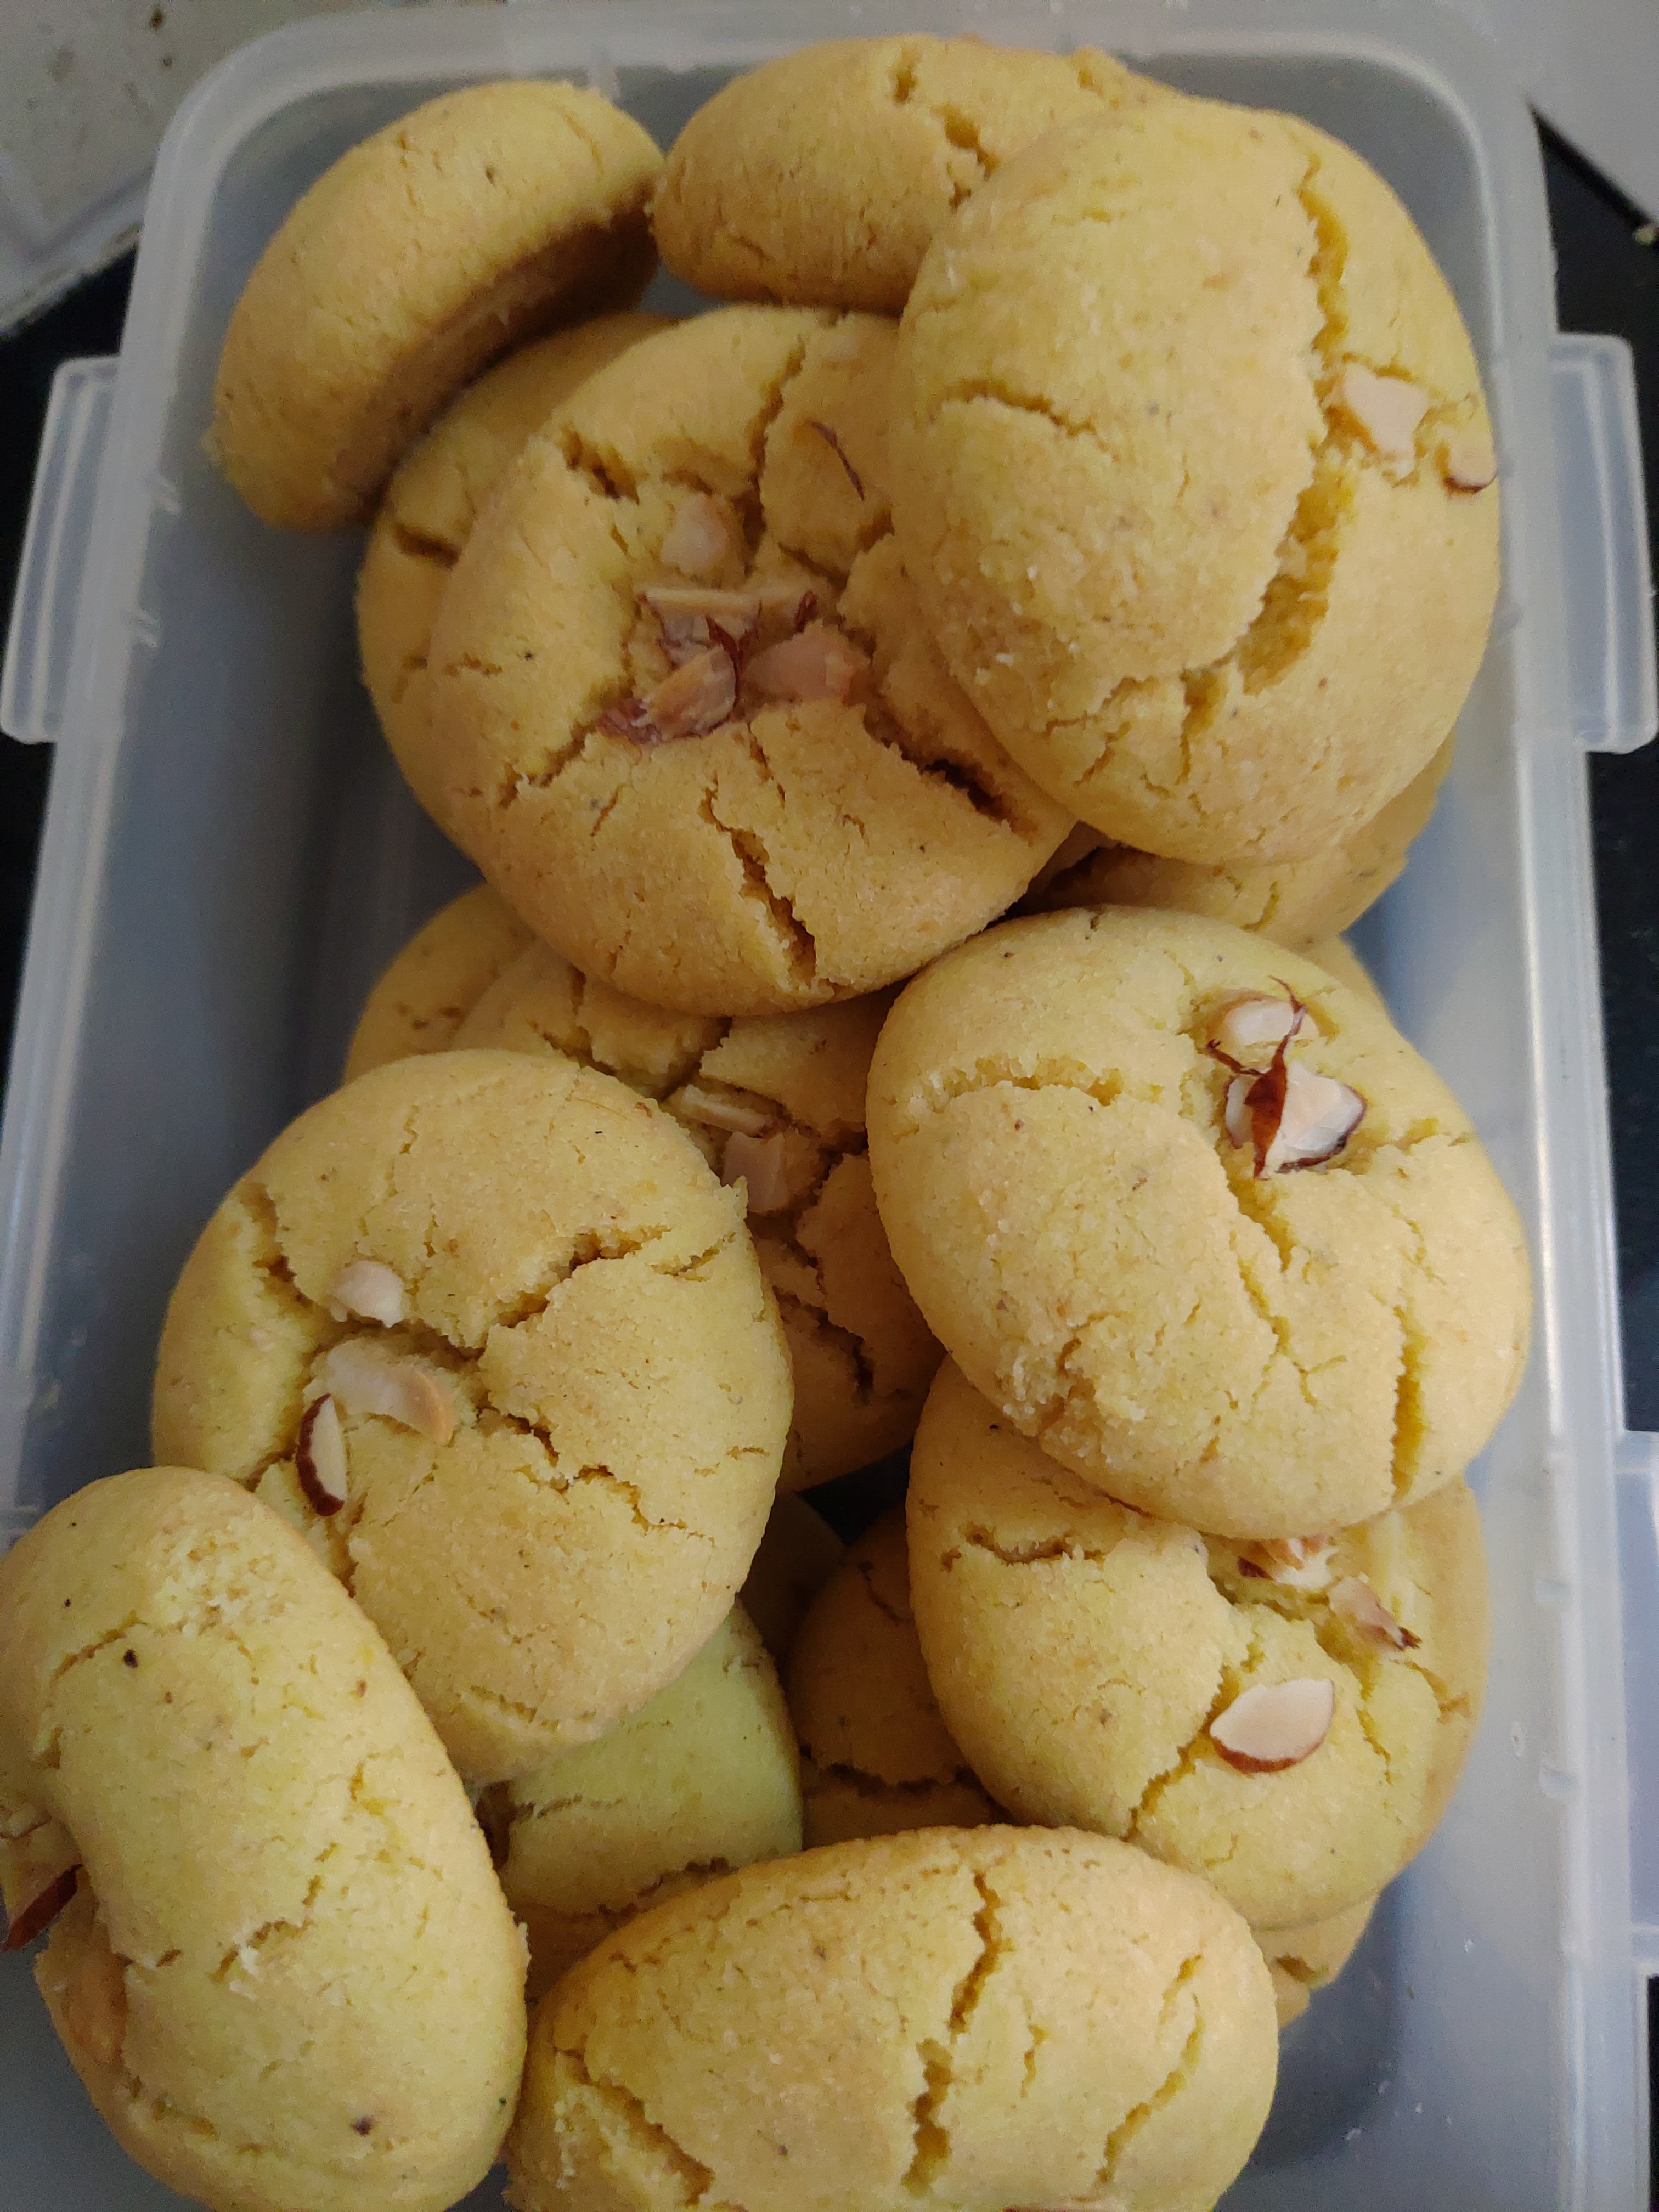
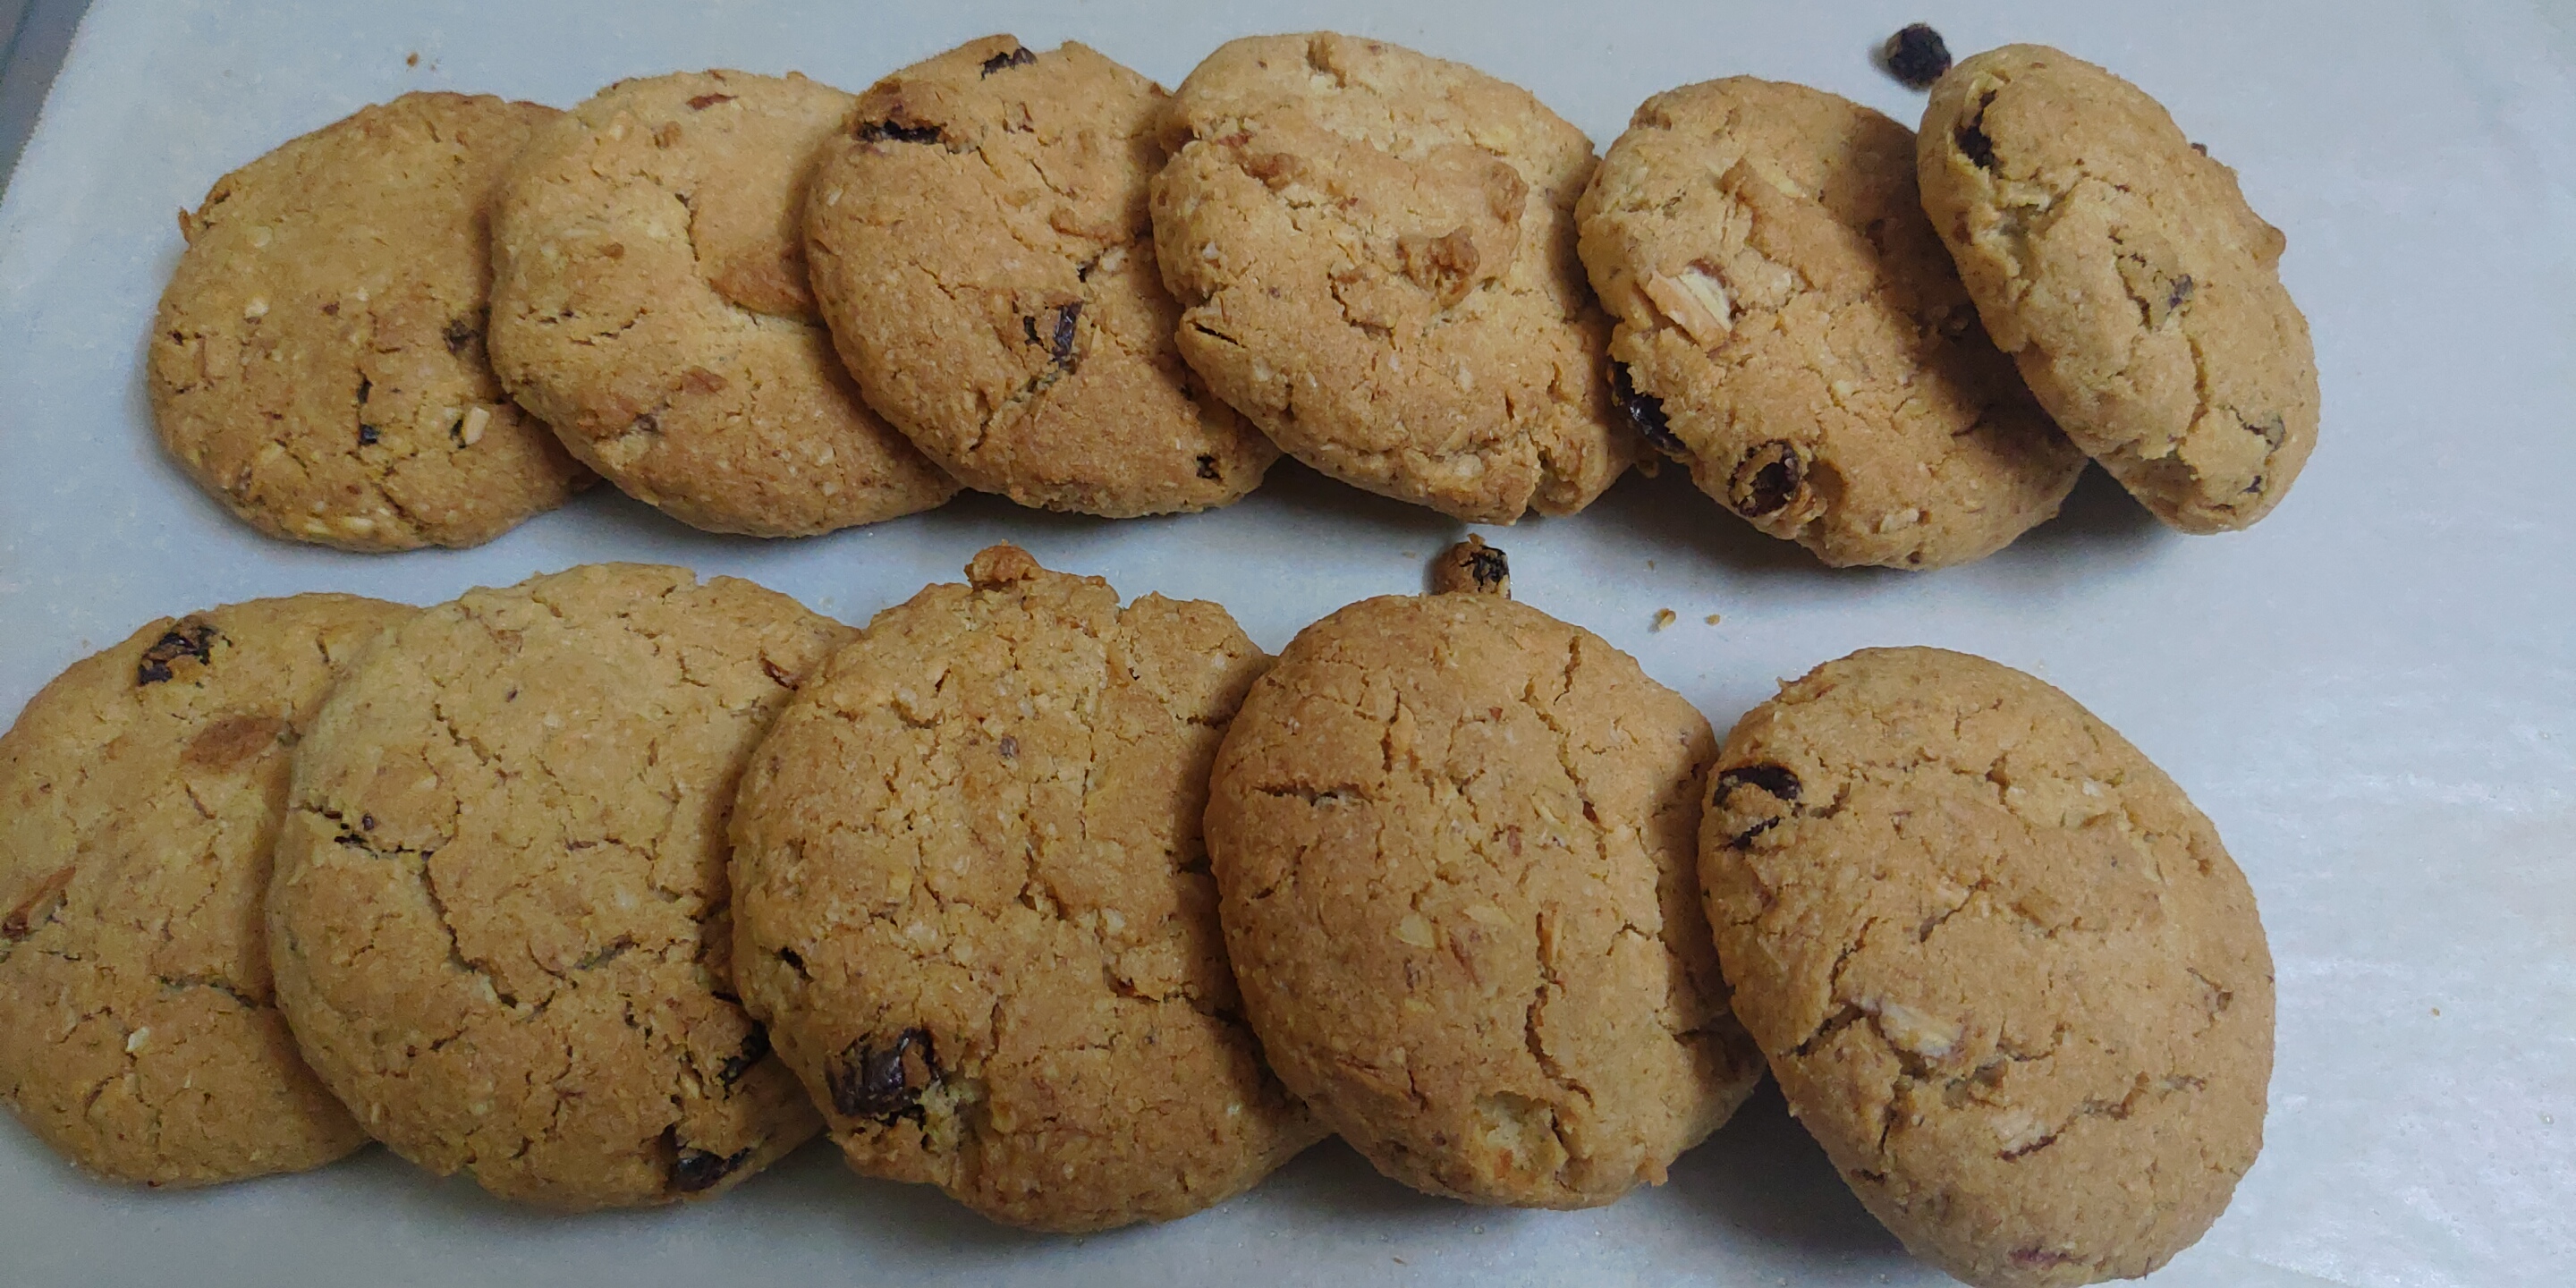
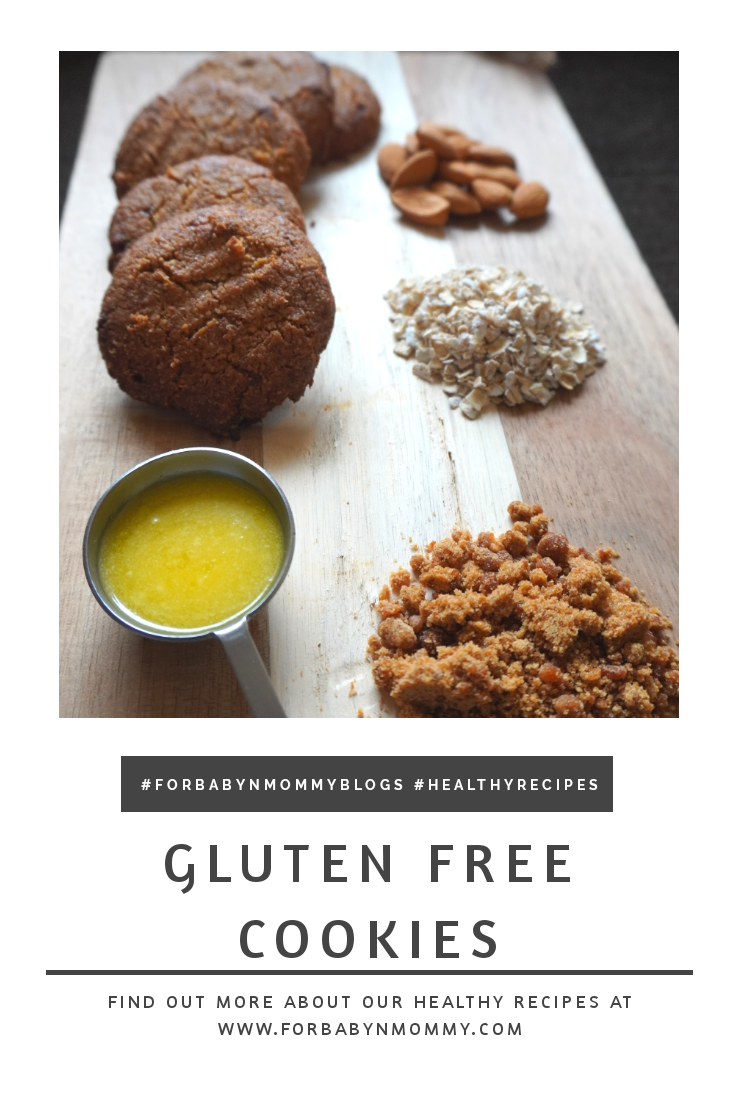
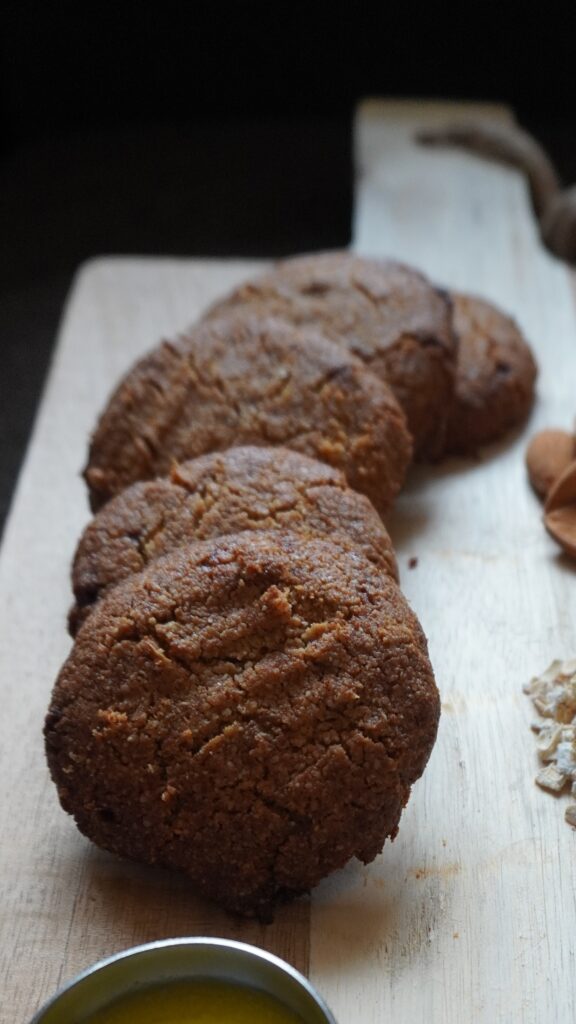
After starting my diet plan I ordered some gluten free cookies from Amazon. Their taste was ok, but I don’t like the choice of ingredients. So thought of baking some gluten free cookies at home.
Here is my version of gluten free cookies sweetened with jaggery, made with love and yes approved by all family members eldest and the youngest!
Ingredients
190gm Oats Flour
90gm Almonds flour
30gms milk powder
1/2 tsp Cream of tartar
1/4tsp baking soda
50gm gram flour
1/2 tbsp cardamom powder
Two pinch salt
200gms jaggery ( take less or more 240 gms as per your sweetness requirements )
150gms Ghee ( clarified butter ) It can be reduced to 120gms too.
Tip – 1/2 cup desiccated coconut ( I have made half mix with coconut flavour by adding 1/2 cup coconut in half the mixture, take out two tbsp for coating before bake )
-Add some small pieces of jaggery too it tastes really nice in cookies, it doesn’t melt while baking!
Procedure
Shift all the dry ingredients ( Oats Flour, almonds flour, milk powder, Cream of tartar, baking soda, salt, gram flour) in a bowl and mix properly.
In another bowl add clarified butter ( Ghee ) and grated jaggery.
Now whisk ghee and jaggery to make it fluffy and creamy.
Add and mix dry ingredients to the wet ingredients in parts. ( Do not add all in a go ).
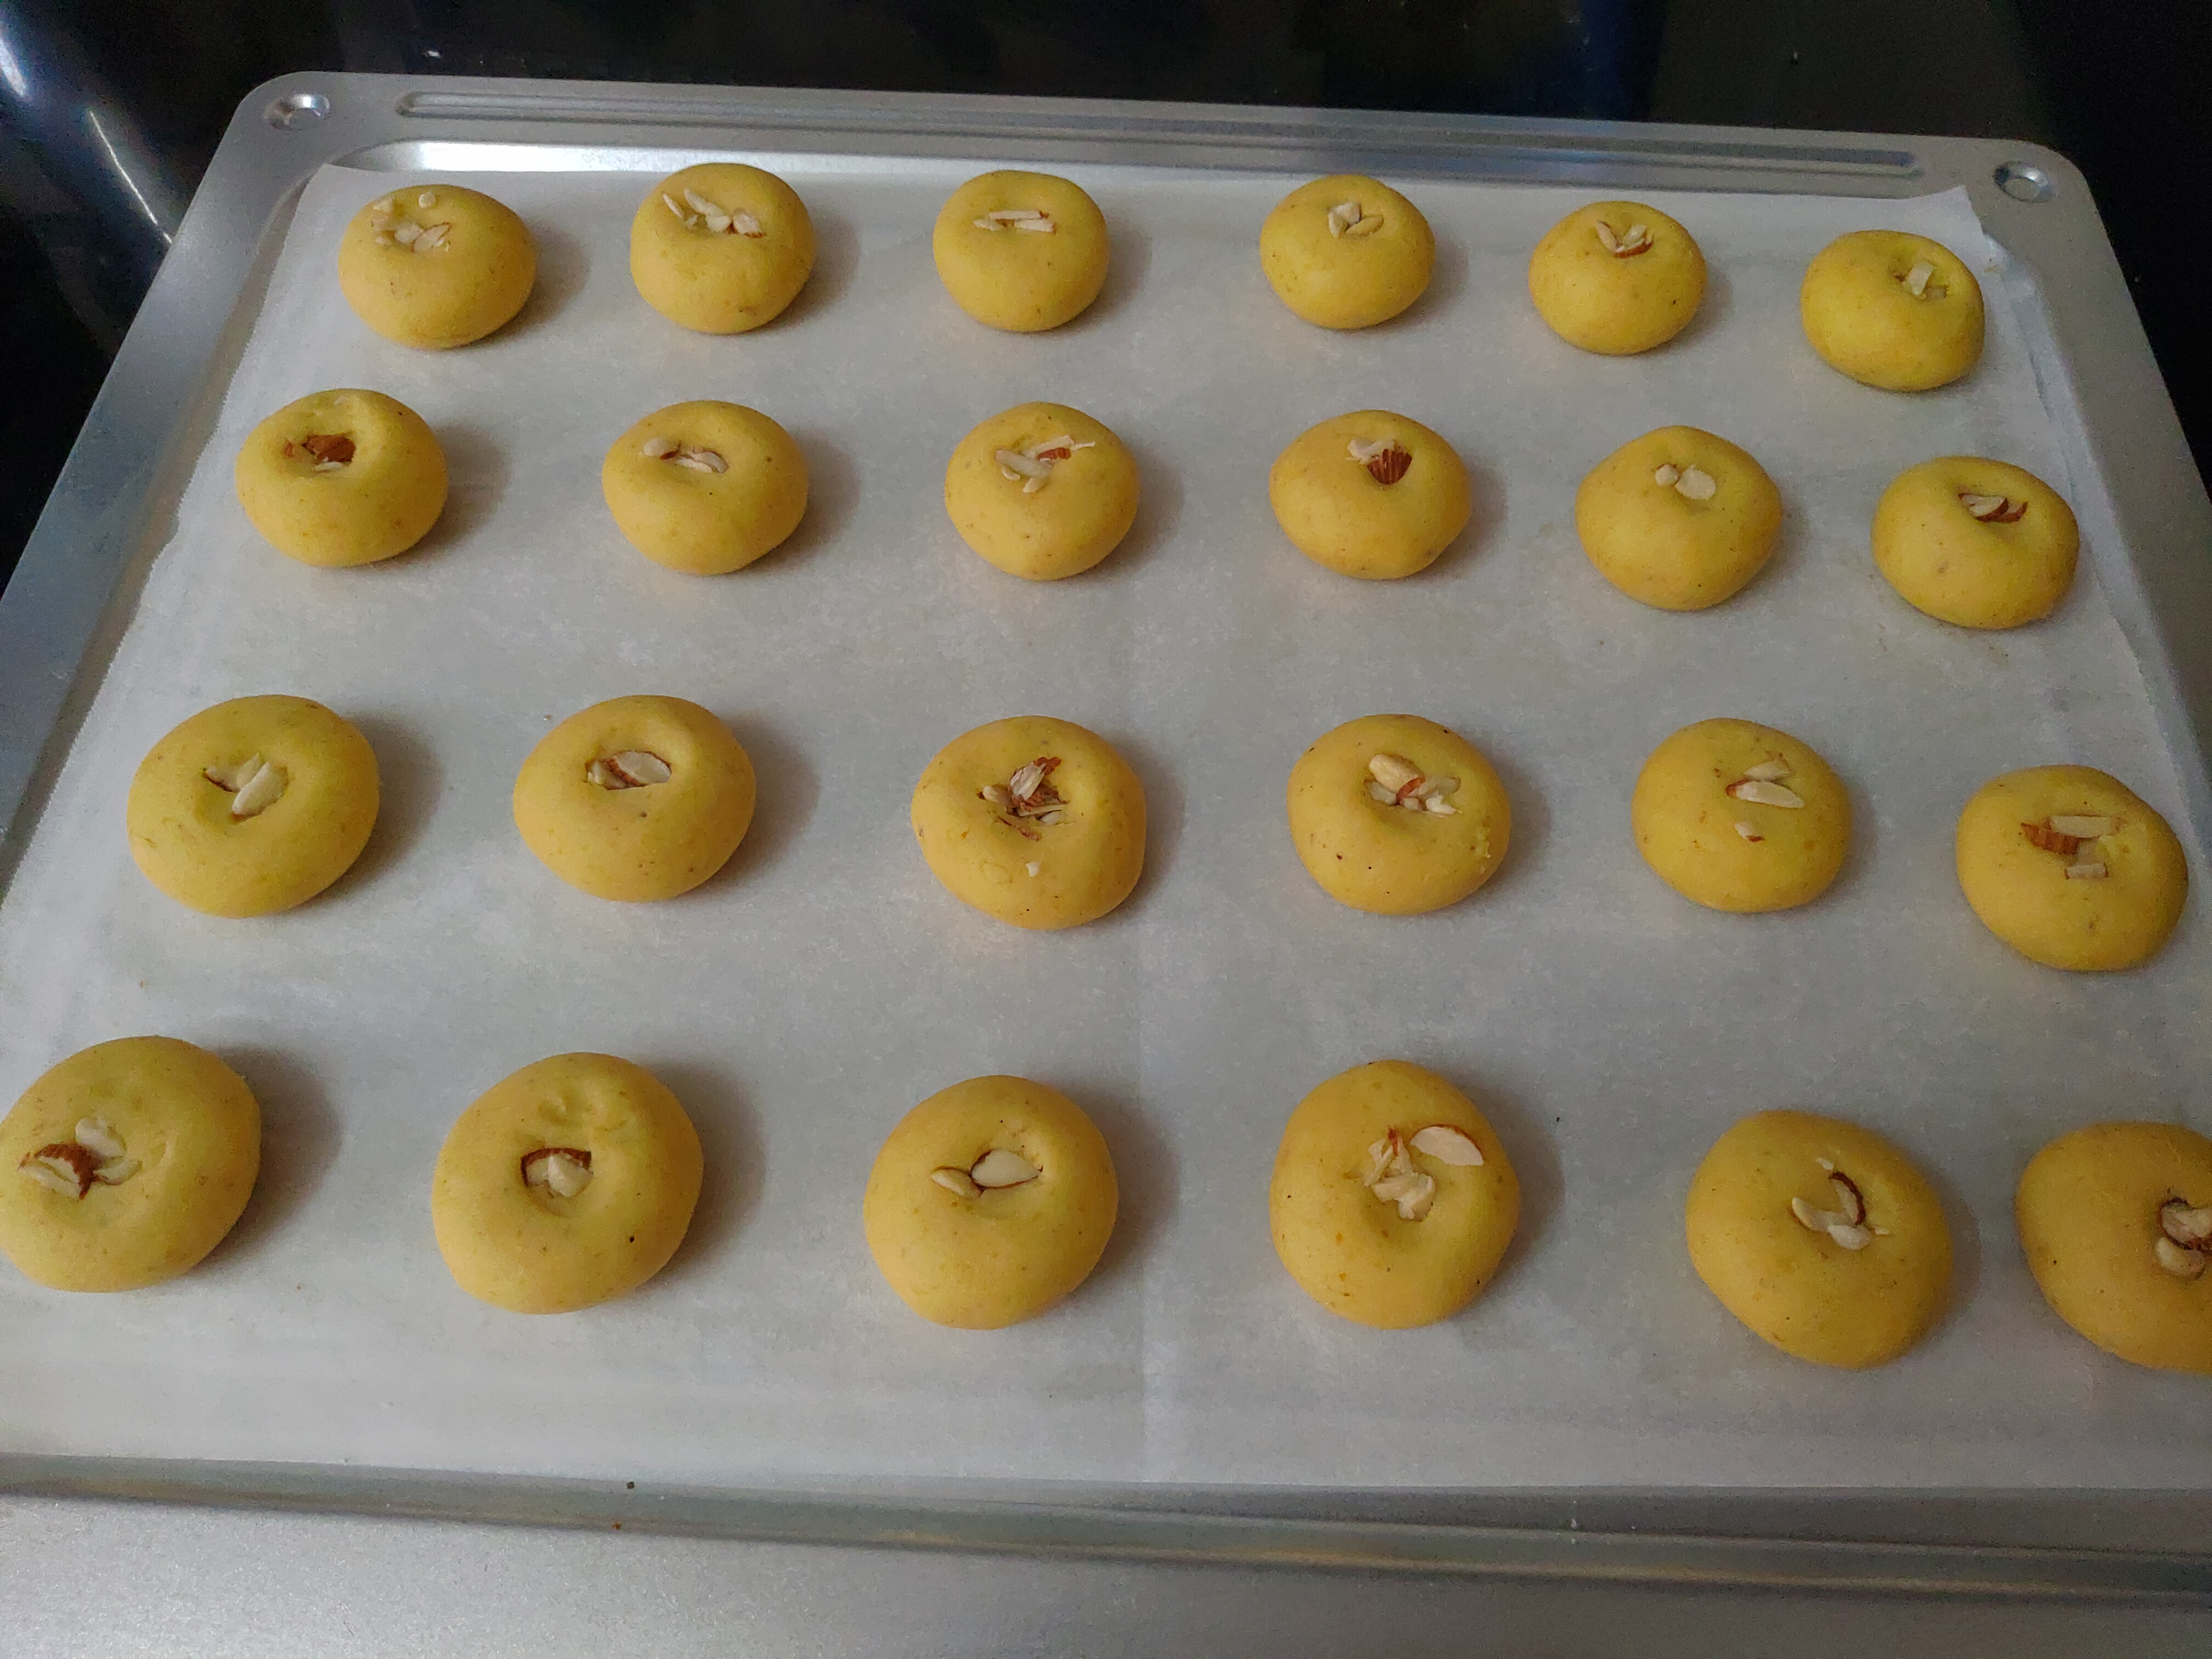
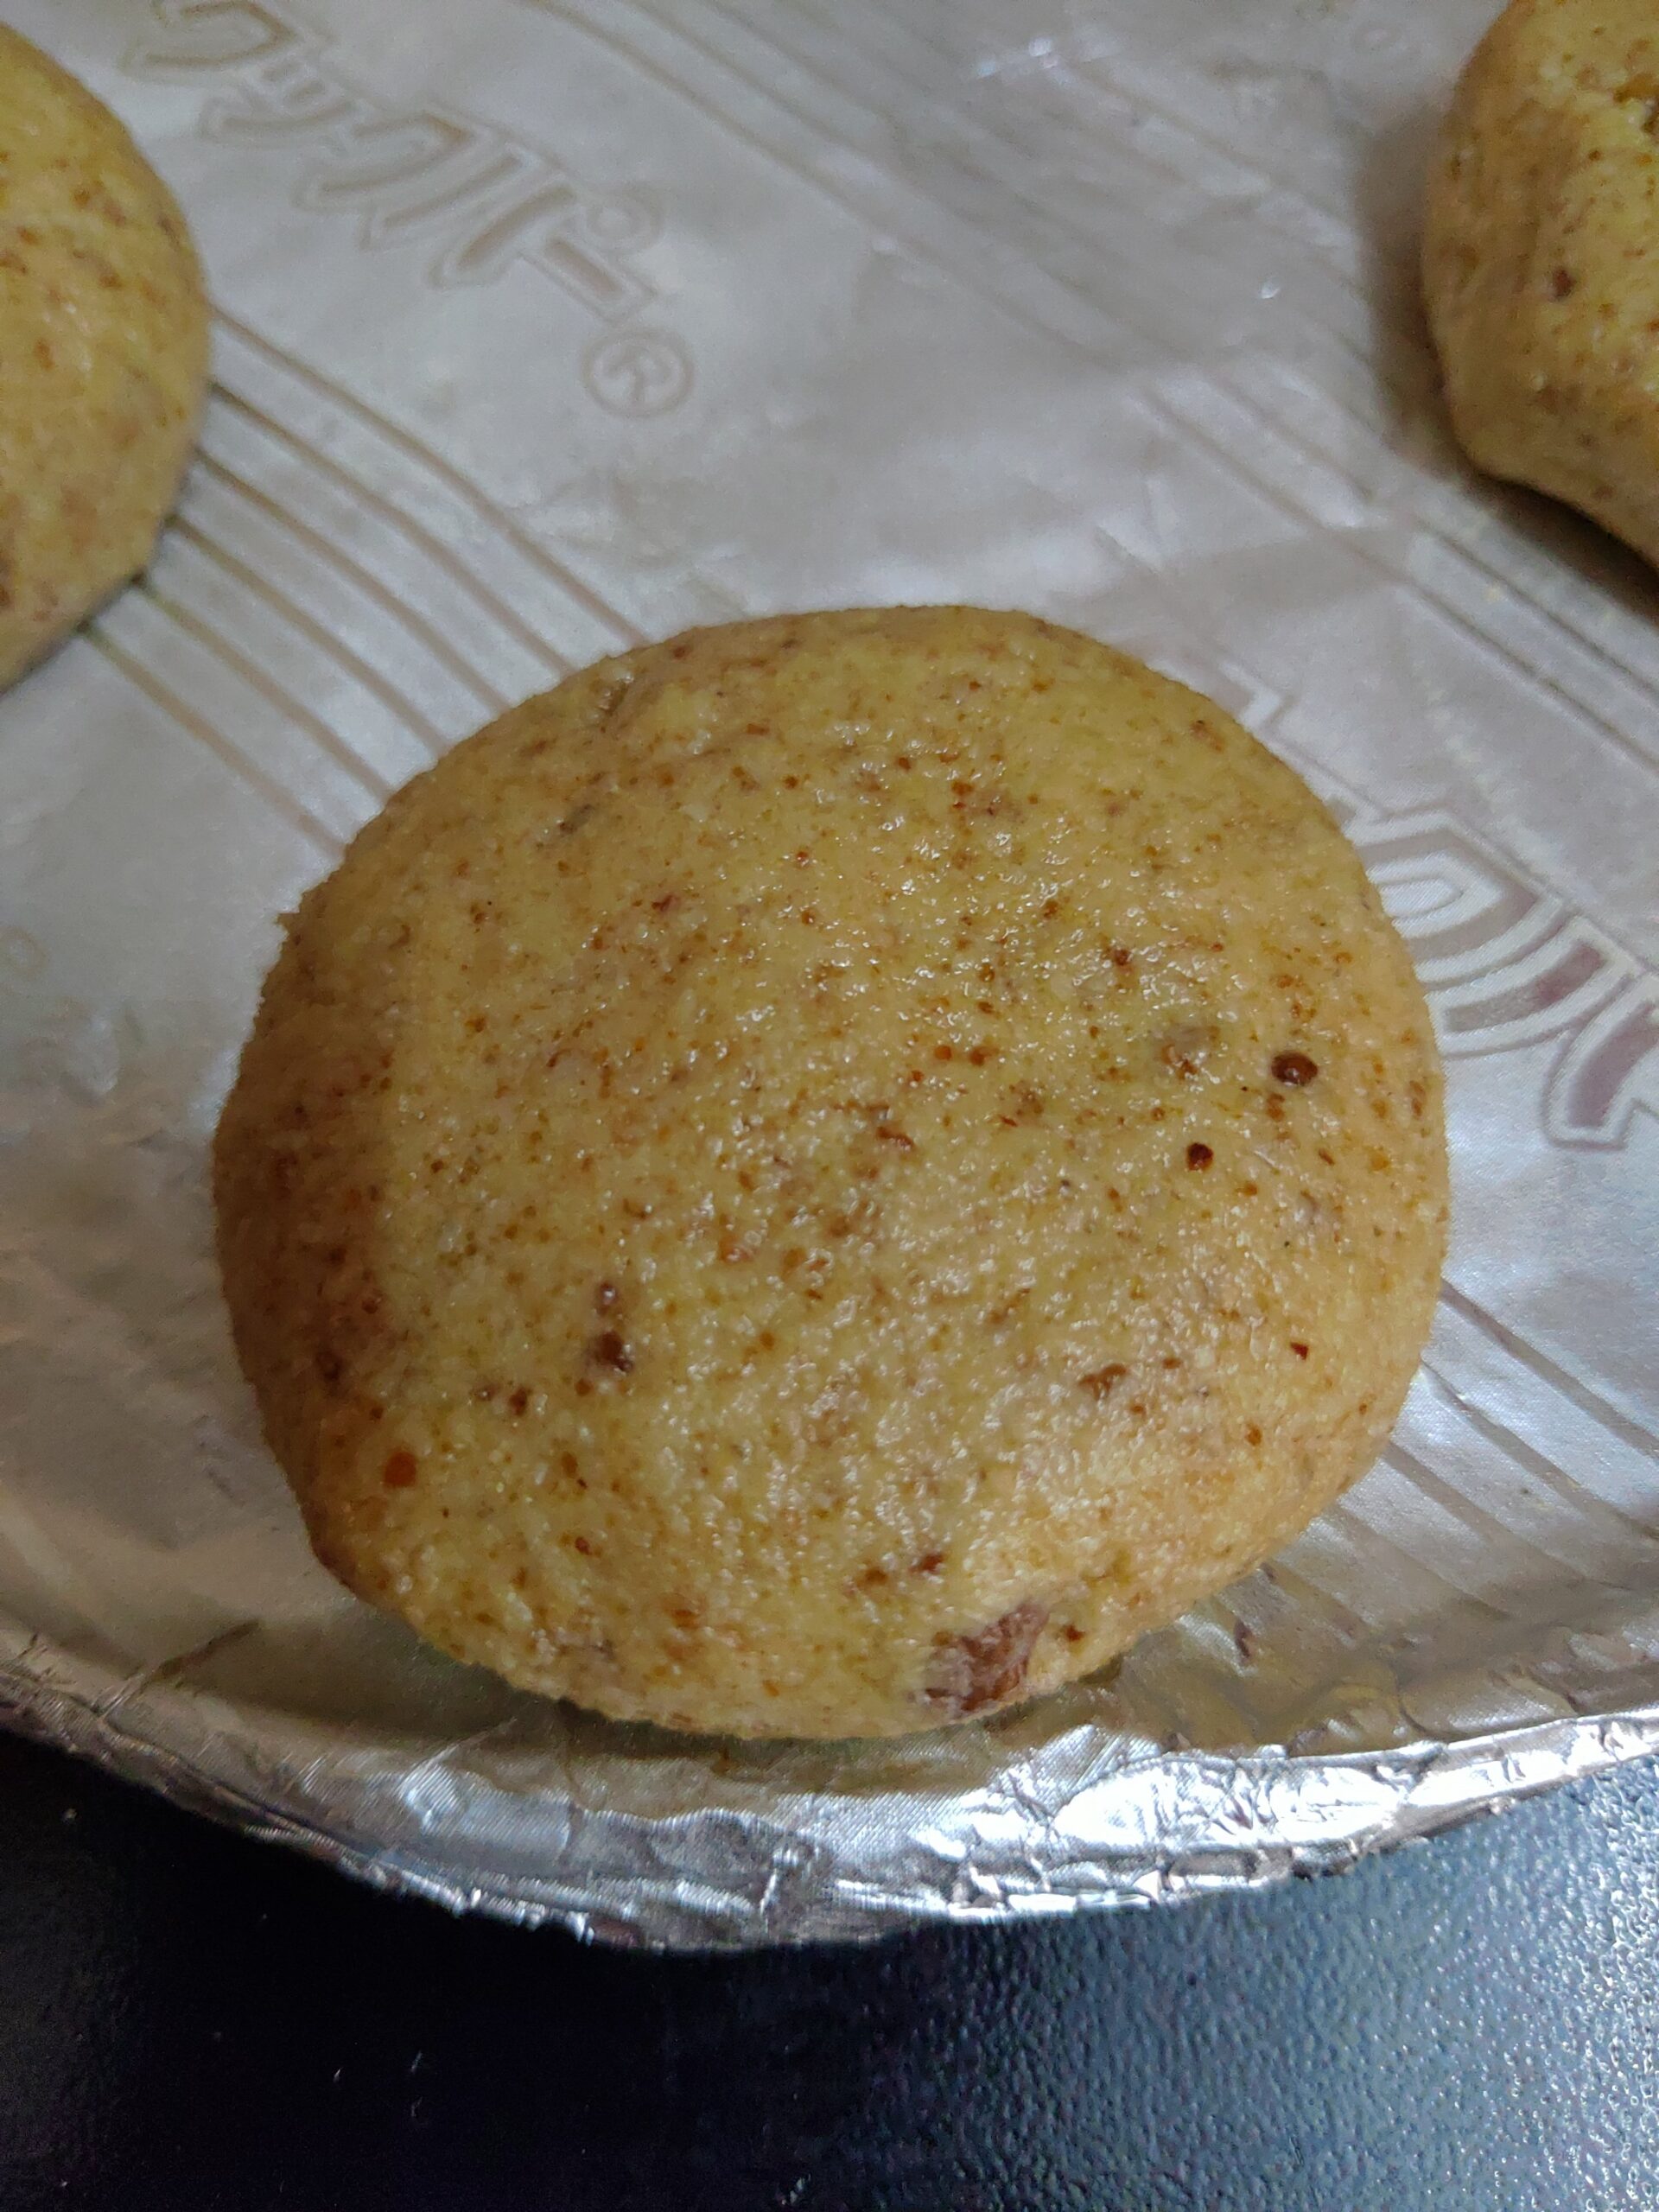
Make small balls from your dough and keep in baking tray.
Now keep it in fridge for 10 minutes, meanwhile pre-heat your oven 170c. ( You can store your dough in Fridge if you don’t want to bake at the same time )
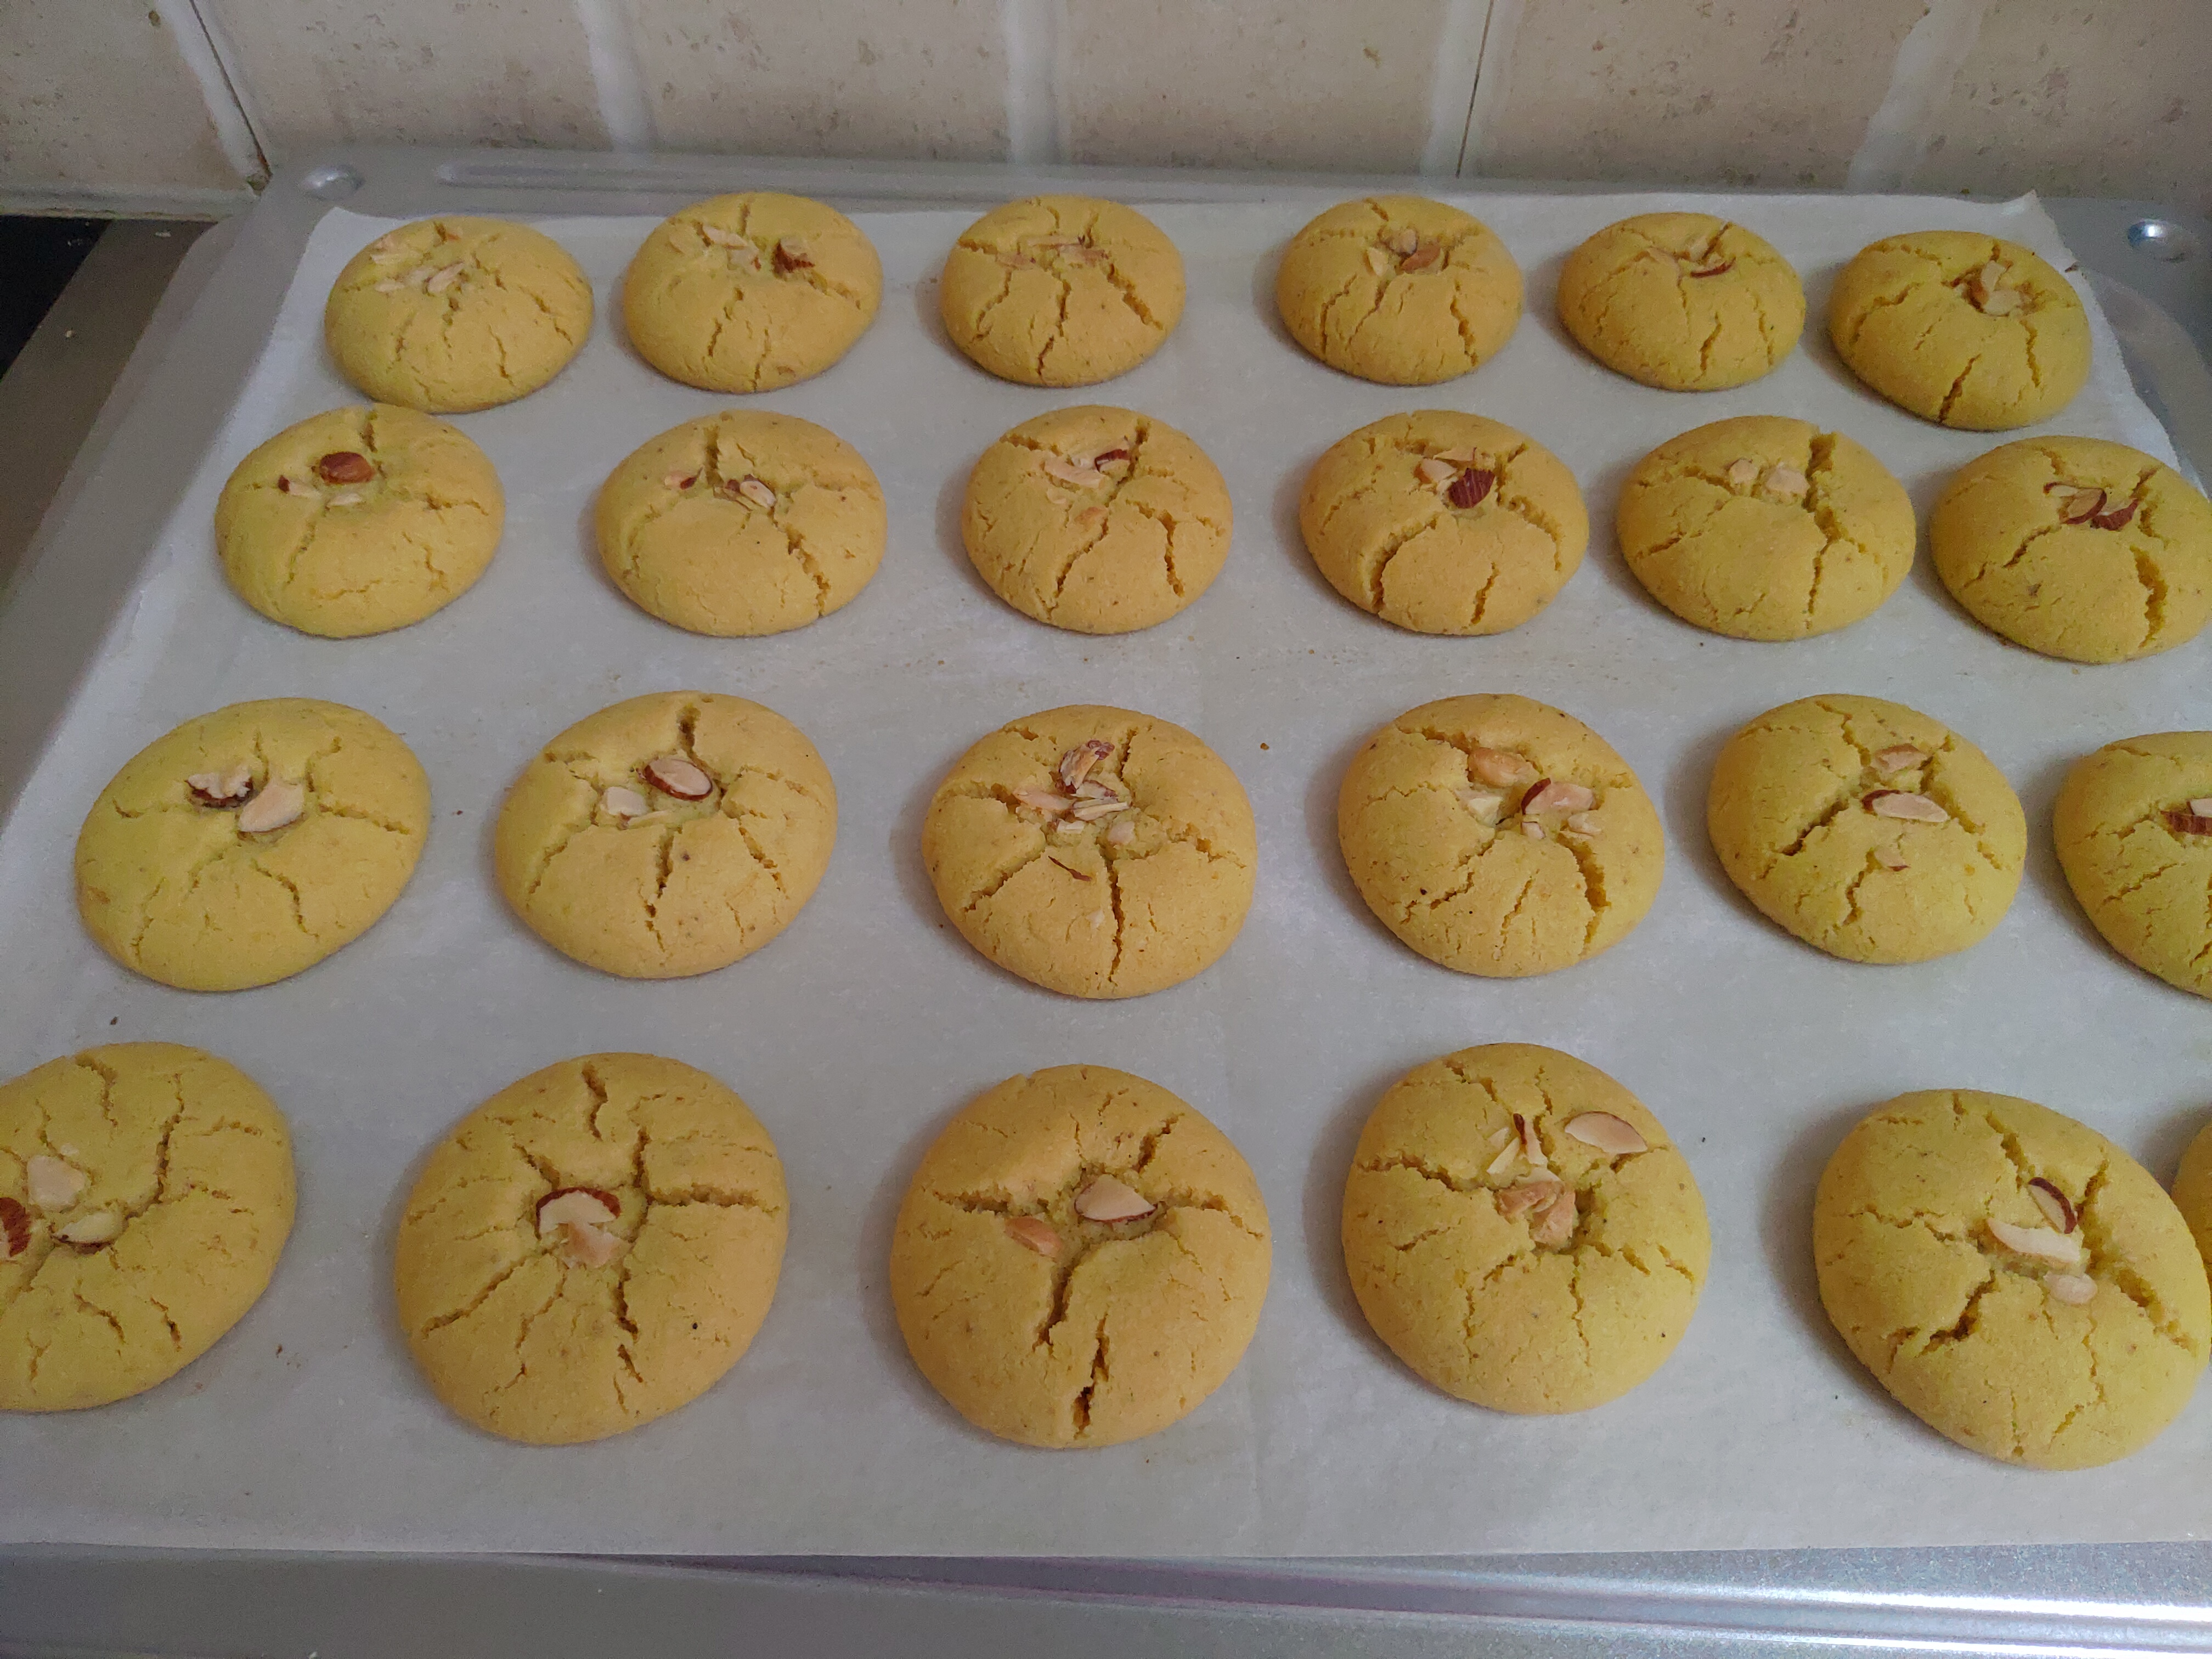
Bake your cookies for 12min on 170C ( Keep an eye as temperature settings may be different in all oven )
Take our the cookies and let them cool on rack, do not touch until they are cool as they are super soft at this stage.
Once properly cooler store them in aur tight container.